
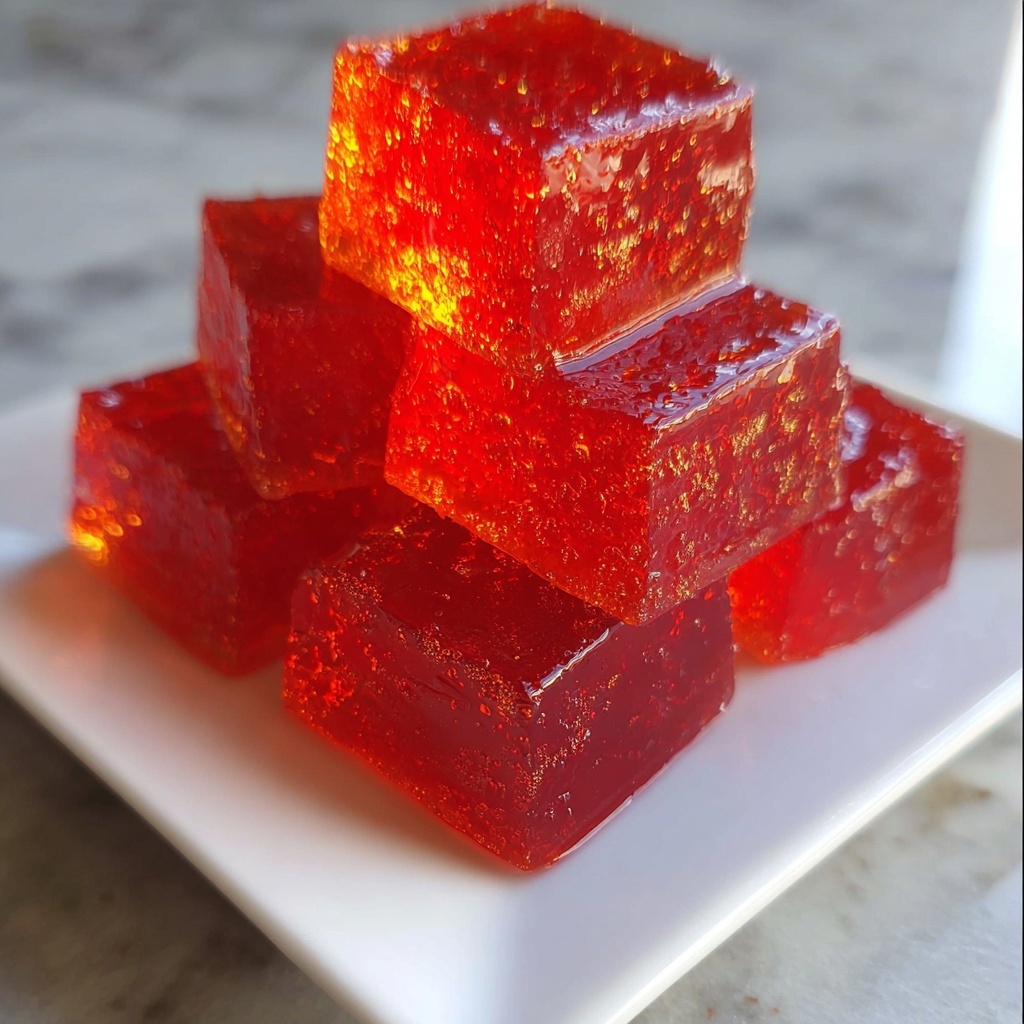
If you have a sweet tooth and a fondness for warm, spicy flavors, then the Cinnamon Rock Candy: 7 Sweet Steps to Pure Bliss Recipe is exactly what you need. This delightful homemade treat pairs the satisfying crunch of traditional rock candy with the aromatic warmth of cinnamon, creating an irresistible confection that’s both fun to make and heavenly to enjoy. Whether you’re looking for a cozy homemade gift or a charming way to sweeten your afternoon tea, this recipe promises a simple yet magical kitchen adventure that ends with pure bliss in every bite.
Ingredients You’ll Need
The charm of this Cinnamon Rock Candy lies in its simplicity. Each ingredient plays a vital role in balancing sweetness, texture, and that wonderful cinnamon aroma that makes this treat stand out. With just a handful of pantry staples, you’re well on your way to culinary delight.
- 2 cups granulated sugar: The essential backbone that crystallizes to form that iconic rock candy texture.
- 1 cup water: Helps dissolve the sugar and allows it to cook evenly.
- 1 teaspoon cinnamon extract: Infuses the candy with a rich, spicy warmth that makes this recipe so special.
- 1/2 teaspoon food coloring (optional): Adds a pop of color to make your candy visually stunning and fun.
How to Make Cinnamon Rock Candy: 7 Sweet Steps to Pure Bliss Recipe
Step 1: Combine Sugar and Water
Begin by whisking together 2 cups of granulated sugar and 1 cup of water in a medium saucepan set over medium heat. It’s important to stir gently until the sugar fully dissolves, laying the foundation for those iconic crunchy crystals.
Step 2: Stir Until Sugar Dissolves
Keep stirring carefully to avoid crystallization on the pan’s sides. This delicate balance ensures your candy will have that perfect texture—crisply sugary without graininess.
Step 3: Bring the Mixture to a Boil
Once the sugar is dissolved, stop stirring and let the mixture come to a vigorous boil. This no-stir moment is essential to prevent premature crystallization, letting the sugar concentrate beautifully.
Step 4: Add Cinnamon Extract and Food Coloring
At the boiling point, carefully stir in 1 teaspoon of cinnamon extract to infuse your candy with that unmistakable spicy-sweet aroma. If you want to brighten things up, add 1/2 teaspoon of food coloring now, blending it through for a colorful twist.
Step 5: Boil to Hard Crack Stage
Continue boiling the syrup without stirring until a candy thermometer hits 300°F. This ‘hard crack’ stage means your rock candy will be firm and brittle—the perfect texture for crunching.
Step 6: Cool the Mixture Slightly
Remove the saucepan from heat and let the syrup cool for a moment. Allowing it to settle gently helps it thicken just enough to set properly when poured.
Step 7: Pour and Let Cool Completely
Grease a baking sheet to prevent sticking, then carefully pour the hot syrup onto it. Let the candy cool completely at room temperature—this part takes patience but is absolutely worth it. Once fully hardened, break the candy into beautiful, jagged pieces to enjoy or gift!
How to Serve Cinnamon Rock Candy: 7 Sweet Steps to Pure Bliss Recipe
Garnishes
While Cinnamon Rock Candy is stunning on its own, pairing it with touches like a sprinkle of cinnamon powder or a light dusting of powdered sugar can elevate its appearance and deepen its spice flavor. A cinnamon stick alongside can also hint at what’s inside, adding to the presentation.
Side Dishes
This treat pairs wonderfully with a hot cup of black tea, chai, or even a frothy latte, where the candy’s sweetness gently mingles with the warm drink. It’s an ideal accompaniment during cozy gatherings or quiet moments of self-care.
Creative Ways to Present
Wrap individual pieces in clear cellophane tied with rustic twine for charming homemade gifts. You can also embed small pieces in ice cubes for a festive party or display the shards in decorative jars to brighten up your kitchen countertop.
Make Ahead and Storage
Storing Leftovers
Store leftover rock candy in an airtight container at room temperature to keep it crisp and fresh. Avoid humid environments, as moisture can cause the candy to soften or stick together.
Freezing
Freezing is not recommended for rock candy since moisture from thawing can ruin its signature crunch. It’s best enjoyed fresh from storage.
Reheating
Since this candy is meant to be hard and crunchy, reheating is unnecessary and can alter its texture. Enjoy it as-is for that perfect snap and spice burst.
FAQs
Can I use ground cinnamon instead of cinnamon extract?
Ground cinnamon can be added for extra flavor, but the extract blends more evenly and won’t cause gritty bits in your rock candy, keeping the texture smooth and crisp.
Why did my rock candy turn out sticky?
Sticky candy often means it was exposed to humidity or cooled in a moist environment. Make sure to store your candy in airtight containers and a dry place after it cools.
What if I don’t have a candy thermometer?
While a candy thermometer is ideal, you can test for the hard crack stage by dropping a bit of syrup into cold water. If it forms hard, brittle threads that snap easily, you’re at the right temperature.
Is food coloring necessary for the cinnamon rock candy?
Food coloring is entirely optional and purely for visual appeal. The natural color of the cinnamon-infused candy is lovely on its own but adding color can make your candy more festive and fun.
Can I make larger batches of this candy?
Absolutely! Just maintain the proportions and make sure your saucepan is large enough for boiling without spilling. Larger batches might take a bit longer to reach the hard crack stage, so watch your thermometer carefully.
Final Thoughts
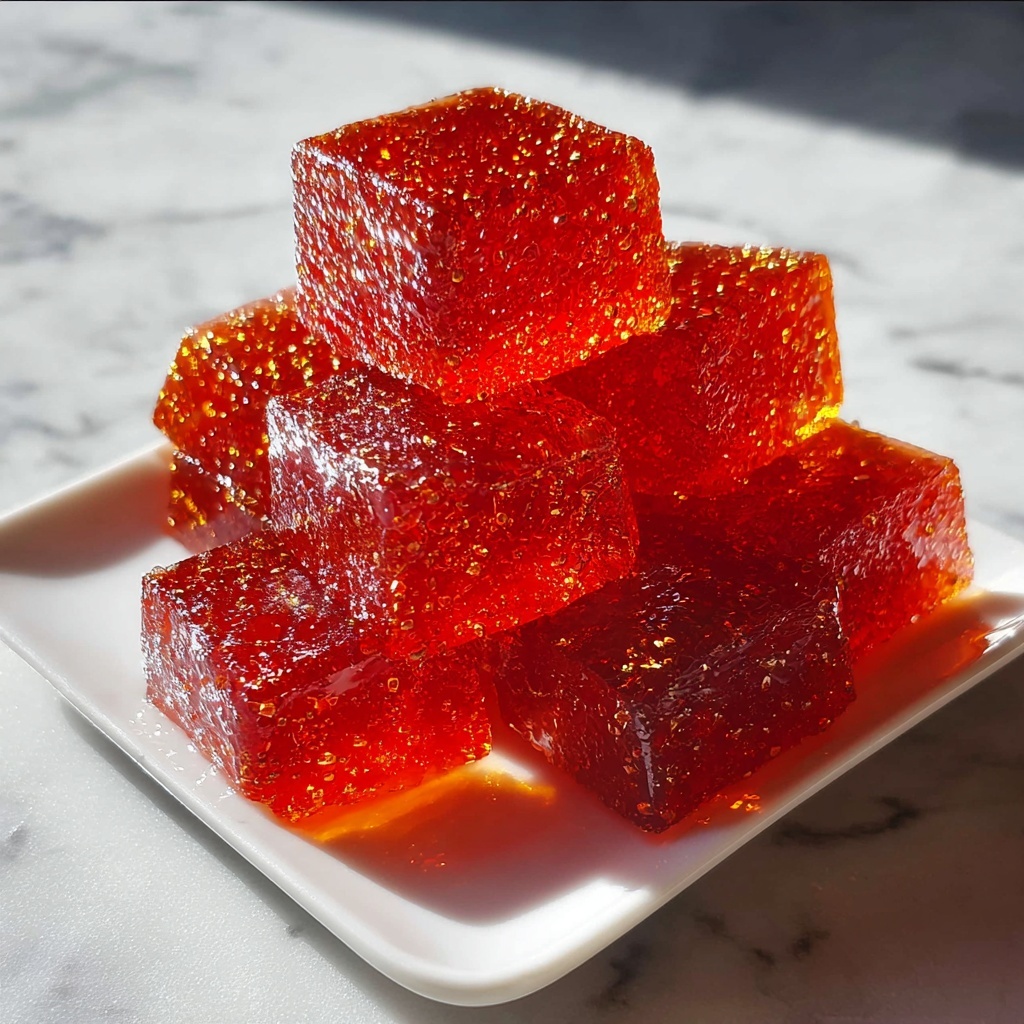
I can’t recommend the Cinnamon Rock Candy: 7 Sweet Steps to Pure Bliss Recipe enough for anyone looking to add a little handcrafted magic to their sweets collection. It’s easy, fun, and incredibly rewarding to see those glistening shards sparkle while filling your kitchen with warm cinnamon scents. Dive in, try it yourself, and enjoy every crunchy, spicy bite of pure bliss!
Print
Cinnamon Rock Candy: 7 Sweet Steps to Pure Bliss Recipe
- Prep Time: 5 minutes
- Cook Time: 25 minutes
- Total Time: 30 minutes
- Yield: 1 serving (about 1 batch, broken into multiple rock candy pieces)
- Category: Dessert
- Method: Stovetop
- Cuisine: American
Description
This Cinnamon Rock Candy recipe transforms simple sugar and water into delightful, aromatic crystals infused with warm cinnamon flavor. With just a few ingredients and straightforward steps, you can create beautiful, sweet rock candy perfect for gifting or enjoying as a nostalgic treat.
Ingredients
Ingredients
- 2 cups granulated sugar
- 1 cup water
- 1 teaspoon cinnamon extract
- 1/2 teaspoon food coloring (optional)
Instructions
- Combine sugar and water: In a medium saucepan, mix 2 cups granulated sugar with 1 cup water over medium heat.
- Dissolve the sugar: Stir the mixture gently until all the sugar crystals have fully dissolved into the water, creating a clear syrup.
- Bring to a boil: Increase the heat and bring the syrup to a rolling boil without stirring further to avoid crystallization.
- Add cinnamon and coloring: Once the syrup is boiling, carefully stir in 1 teaspoon cinnamon extract and 1/2 teaspoon food coloring if using, mixing thoroughly.
- Reach hard crack stage: Continue boiling the syrup until a candy thermometer reads 300°F (149°C), indicating the hard crack stage essential for rock candy firmness.
- Cool slightly: Remove the saucepan from the heat and allow the syrup to cool just enough so it thickens slightly but is still pourable.
- Pour and set: Pour the syrup carefully onto a greased baking sheet, spreading it evenly, and allow it to cool completely and harden before breaking into candy-sized pieces.
Notes
- Use a candy thermometer for precise temperature control to ensure the candy hardens correctly.
- Do not stir the syrup once it starts boiling to prevent premature crystallization.
- The food coloring is optional but helps enhance the visual appeal of the candy.
- Greasing the baking sheet helps prevent sticking and makes removal easier.
- Store rock candy in an airtight container to maintain crispness.


