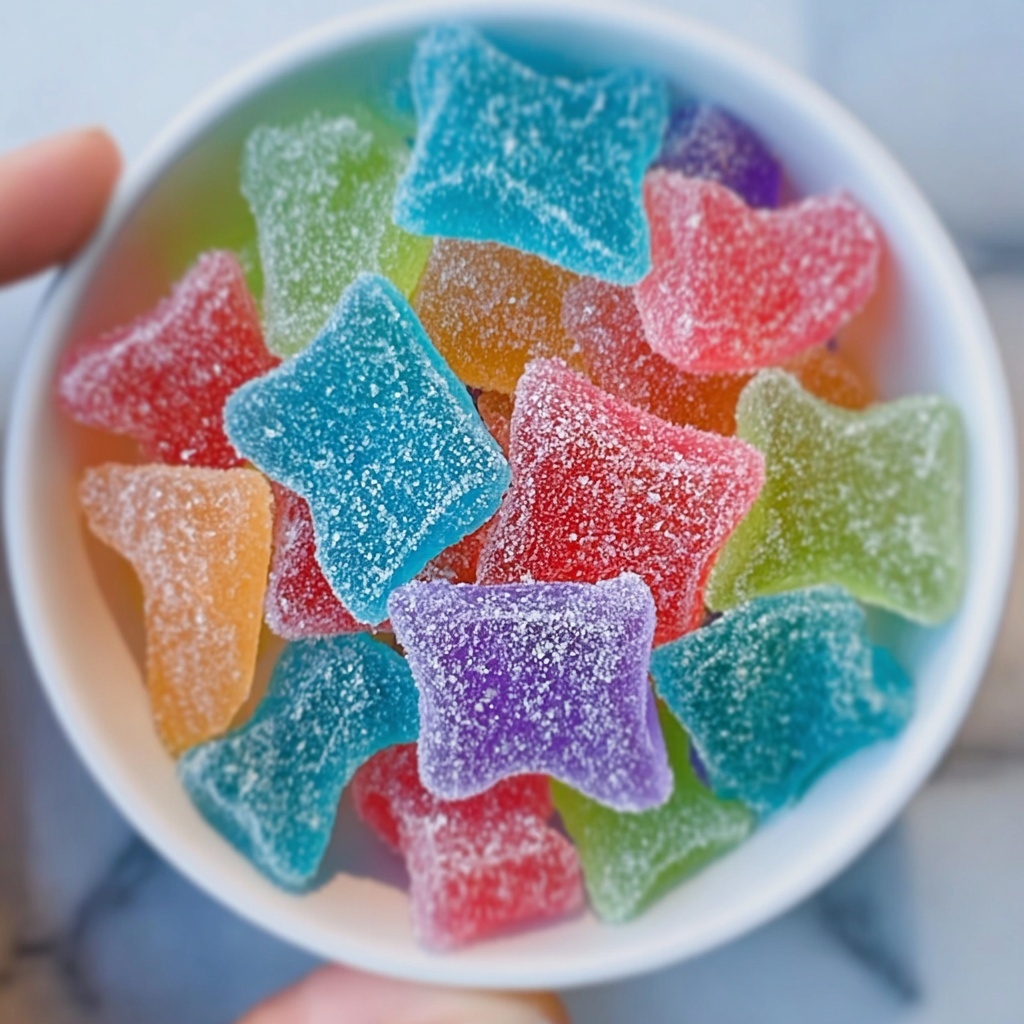
If you have a sweet tooth and love a bit of fun in the kitchen, this Magic Candy: Create Colorful Crunchy Treats at Home Recipe is going to become your new obsession. Imagine crafting vibrant, crunchy candies with your own hands, where each bite bursts with flavor and delightful texture. This recipe is simple, yet magical, turning basic pantry ingredients into dazzling treats that sparkle with color and satisfy your craving for something sweet and crispy. Trust me, once you try making Magic Candy: Create Colorful Crunchy Treats at Home Recipe, you’ll never want to go back to store-bought candy again.
Ingredients You’ll Need
Gathering your ingredients is the first step toward a batch of something truly enchanting. Each component has a job to do, from building structure to adding vivid color and irresistible flavor, making the magic happen in every crunchy bite.
- 2 cups Granulated Sugar: This is the backbone of your candy, providing essential sweetness and structure for that perfect crunch.
- 1 cup Corn Syrup: Keeps the sugar from crystallizing so your candy stays smooth and clear.
- 1 cup Water: Helps dissolve the sugar evenly and starts the magic of transformation as the mixture boils.
- 1 teaspoon Flavor Extract (like vanilla or fruit flavors): Adds a delightful aroma and depth of sweetness that elevates the candy.
- Food Coloring (as desired): Feel free to get creative here; vibrant colors turn your candy into a feast for the eyes and make it party-ready.
- 1 cup Powdered Sugar: Perfect for dusting your candy pieces to keep them from sticking together once they’ve cooled.
How to Make Magic Candy: Create Colorful Crunchy Treats at Home Recipe
Step 1: Prepare Your Pan
Start by lining a 9×13 baking dish with parchment paper and give it a light spray of cooking spray. This little prep ensures your candy won’t stick, making clean-up and candy removal effortless.
Step 2: Combine Your Sweet Ingredients
In a medium saucepan, gently stir together the granulated sugar, corn syrup, and water. The goal is to evenly combine these without creating splashes—this blend will be the base of your candy’s perfect texture.
Step 3: Bring to the Perfect Temperature
Place the saucepan on medium-high heat and let the mixture come to a rolling boil. Use a candy thermometer and patiently cook until it reaches 300 degrees Fahrenheit, which is the “hard crack” stage giving us that ideal crunchy snap.
Step 4: Add Flavor and Color
Carefully remove the pan from the heat and stir in your flavor extract plus the food coloring. This step infuses your candy with irresistible taste and gives it that dazzling pop of color that makes it so much fun to look at and eat.
Step 5: Pour and Cool
Immediately pour your hot, glossy mixture into the prepared pan, spreading it evenly with a spatula if needed. Let it cool at room temperature until fully set, which usually takes about an hour.
Step 6: Break and Dust
Once the candy has hardened, lift it out using the parchment paper and break it into bite-sized pieces. Toss them lightly in powdered sugar to prevent stickiness, and voilà — your homemade colorful crunchy treats are ready!
How to Serve Magic Candy: Create Colorful Crunchy Treats at Home Recipe
Garnishes
Though the candy is delightful on its own, sprinkling a tiny pinch of edible glitter or crushed nuts adds another layer of texture and sparkle. You could also drizzle melted white chocolate for an elegant touch.
Side Dishes
These crunchy candies pair wonderfully with a scoop of vanilla ice cream, a warm cup of tea, or even atop a fluffy fruit-topped cupcake. Their vibrant colors provide a cheery contrast, brightening any dessert spread.
Creative Ways to Present
Package your magic candies in little glass jars tied with ribbon or layer them in a decorative tin with parchment separators. They make fabulous gifts or eye-catching party favors — plus they encourage smiles from all ages.
Make Ahead and Storage
Storing Leftovers
Keep your leftover Magic Candy in an airtight container at room temperature. Make sure to separate layers with parchment paper to keep pieces from sticking together and stay crunchy.
Freezing
While freezing isn’t necessary, you can store the candy in a sealed freezer bag for up to three months. Just be sure to thaw completely before enjoying to avoid condensation making the candy sticky.
Reheating
Since this candy is best enjoyed crunchy, reheating doesn’t apply here. Instead, store it properly and savor it fresh whenever possible for maximum crackle and color.
FAQs
Can I use different flavor extracts in the Magic Candy: Create Colorful Crunchy Treats at Home Recipe?
Absolutely! This recipe is super flexible, so feel free to experiment with vanilla, almond, lemon, or any fruit flavor extract to create your own unique candy experience.
What if I don’t have a candy thermometer?
A candy thermometer really helps to hit the exact temperature needed. Without one, you risk under- or overcooking the mixture. Investing in a basic candy thermometer is worth it if you love making sweet treats at home.
Can I make this recipe vegan?
Yes, all the ingredients here are typically vegan-friendly. Just double-check your flavor extracts and food colorings to avoid any non-vegan additives.
Why is powdered sugar used in the recipe?
Powdered sugar prevents the candy pieces from sticking together once cooled, helping maintain that perfect crunchy texture when stored.
How colorful can I make the Magic Candy?
The color possibilities are endless! Use as much or as little food coloring as you like — experimenting with swirling colors or layering different batches only adds to the fun and visual appeal.
Final Thoughts
This Magic Candy: Create Colorful Crunchy Treats at Home Recipe is a true joy to make and devour, inviting you to bring a pop of color and crunch to your kitchen anytime. I hope you’ll give it a try and enjoy every delightful bite as much as I do. Candy-making at home has never been this vibrant or fun!
Print
Magic Candy: Create Colorful Crunchy Treats at Home Recipe
- Prep Time: 10 minutes
- Cook Time: 25 minutes
- Total Time: 1 hour 20 minutes
- Yield: 12 servings
- Category: Candy
- Method: Stovetop
- Cuisine: American
Description
This Magic Candy recipe guides you to create colorful, crunchy homemade treats using simple ingredients like sugar, corn syrup, and flavor extracts. Perfect for candy lovers and those who enjoy sweet, vibrant confections, this recipe produces a glass-like hard candy that can be customized with your favorite colors and flavors.
Ingredients
Main Ingredients
- 2 cups Granulated Sugar (Provides sweetness and structure)
- 1 cup Corn Syrup (Helps prevent crystallization)
- 1 cup Water (Facilitates the dissolution of sugar)
- 1 teaspoon Flavor Extract (e.g., vanilla, fruit flavor) (Enhances sweetness and adds delicious flavor)
- Food Coloring (Optional for vibrant colors, as desired)
- 1 cup Powdered Sugar (Prevents sticking when storing)
Instructions
- Prepare the Pan: Line a 9×13 inch baking dish with parchment paper and lightly spray it with cooking spray to prevent sticking.
- Combine Ingredients: In a medium saucepan, gently stir together granulated sugar, corn syrup, and water until combined without splashing.
- Boil the Mixture: Place the saucepan over medium-high heat and bring the mixture to a boil. Continue cooking without stirring until the mixture reaches 300°F (hard crack stage) on a candy thermometer.
- Add Flavor and Color: Carefully remove the saucepan from the heat and immediately stir in your choice of flavor extract and food coloring to the hot syrup.
- Pour and Spread: Quickly pour the hot candy mixture into the prepared baking dish, spreading it evenly to form a thin layer.
- Cool and Break: Allow the candy to cool completely and harden at room temperature. Once cooled, lift the candy out of the pan using the parchment paper and break it into bite-sized pieces.
Notes
- Ensure the sugar mixture reaches exactly 300°F for proper hard candy texture; use a reliable candy thermometer.
- Be cautious when handling hot sugar syrup, as it can cause severe burns.
- Add food coloring and flavor extracts immediately after removing from heat to prevent them from cooking off.
- Store the broken candy pieces in an airtight container dusted lightly with powdered sugar to prevent sticking.
- Customize the candy by using different extracts and colors for various flavors and appearances.


