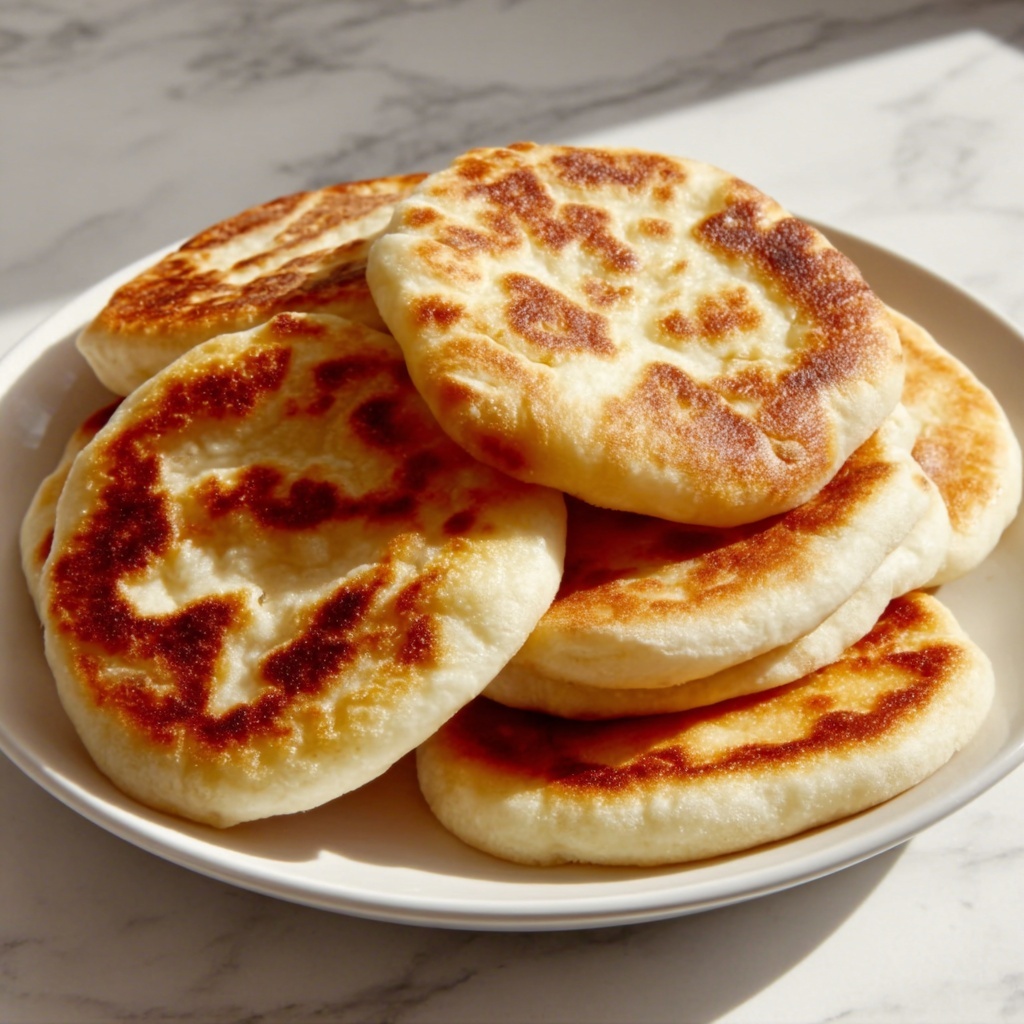
If you’ve ever yearned for that perfect pocket of soft, tender bread without the gluten, this Gluten Free Pita Bread: 5 Secrets to Perfect Texture Recipe is your new best friend. Imagine warm pita pockets that gently puff up with a golden crust, yet remain soft and pliable inside — all without any wheat to worry about. This recipe unlocks the secrets to creating that ideal balance between chewiness and fluffiness, making it a game changer whether you’re gluten-free by necessity or choice. Let’s dive right into this simple, satisfying bake that will become a staple in your kitchen.
Ingredients You’ll Need
Getting your ingredients right is crucial, but don’t worry — it’s a straightforward list that packs a flavorful punch. Each component plays a specific role in delivering the perfect texture, beautiful color, and a subtle taste that complements any filling or dip.
- Gluten free all-purpose flour: The foundation for the bread; choose a blend with xanthan gum included for best elasticity.
- Baking powder: Acts as a gentle leavening agent to help create that signature pita puff.
- Salt: Enhances flavor and balances the overall taste.
- Olive oil: Adds moisture and richness, contributing to a tender bite and golden color.
- Warm water: Activates the leavening and helps bring the dough together smoothly.
How to Make Gluten Free Pita Bread: 5 Secrets to Perfect Texture Recipe
Step 1: Preheat and Prepare Your Oven
Always start by preheating your oven to 450°F (230°C). A hot oven is key for the pita to puff quickly and form that classic pocket. This high heat helps the moisture in the dough turn to steam rapidly, inflating each pocket beautifully.
Step 2: Mix Dry Ingredients Thoroughly
Combine your gluten free flour, baking powder, and salt in a mixing bowl. Taking the time to evenly distribute the leavening and salt ensures uniform texture and flavor in every bite, which is essential for this recipe to work its magic.
Step 3: Incorporate Olive Oil and Warm Water
Add olive oil and warm water to the dry mix, then stir until a dough forms. The warmth of the water helps activate the baking powder, and the olive oil adds tenderness while preventing the dough from drying out.
Step 4: Knead Until Smooth
Kneading might surprise you in a gluten free recipe, but it’s one of the top secrets in this Gluten Free Pita Bread: 5 Secrets to Perfect Texture Recipe. A few minutes of kneading improves dough cohesion, resulting in a pliable, less crumbly bread after baking.
Step 5: Shape, Bake, and Enjoy
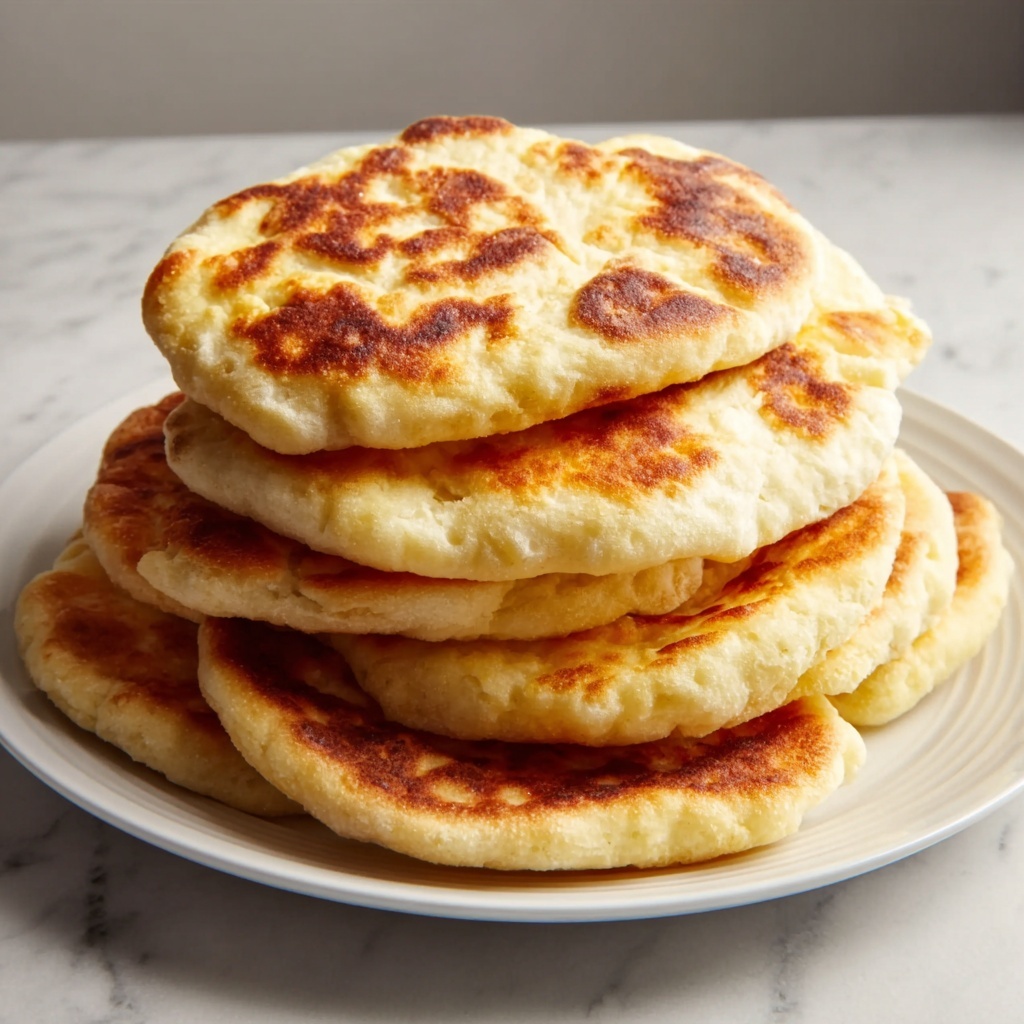
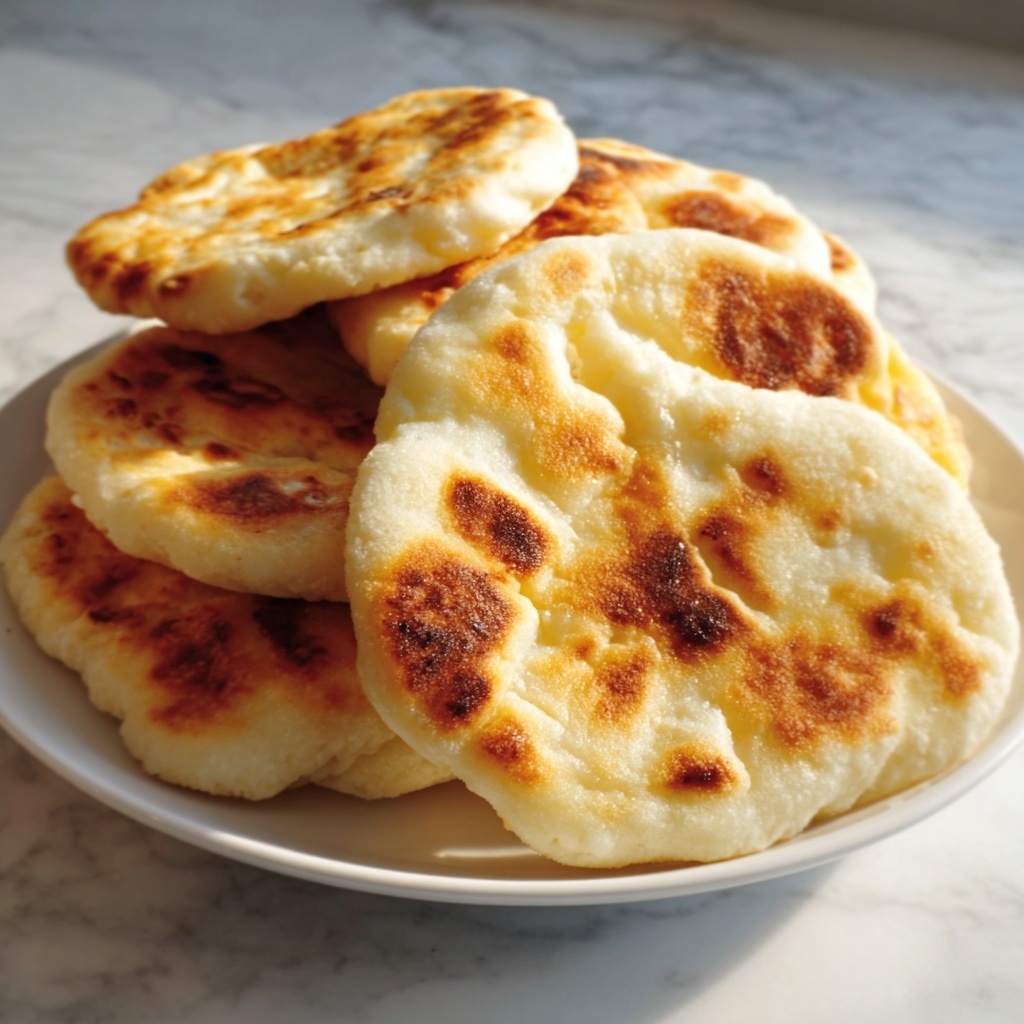
Divide your dough into 4 equal pieces and roll each one into a circle. Place these on a baking sheet and bake for 5-7 minutes until puffy and lightly golden. Watching them puff up is pure joy, signaling your pita pockets are perfectly cooked and ready to embrace your favorite fillings.
How to Serve Gluten Free Pita Bread: 5 Secrets to Perfect Texture Recipe
Garnishes
Serving fresh pita with a sprinkle of za’atar, a drizzle of good olive oil, or a touch of garlic butter can elevate each bite. These garnishes not only add flavor but also invite you to enjoy the bread by itself as a delicious snack.
Side Dishes
Pairing this gluten free pita with vibrant dips like hummus, baba ganoush, or a fresh tzatziki made with Greek yogurt enhances the overall meal. The soft pockets make perfect vessels for scooping and soaking up these flavorful sides.
Creative Ways to Present
Try stuffing your pita pockets with grilled veggies, falafel, or spiced chicken for a meal on-the-go. Or slice the pita into triangles, toast them lightly, and serve as gluten free pita chips alongside your favorite salsa or guacamole.
Make Ahead and Storage
Storing Leftovers
Store leftover pita breads in an airtight container or sealed plastic bag at room temperature for up to 2 days. This keeps them soft and ready to enjoy without drying out.
Freezing
If you want to keep them longer, stack the pitas with parchment paper between each and freeze in a sealed bag for up to 3 months. This way, you can enjoy fresh pita anytime without extra prep.
Reheating
Reheat by wrapping the pitas in a damp paper towel and microwaving for 15-20 seconds or warming them briefly in a hot skillet. This restores softness and revives that lovely freshly-baked texture.
FAQs
Can I use a different flour blend?
Yes, but for best results, choose a gluten free all-purpose blend that includes xanthan gum or add it separately to achieve the best texture and elasticity in your pita bread.
Is olive oil necessary, or can I substitute it?
Olive oil provides moisture and flavor, but you can substitute it with another mild oil like avocado or vegetable oil. Just keep the quantity the same to maintain the dough’s tenderness.
Why does my gluten free pita not puff up?
If your pita isn’t puffing, it could be due to oven temperature being too low or dough not rolled evenly. Make sure your oven is fully preheated to 450°F and roll dough circles to around 1/4 inch thickness for the best puff.
Can I add herbs or spices to the dough?
Absolutely! Fresh herbs, garlic powder, or even a pinch of cumin can be mixed into the dough for a delightful flavor twist that complements your serving choices.
How long does it take to make this gluten free pita bread?
This recipe takes about 17 minutes from start to finish, making it a quick and satisfying choice when you want fresh bread without the wait.
Final Thoughts
There’s nothing quite like the joy of biting into warm, fresh pita bread that’s both gluten free and irresistibly soft. This Gluten Free Pita Bread: 5 Secrets to Perfect Texture Recipe shows how simple ingredients and a few heartfelt techniques come together to create something truly special. Whether you’re new to gluten free baking or a seasoned pro, this recipe invites you to bring that perfect pocket bread to your table time and again.
Print
Gluten Free Pita Bread: 5 Secrets to Perfect Texture Recipe
- Prep Time: 7 minutes
- Cook Time: 7 minutes
- Total Time: 14 minutes
- Yield: 4 pita breads
- Category: Bread
- Method: Baking
- Cuisine: Mediterranean
- Diet: Gluten Free
Description
This Gluten Free Pita Bread recipe delivers soft, fluffy pita pockets with a perfect texture, ideal for those avoiding gluten. Made with simple ingredients and baked quickly, these pitas are perfect for sandwiches, dips, or as a side.
Ingredients
Dry Ingredients
- 1 cup gluten free all-purpose flour
- 1 teaspoon baking powder
- 1/2 teaspoon salt
Wet Ingredients
- 1 tablespoon olive oil
- 1/2 cup warm water
Instructions
- Preheat the Oven: Begin by preheating your oven to 450°F (230°C) to ensure it reaches the optimal high temperature for baking the pita bread perfectly.
- Mix Dry Ingredients: In a mixing bowl, combine gluten free all-purpose flour, baking powder, and salt. Stir these together to distribute the leavening and seasoning evenly.
- Add Wet Ingredients: Pour in the olive oil and warm water into the dry mixture. Stir until a cohesive dough forms.
- Knead the Dough: Transfer the dough onto a lightly floured surface and knead it gently for several minutes until it becomes smooth and elastic but not sticky.
- Divide and Shape: Cut the dough into four equal portions. Roll each piece into a circular shape about 1/4 inch thick to form pita rounds.
- Arrange on Baking Sheet: Place the rolled-out dough circles onto a baking sheet lined with parchment paper or lightly greased to prevent sticking.
- Bake the Pitas: Bake in the preheated oven for 5 to 7 minutes, or until the pitas puff up and develop a light golden color on the surface.
- Cool and Serve: Remove the pitas from the oven. Allow them to cool slightly to set their shape before serving them warm with your favorite fillings or dips.
Notes
- Make sure the water is warm, not hot, to help activate the baking powder without killing it.
- Use gluten free all-purpose flour that contains xanthan gum or add 1/4 teaspoon if your blend lacks it for better elasticity.
- Rolling the pitas evenly ensures proper puffing in the oven.
- Serve fresh for the best texture, but pita bread can be stored wrapped in foil for up to 2 days.
- If the dough is sticky, lightly flour your hands and work surface to manage handling.


