
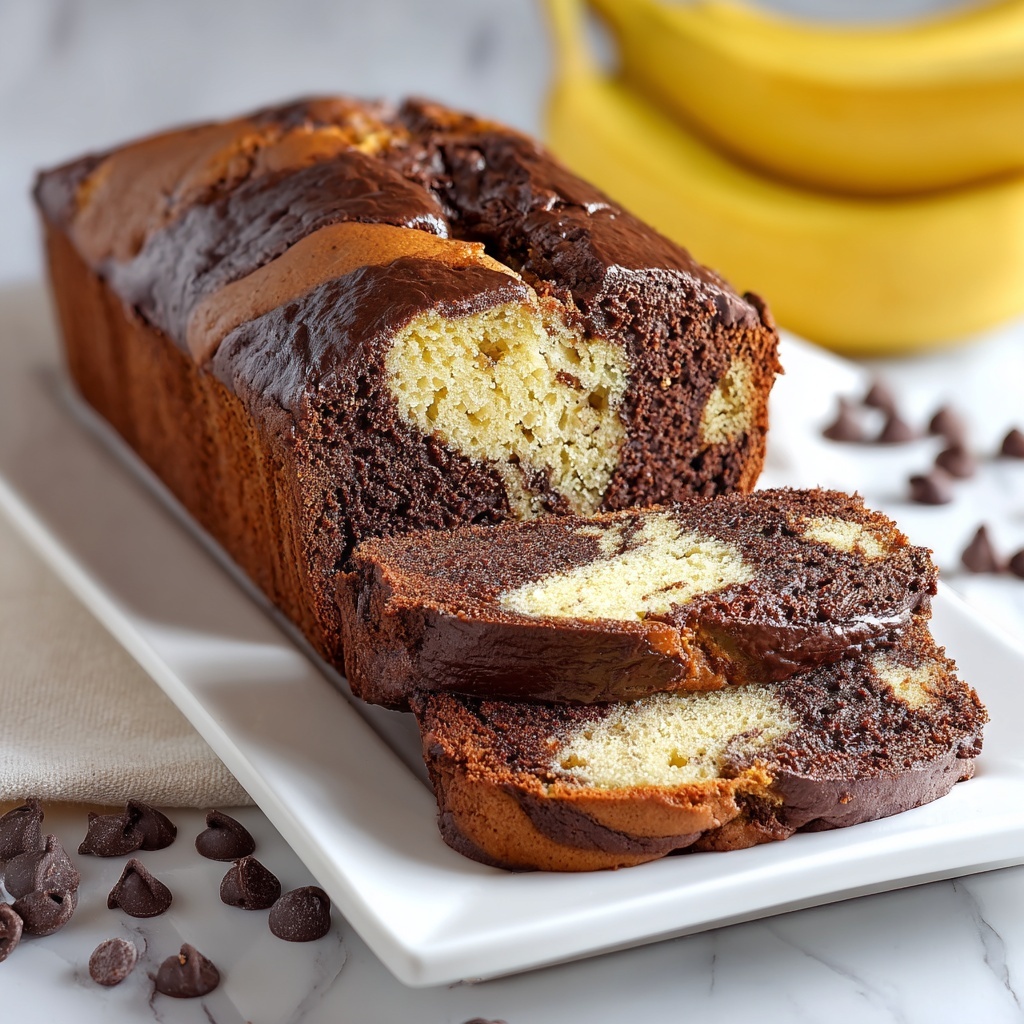
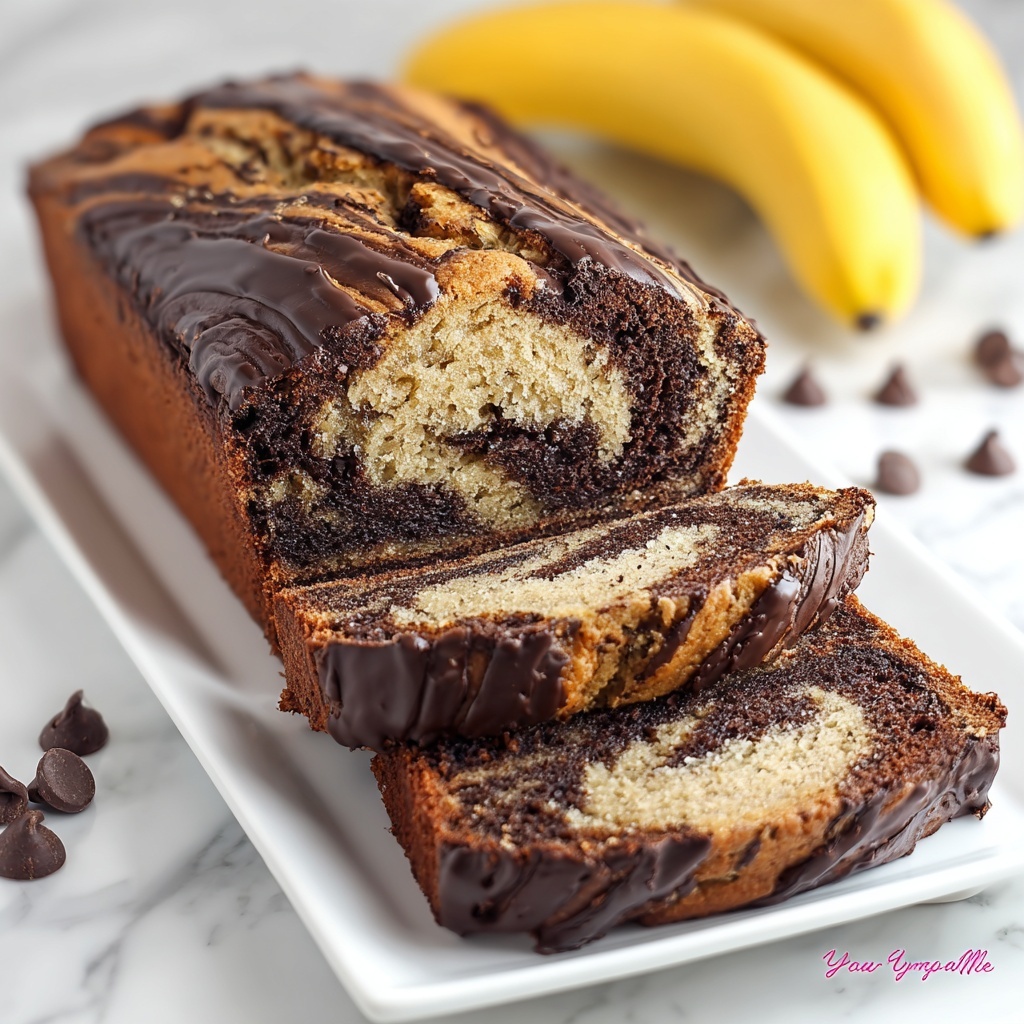
If you’ve ever wished for a homemade treat that’s both comforting and a little decadent, you’re going to fall in love with this Chocolate Marble Banana Bread Recipe. Imagine the warm aroma of ripe bananas mingling with rich cocoa and melted chocolate, all wrapped up in a moist, tender loaf that’s as visually stunning as it is delicious. This recipe strikes the perfect balance between fruity sweetness and chocolatey goodness, making it an absolute crowd-pleaser whether for breakfast, an afternoon snack, or dessert. Trust me, once you try this Chocolate Marble Banana Bread Recipe, it’ll quickly become your go-to for cozy, homemade indulgence.
Ingredients You’ll Need
The magic behind this Chocolate Marble Banana Bread Recipe lies in its simple, yet perfectly balanced ingredients. Each one plays a crucial role in creating that moist texture, rich flavor, and beautiful swirl you’ve been dreaming about.
- 1 1/2 cups all-purpose flour: Provides the structure to give your bread that perfect crumb.
- 1 tsp baking soda: Acts as a leavening agent to help the bread rise beautifully.
- 1/2 tsp salt: Enhances all the flavors and balances the sweetness.
- 1/2 cup unsalted butter, softened: Adds richness and keeps the loaf tender.
- 3/4 cup granulated sugar: Sweetens the batter just right without overpowering.
- 2 large eggs: Bind everything together and add moisture and structure.
- 1 cup mashed ripe bananas: Provides natural sweetness and lovely banana flavor.
- 1/4 cup sour cream: Keeps the bread extra moist and adds a subtle tang.
- 1 tsp vanilla extract: Deepens the overall flavor with warm, fragrant notes.
- 1/4 cup unsweetened cocoa powder: Brings that rich chocolate element with no added sweetness.
- 1/4 cup semi-sweet chocolate chips: Melts throughout to create gooey pockets of chocolate bliss.
How to Make Chocolate Marble Banana Bread Recipe
Step 1: Prepare Your Oven and Pan
Start by preheating your oven to 350°F (175°C) and greasing a 9×5-inch loaf pan. This ensures that your bread will bake evenly and come out cleanly when it’s done.
Step 2: Whisk Dry Ingredients
In a medium bowl, whisk together the all-purpose flour, baking soda, and salt. This step evenly distributes the leavening agent and salt, which is key to a consistent texture in your bread.
Step 3: Cream Butter and Sugar, Then Add Eggs and Wet Ingredients
In a large bowl, beat the softened butter and sugar together until the mixture is light and fluffy—this introduces air into the batter for a tender crumb. Next, add the eggs one at a time, making sure each is fully incorporated before adding the next. Stir in the mashed bananas, sour cream, and vanilla extract, which work their magic to keep the bread moist and flavorful.
Step 4: Combine Wet and Dry Ingredients
Gradually fold the dry ingredients into the wet mixture, taking care to mix only until just combined. Overmixing can lead to a dense texture, so gentle folding will keep your bread light and tender.
Step 5: Create the Chocolate Batter
Divide your banana batter in half. To one portion, gently fold in the unsweetened cocoa powder and semi-sweet chocolate chips. This chocolate layer is where the deep, luscious flavor and those delightful chocolatey pockets come from.
Step 6: Marble the Batter
Alternate spoonfuls of the plain banana batter and the chocolate batter into your prepared loaf pan. Then, using a knife, swirl them together to create that gorgeous marbled effect. This not only looks beautiful but ensures every slice has the perfect balance of chocolate and banana flavors.
Step 7: Bake to Perfection
Bake your loaf for 50 to 60 minutes, or until an inserted toothpick comes out clean (a few moist crumbs are okay, but no wet batter). The aroma filling your kitchen at this stage will be simply irresistible!
Step 8: Cool and Enjoy
Let the bread cool in the pan for about 10 minutes before transferring it onto a wire rack to cool completely. Cooling helps the bread to set so slices hold their shape beautifully when cut.
How to Serve Chocolate Marble Banana Bread Recipe
Garnishes
A light dusting of powdered sugar adds a touch of elegance to your Chocolate Marble Banana Bread Recipe. If you want to step it up, drizzle on a little melted chocolate or spread a thin layer of cream cheese frosting for an extra indulgent twist.
Side Dishes
Serve your slices alongside a scoop of vanilla ice cream or a dollop of fresh whipped cream for a dessert sweet escape. For breakfast, this bread pairs wonderfully with a cup of coffee or a glass of cold milk—comfort in every bite.
Creative Ways to Present
Try cutting the bread into small cubes and serving them as part of a dessert platter with fresh fruit and nuts. Alternatively, toast slices lightly and spread with nut butter and a sprinkle of sea salt for a delightful snack that combines salty, sweet, and chocolate flavors.
Make Ahead and Storage
Storing Leftovers
Wrap any leftover slices tightly in plastic wrap or store them in an airtight container at room temperature. Your Chocolate Marble Banana Bread Recipe will stay fresh for up to three days, making it the perfect make-ahead treat.
Freezing
You can freeze the bread to extend its shelf life. Wrap the whole loaf or individual slices in plastic wrap and then place in a freezer-safe bag. It will keep well for up to three months and thaw beautifully when ready to enjoy.
Reheating
To bring back that freshly baked warmth, reheat slices in a toaster oven or microwave for about 20 seconds. This revives the soft texture and melts the chocolate chips slightly, creating an irresistible melting moment.
FAQs
Can I use overripe bananas for this recipe?
Absolutely! Overripe bananas are perfect for the Chocolate Marble Banana Bread Recipe because they are sweeter and easier to mash, adding maximum flavor and moisture to your bread.
What type of cocoa powder should I use?
Use unsweetened cocoa powder for the best balance of chocolate flavor without extra sweetness. It blends beautifully with the bananas and sugar in the recipe.
Can I substitute sour cream with something else?
Yes! You can replace sour cream with Greek yogurt or buttermilk in equal amounts. Both options will maintain moisture and add a lovely tang to the bread.
How do I ensure the marbling effect turns out well?
Divide the batter equally and gently swirl with a knife after layering into the pan. Avoid over-mixing to keep clear, defined swirls of banana and chocolate batter.
Is this bread suitable for freezing and later slicing?
Definitely. Freeze the loaf whole or slice it before freezing. When ready, thaw slices individually or the entire loaf in the fridge or at room temperature for convenient, tasty treats anytime.
Final Thoughts
This Chocolate Marble Banana Bread Recipe is truly a delightful treat that combines the comforting flavor of banana bread with the irresistible twist of chocolate. Whether you’re an experienced baker or trying your hand at something new, this recipe is simple, satisfying, and absolutely worth every minute. Bake a loaf, share a slice, and enjoy all the smiles that come with every bite!
Print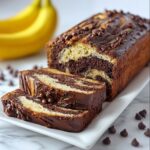
Chocolate Marble Banana Bread Recipe
- Prep Time: 15 minutes
- Cook Time: 55 minutes
- Total Time: 1 hour 10 minutes
- Yield: 10 servings
- Category: Dessert
- Method: Baking
- Cuisine: American
Description
This Chocolate Marble Banana Bread recipe combines the natural sweetness of ripe bananas with rich cocoa and chocolate chips for a delightful marbled effect. Perfectly moist and tender, this loaf is a delicious twist on classic banana bread, ideal for breakfast, snacks, or dessert.
Ingredients
Dry Ingredients
- 1 1/2 cups all-purpose flour
- 1 tsp baking soda
- 1/2 tsp salt
Wet Ingredients
- 1/2 cup unsalted butter, softened
- 3/4 cup granulated sugar
- 2 large eggs
- 1 cup mashed ripe bananas (about 2–3 medium bananas)
- 1/4 cup sour cream
- 1 tsp vanilla extract
Chocolate Mixture
- 1/4 cup unsweetened cocoa powder
- 1/4 cup semi-sweet chocolate chips
Instructions
- Preheat and prepare pan. Preheat your oven to 350°F (175°C) and grease a 9×5-inch loaf pan to prevent sticking.
- Mix dry ingredients. In a medium bowl, whisk together the all-purpose flour, baking soda, and salt until evenly combined.
- Cream butter and sugar. In a large bowl, cream the softened unsalted butter and granulated sugar together until light and fluffy to create a smooth base for your batter.
- Add eggs and banana mixture. Beat the eggs into the butter and sugar mixture one at a time, followed by folding in the mashed ripe bananas, sour cream, and vanilla extract, ensuring all ingredients are well incorporated.
- Combine wet and dry ingredients. Gradually add the dry ingredients to the wet ingredients, mixing gently until just combined to avoid overmixing, which can make the bread dense.
- Prepare chocolate batter. Divide the batter into two halves. In one half, fold in the unsweetened cocoa powder and semi-sweet chocolate chips evenly.
- Create marble effect. Spoon alternating layers of plain banana batter and chocolate batter into the prepared loaf pan. Use a knife to gently swirl the batters together creating a beautiful marbled pattern.
- Bake. Bake the loaf in the preheated oven for 50-60 minutes, or until a toothpick inserted in the center comes out clean, indicating the bread is fully cooked.
- Cool before serving. Allow the bread to cool in the pan for 10 minutes, then transfer it to a wire rack to cool completely before slicing for best texture and flavor.
Notes
- Use ripe bananas with brown spots for the best natural sweetness and moisture.
- Do not overmix the batter to keep the bread tender and avoid a dense texture.
- Check the bread at 50 minutes to avoid overbaking, as ovens vary.
- For a dairy-free version, substitute butter and sour cream with nondairy alternatives.
- The marbling can be adjusted by swirling less or more for different aesthetic effects.
