
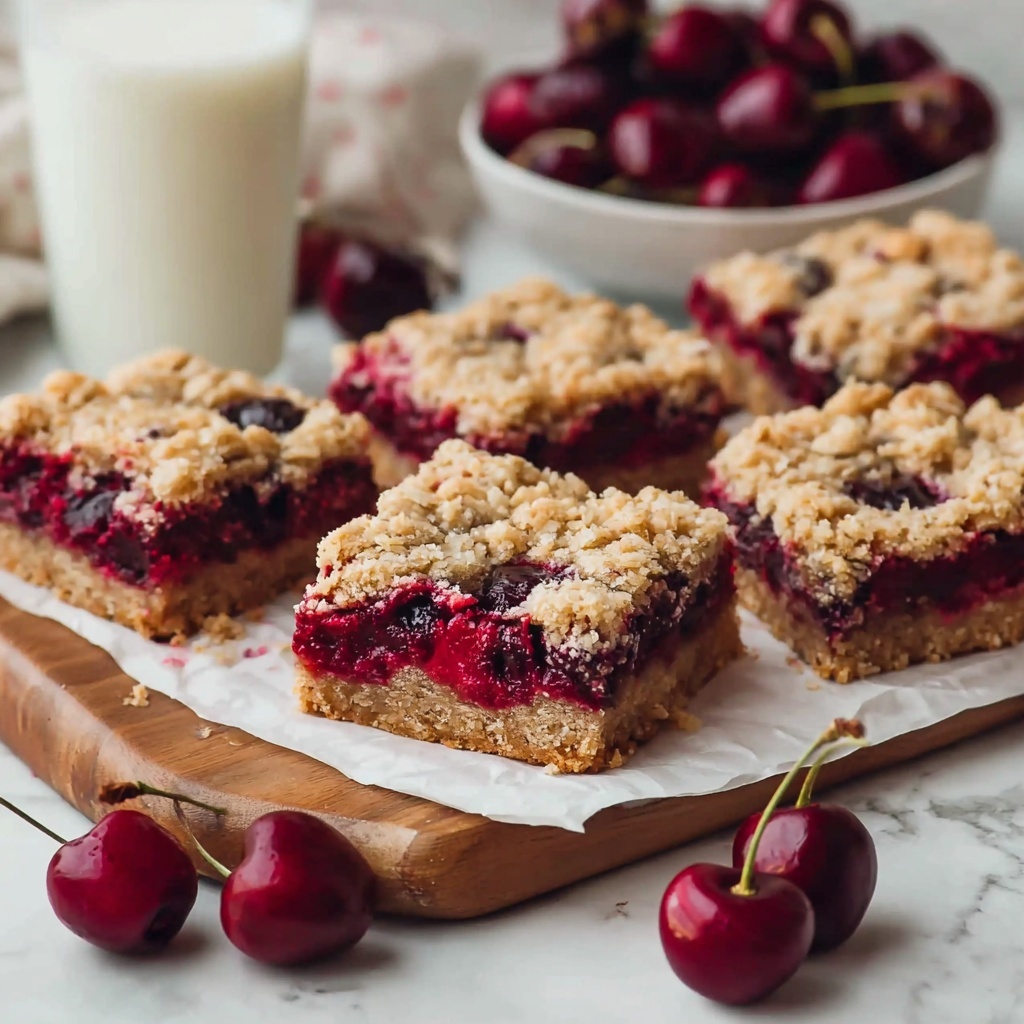
If you’re looking for a dessert that balances fruity freshness with delightfully crunchy textures, this Cherry Crumble Bars Recipe is an absolute winner. Imagine juicy cherries hugged by a tender, buttery oat crumble that creates the perfect harmony of sweet and tart in every bite. These bars come together with simple pantry staples and deliver a crowd-pleasing treat that feels both homey and special. Whether it’s for an afternoon snack, a potluck dessert, or just a way to brighten your day, this recipe is one you’ll return to again and again.
Ingredients You’ll Need
The beauty of this Cherry Crumble Bars Recipe lies in its straightforward ingredients. Each component plays a vital role: the cherries bring juicy tartness, the oats add a hearty, chewy texture, and the brown sugar with butter creates that irresistible golden crumble crust. These ingredients are easy to find and come together beautifully to make a dessert that’s comforting yet elegant.
- Cherries (2 cups, pitted and quartered): Fresh cherries bring natural sweetness and vibrant color to the filling.
- Granulated sugar (2 tablespoons): Adds just the right amount of sweetness to balance the tart cherries.
- All-purpose flour (3/4 cup plus 2 tablespoons): Provides structure to both the crumble topping and the cherry filling.
- Vanilla or almond extract (1/2 teaspoon): Infuses a subtle, warm flavor that enhances the cherry’s natural taste.
- Old-fashioned rolled oats (1 cup): Give the crumble a hearty texture and whole-grain richness.
- Brown sugar (1/2 cup): Adds moisture and a deep caramel-like sweetness to the topping.
- Salt (1/4 teaspoon): Balances the sweetness and intensifies flavors.
- Salted butter (6 tablespoons, melted): Binds the crumble topping together and adds buttery richness.
How to Make Cherry Crumble Bars Recipe
Step 1: Prep Oven & Pan
Start by heating your oven to 375°F (190°C) to get it ready while you prepare the ingredients. Lining an 8-inch square baking pan with parchment paper is a great trick. It not only keeps things non-stick but also makes lifting out those beautiful bars a breeze after baking.
Step 2: Make Cherry Filling
In a medium bowl, toss the cherries with granulated sugar, flour, and your choice of vanilla or almond extract. This simple mix is where the magic begins, as the sugar pulls juice from the cherries, and the flour thickens everything up during baking. Letting it sit a moment brings out the flavors and sets up a nice, jammy center.
Step 3: Prepare Crumble Topping
In another bowl, combine rolled oats, flour, brown sugar, and salt. Pour the melted butter over this dry mix and stir well until the oats and sugar are fully coated and no dry pockets remain. This mixture will form both your crust and crumbly topping, giving every bite a perfect balance of crunch and chewiness.
Step 4: Assemble Bars
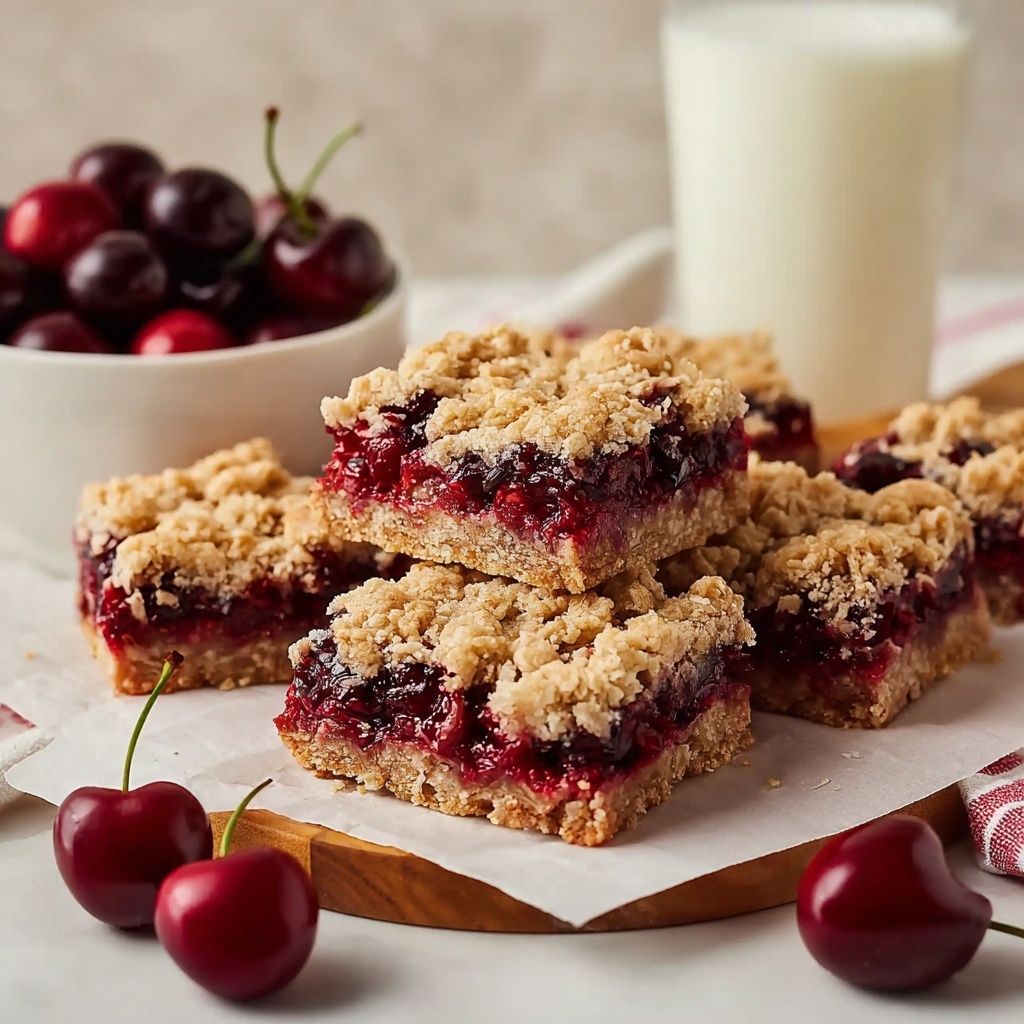
Press about two-thirds of the crumble mixture into the bottom of your prepared pan to create the base. Then spread the cherry filling evenly over it, making sure it reaches all the corners. Finally, sprinkle the remaining crumble mixture on top for that signature golden finish you’ll love. This layering ensures every bar has the perfect amount of fruit and crumb.
Step 5: Bake
Pop the pan in the oven and bake for approximately 20 minutes. You’ll know it’s ready when the topping is a light golden brown and the cherry filling is bubbling around the edges. This signals that the fruit is perfectly cooked and the crumble has crisped up beautifully.
Step 6: Cool & Serve
Patience is key here. Allow the bars to cool in the pan for at least 20 minutes to let everything set up properly. Then cut into 16 bars and serve. These bars shine equally well warm or at room temperature, perfect for snacking anytime.
How to Serve Cherry Crumble Bars Recipe
Garnishes
A simple dusting of powdered sugar adds a pretty, snowy touch and a hint of extra sweetness. For a more indulgent approach, a dollop of freshly whipped cream or a scoop of vanilla ice cream pairs wonderfully with the warm bars, enhancing the buttery and fruity flavors.
Side Dishes
These bars are fantastic on their own but can be part of a lovely dessert spread. Serve them alongside fresh berries or a light citrus salad to complement the sweetness with bright, fresh notes. A cup of tea or a glass of chilled milk rounds out the experience beautifully.
Creative Ways to Present
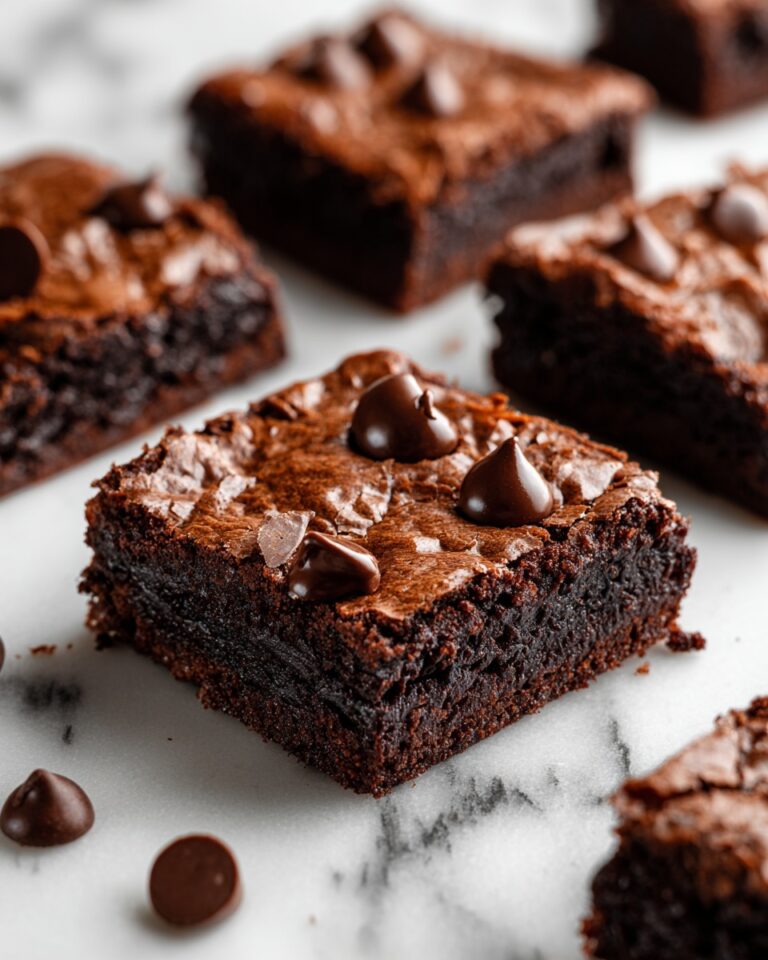
Want to impress at your next gathering? Serve the bars on a quaint wooden board or colorful ceramic platter for a rustic look. Layer a few bars in clear glass jars for charming picnic treats or lunchbox surprises. You might even drizzle melted chocolate over the top for an elegant twist.
Make Ahead and Storage
Storing Leftovers
Once cooled completely, keep leftover bars stored in an airtight container at room temperature for up to two days. They maintain their texture beautifully without drying out too quickly.
Freezing
Cherry Crumble Bars Recipe also freezes wonderfully. Wrap individual bars tightly in plastic wrap and place them in a freezer-safe container or bag. They will stay fresh for up to three months and are perfect for making ahead of time.
Reheating
To enjoy these bars warm after refrigeration or freezing, gently reheat in a low oven (about 300°F/150°C) for 10-15 minutes. The crumble topping will regain its crispness, and the filling will soften again, delivering that fresh-baked charm.
FAQs
Can I use frozen cherries for this recipe?
Absolutely! Frozen cherries work perfectly; just make sure to thaw and drain any excess liquid before mixing with the sugar and flour to avoid a soggy crust.
What can I substitute for almond extract?
If almond extract isn’t your favorite, vanilla extract is a great alternative that pairs wonderfully with cherry. You could also try a splash of lemon juice for a citrus twist.
Can I make this recipe gluten-free?
Yes! Use gluten-free oats and a gluten-free all-purpose flour blend instead of regular flour to keep the crumble both delicious and safe for gluten sensitivity.
How do I ensure the bars don’t turn out soggy?
Pressing the crumble firmly for the base layer and making sure to toss the cherry filling with flour helps absorb excess moisture. Also, letting the bars cool completely before slicing gives the filling time to set.
Are these bars suitable for meal prep or lunchboxes?
Definitely. They hold up well at room temperature and provide a tasty, wholesome treat that can brighten up any lunchbox or snack time.
Final Thoughts
There’s something truly special about homemade bars that combine fresh fruit with a buttery crumble, and this Cherry Crumble Bars Recipe hits that spot perfectly. It’s easy enough to whip up on a whim but impressive enough to share with friends and family. I hope you have as much fun baking and enjoying these bars as I do every time. Give them a try soon—you might just find your new favorite dessert!
Print
Cherry Crumble Bars Recipe
- Prep Time: 10 minutes
- Cook Time: 20 minutes
- Total Time: 35 minutes
- Yield: 16 bars
- Category: Dessert
- Method: Baking
- Cuisine: American
Description
Delight in these Cherry Crumble Bars featuring a luscious cherry filling sandwiched between layers of buttery oat crumble. Perfectly balanced with a touch of vanilla or almond extract, these bars bake to golden perfection, offering a satisfying sweet treat ideal for any occasion.
Ingredients
Cherry Filling
- 2 cups (300 g) cherries, pitted and quartered (about 60 cherries)
- 2 tablespoons (25 g) granulated sugar
- 2 tablespoons (16 g) all-purpose flour
- 1/2 teaspoon vanilla or almond extract
Crumble Topping and Base
- 1 cup (100 g) old-fashioned rolled oats
- 3/4 cup (90 g) all-purpose flour
- 1/2 cup (105 g) brown sugar
- 1/4 teaspoon salt
- 6 tablespoons (85 g) salted butter, melted
Instructions
- Prep Oven & Pan: Preheat your oven to 375°F (190°C). Line an 8-inch (20 cm) square baking pan with parchment paper for easy removal after baking, or lightly grease the pan if preferred.
- Make Cherry Filling: In a medium bowl, combine the pitted and quartered cherries, granulated sugar, all-purpose flour, and your choice of vanilla or almond extract. Stir gently to mix well and set aside to allow the flavors to meld while preparing the crumble.
- Prepare Crumble Topping: In a separate medium bowl, mix the old-fashioned rolled oats, all-purpose flour, brown sugar, and salt. Pour the melted salted butter over the dry ingredients and stir thoroughly until all the mixture is moistened and no dry clumps remain, creating a crumbly, combined texture.
- Assemble Bars: Press about two-thirds of the crumble mixture firmly into the bottom of your prepared baking pan to form an even base layer. Spoon the cherry filling evenly over the crumble base, spreading it out to cover the entire surface. Finally, sprinkle the remaining crumble mixture evenly on top of the cherry layer to create the topping.
- Bake: Place the baking pan in the preheated oven and bake for about 20 minutes. Bake until the crumble topping turns lightly golden and the cherry filling bubbles around the edges, indicating it is cooked through.
- Cool & Serve: Remove the bars from the oven and allow them to cool in the pan for at least 20 minutes. Once cooled, use the parchment paper to lift the bars out of the pan and cut them into 16 equal pieces. Serve warm or at room temperature for a delicious treat.
Notes
- For easier cleanup and removal, lining the pan with parchment paper is recommended.
- If fresh cherries are unavailable, frozen cherries can be used but make sure to thaw and drain excess liquid to prevent a soggy filling.
- Adjust sugar quantities according to the tartness of your cherries for a sweeter or more tart bar.
- To make these bars dairy-free, substitute the salted butter with a plant-based butter alternative.
- These bars can be stored in an airtight container at room temperature for up to 3 days or refrigerated for up to a week.

