
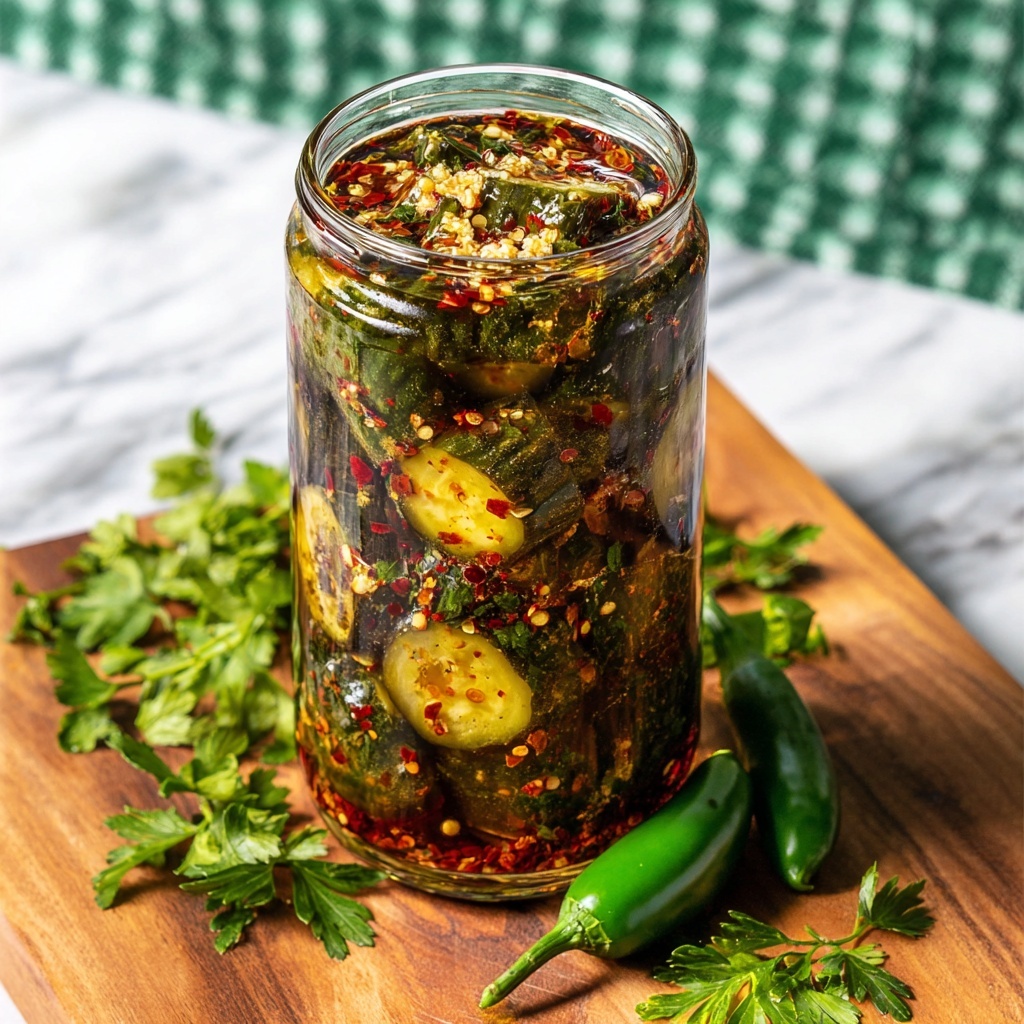
If you love pickles with a bold twist, then you are going to absolutely adore this Sweet Heat Pickles Recipe. It perfectly balances the refreshing crunch of classic dill pickles with a dazzling combination of sweet sugar and fiery spices, creating a flavor explosion that dances on your tongue. Whether you’re a fan of a little spice or crave something exciting to brighten up your snacks and meals, this recipe is your new go-to. Let’s dive into what makes these pickles so irresistible and easy to make in your own kitchen!
Ingredients You’ll Need
The beauty of this Sweet Heat Pickles Recipe is how straightforward the ingredients are, yet each one plays an essential role in delivering that perfect harmony of sweet, spicy, and savory flavors. From tangy dill pickles to the punch of garlic and the kick of jalapeño, these ingredients come together effortlessly.
- 1 large jar (about 46 oz) plain Dill pickles: The star of the dish, offering a crisp, vinegary crunch that is the perfect base.
- 2 cups sugar: Sweetens the pickles and helps mellow the heat while creating a glossy coating.
- 6 cloves garlic – minced: Adds a pungent kick and aromatic depth that enhances every bite.
- 2 teaspoons fresh jalapeño – chopped (adjust for heat): Brings vibrant, fresh heat that wakes up the taste buds.
- 2 teaspoons red pepper flakes: Offers a steady, warming spice throughout the pickles.
- 2 teaspoons parsley – chopped: Adds a fresh, herbaceous note and a pop of bright green color.
How to Make Sweet Heat Pickles Recipe
Step 1: Prepare Your Pickles
Start by draining your jar of dill pickles, making sure to discard the briny juice—it won’t be needed here. Keep that jar handy because you will store the finished sweet heat pickles in it. Slice the pickles into about 1/4 to 1/2 inch thickness; this size is ideal for soaking up all the flavors without losing that satisfying crunch.
Step 2: Layer with Love
Grab a larger jar or container for the layering process. Begin with about one and a half cups of the sliced pickles and then sprinkle half a cup of sugar on top. Follow that with two cloves of minced or sliced garlic, half a teaspoon of red pepper flakes, and half a teaspoon of chopped jalapeño. These layers will create beautiful flavor pockets throughout the jar.
Step 3: Repeat and Top It Off
Continue layering in the same order—pickle slices, sugar, garlic, red pepper flakes, and jalapeño—until all your pickles are in the jar. Pour any remaining sugar on top to ensure no sweetness is left behind. This step guarantees every bite is vibrant and full of flavor.
Step 4: Let the Magic Begin
Cover your jar and leave it on the counter for about an hour. This resting time allows the sugar to start liquefying, melding beautifully with the spicy elements to form a rich, syrupy coating that clings to every pickle chip.
Step 5: Mix and Marinate
After the hour is up, give the pickles a good stir or shake to mix everything well. Make sure to lift any sugar sitting at the bottom so it dissolves fully. This step makes all the layers unite, infusing each pickle slice with sweet heat goodness.
Step 6: Chill and Intensify
Place the covered jar back on the counter for a few more hours or ideally overnight. This longer marinating time allows the flavors to deepen and develop rich complexity. Then stir again, cover, and move the pickles to the refrigerator for one to two days before serving. Patience here totally pays off!
How to Serve Sweet Heat Pickles Recipe
Garnishes
Sprinkle a little extra chopped fresh parsley on top right before serving to enhance the vibrant green color and add a fresh herbal brightness. You could even add thin slices of fresh jalapeño on the side for those who like to crank up the heat at the table.
Side Dishes
These sweet heat pickles pair wonderfully with classic barbecue meals like ribs, pulled pork sandwiches, or grilled chicken. Their crisp, spicy-sweet kick also makes them a fantastic side alongside cheese boards, burgers, or even fried foods where they cut through richness perfectly.
Creative Ways to Present
Take your Sweet Heat Pickles Recipe to picnic or potluck in a pretty glass jar with a colorful cloth tied around the lid. You can also use them as an unexpected topping for tacos or as a zesty ingredient tossed into potato salads for an exciting flavor twist.
Make Ahead and Storage
Storing Leftovers
Once prepared, these pickles keep beautifully in the refrigerator for up to two weeks. Just ensure the jar is tightly sealed to maintain freshness and flavor intensity. The longer they sit, the better they taste as the flavors continue to meld and mature.
Freezing
Freezing is not recommended for this Sweet Heat Pickles Recipe because the texture of the pickles will become soft and lose their satisfying crunch once thawed. It’s best to enjoy them fresh from the fridge within the recommended timeframe.
Reheating
Since these pickles shine in their cold, crisp state, reheating is unnecessary. They are perfect chilled straight from the fridge, delivering that crisp bite and bold flavor you want in every mouthful.
FAQs
Can I adjust the spice level in this Sweet Heat Pickles Recipe?
Absolutely! The jalapeños and red pepper flakes are easy to tweak based on your heat tolerance. For milder pickles, reduce or omit the jalapeños and red pepper flakes. If you love spice, consider adding a bit more or even including a few slices of hotter peppers.
What types of pickles work best for this recipe?
Plain dill pickles are ideal because their tangy, crisp base complements the sweet and spicy additions perfectly. Avoid pickles that are flavored or sweetened already, as they might clash with the recipe’s flavor balance.
How long does it take for the flavors to develop fully?
The recipe suggests letting the pickles marinate overnight and then chilling for another one to two days for the best flavor. This allows all the layers of sweet, heat, and garlic to combine into a harmonious delight.
Can I use fresh garlic instead of minced garlic?
Yes, fresh minced garlic is preferred for its strong aromatic quality, but you can slice garlic cloves if you prefer a milder garlic taste. Just ensure it’s chopped finely enough to distribute evenly.
Is this recipe suitable for canning or long-term storage?
This Sweet Heat Pickles Recipe is designed for short-term refrigeration and enjoyment rather than canning. Because it relies on sugar and fresh ingredients without preserving agents, it’s best eaten within two weeks.
Final Thoughts
There’s something truly special about homemade pickles that combine that perfect balance of sweet and spicy, and this Sweet Heat Pickles Recipe nails it every time. It’s simple, fun to make, and will elevate everything from casual snacking to your favorite meals. Whether you’re a pickle enthusiast or just looking to try something new and exciting, I can’t recommend this recipe enough. Grab your ingredients, get layering, and prepare for pickle perfection!
Print
Sweet Heat Pickles Recipe
- Prep Time: 15 minutes
- Cook Time: 0 minutes
- Total Time: 1 hour 10 minutes plus 1-2 days refrigeration
- Yield: 8 servings
- Category: Condiment
- Method: No-Cook
- Cuisine: American
Description
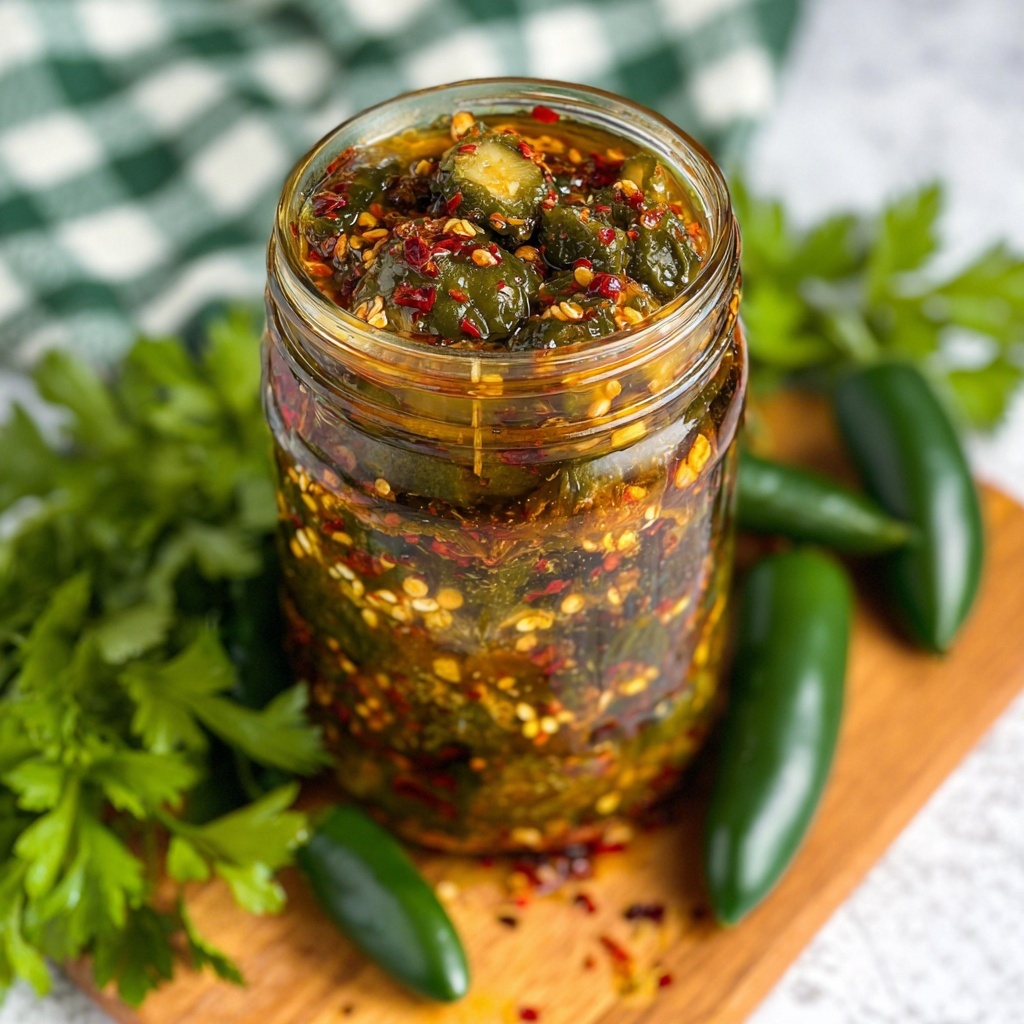
Sweet Heat Pickles combine the tangy crunch of dill pickles with a fiery blend of jalapeño, red pepper flakes, and garlic, sweetened with sugar for a perfect balance of sweet and spicy. This no-cook, quick-pickling recipe creates a flavorful snack or condiment that’s ready in just a few days.
Ingredients
Pickles
- 1 large jar (about 46 oz) plain Dill pickles
Spices and Sweeteners
- 2 cups sugar
- 6 cloves garlic – minced
- 2 teaspoons fresh jalapeño – chopped (adjust to heat preference)
- 2 teaspoons red pepper flakes
- 2 teaspoons parsley – chopped
Instructions
- Prepare Pickles: Drain pickles and discard the juice. Save the jar for later use. Slice the pickles into 1/4 to 1/2 inch thick pieces.
- Layer Ingredients: Begin layering the pickles into a larger jar by placing about 1 and 1/2 cups of pickles per layer. Top each layer with 1/2 cup sugar, 2 cloves of garlic sliced or chopped, 1/2 teaspoon red pepper flakes, and 1/2 teaspoon chopped jalapeño.
- Repeat Layers: Continue layering the pickles and toppings until all pickles are used, pouring any remaining sugar on top at the end.
- Initial Rest: Cover the jar and leave it on the counter for about an hour or until the sugar begins to liquify, drawing out flavors.
- Mix Pickles: Stir well or shake the jar to mix the pickles with the melted sugar, ensuring to pull any undissolved sugar from the bottom for even flavoring.
- Final Marination: Cover and leave the jar on the counter for several more hours or overnight to deepen the flavors. Afterward, stir and refrigerate for 1 to 2 more days before serving to allow flavors to fully meld.
Notes
- Adjust the amount of jalapeño and red pepper flakes to suit your heat preference.
- Using plain dill pickles provides the best flavor balance with the sweet and spicy elements.
- Allowing the pickles to marinate longer in the refrigerator enhances the flavor intensity.
- Keep the pickles refrigerated after the initial counter marination for safety and freshness.

