
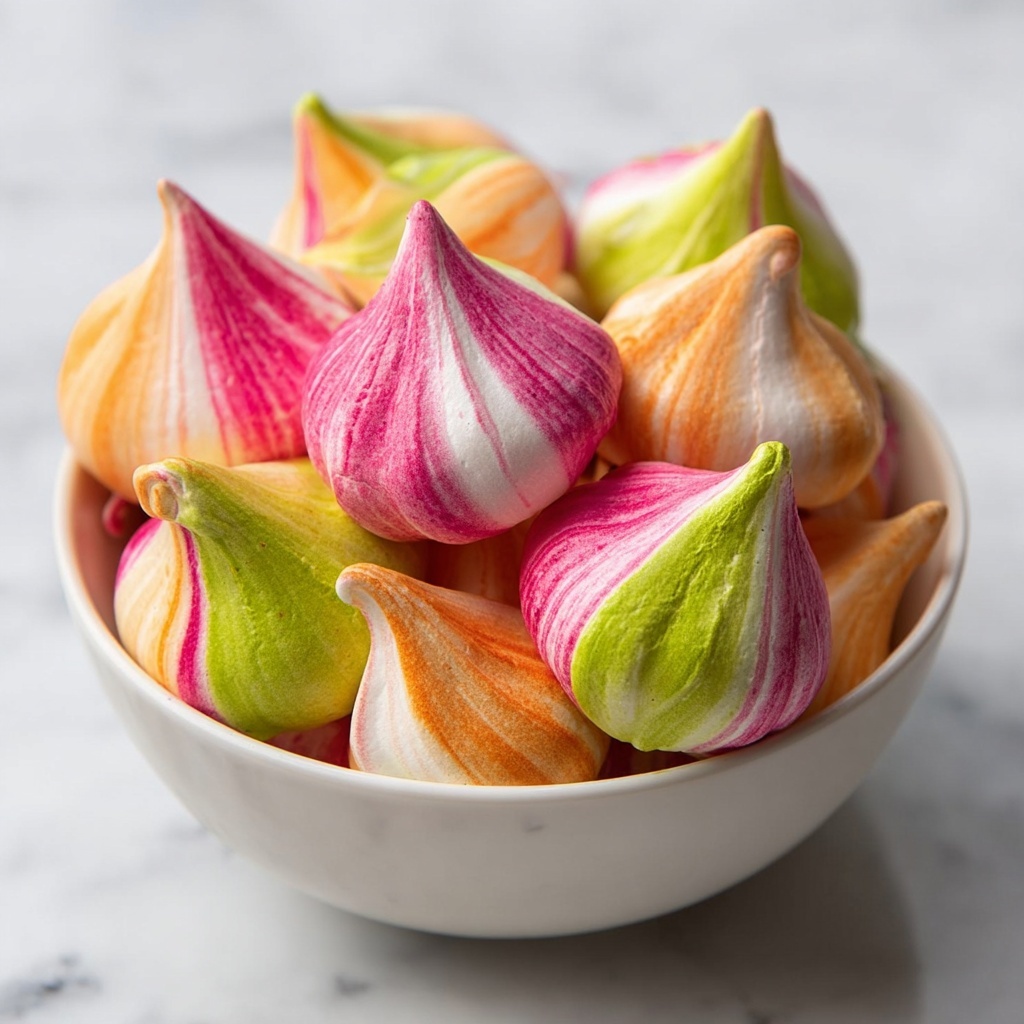
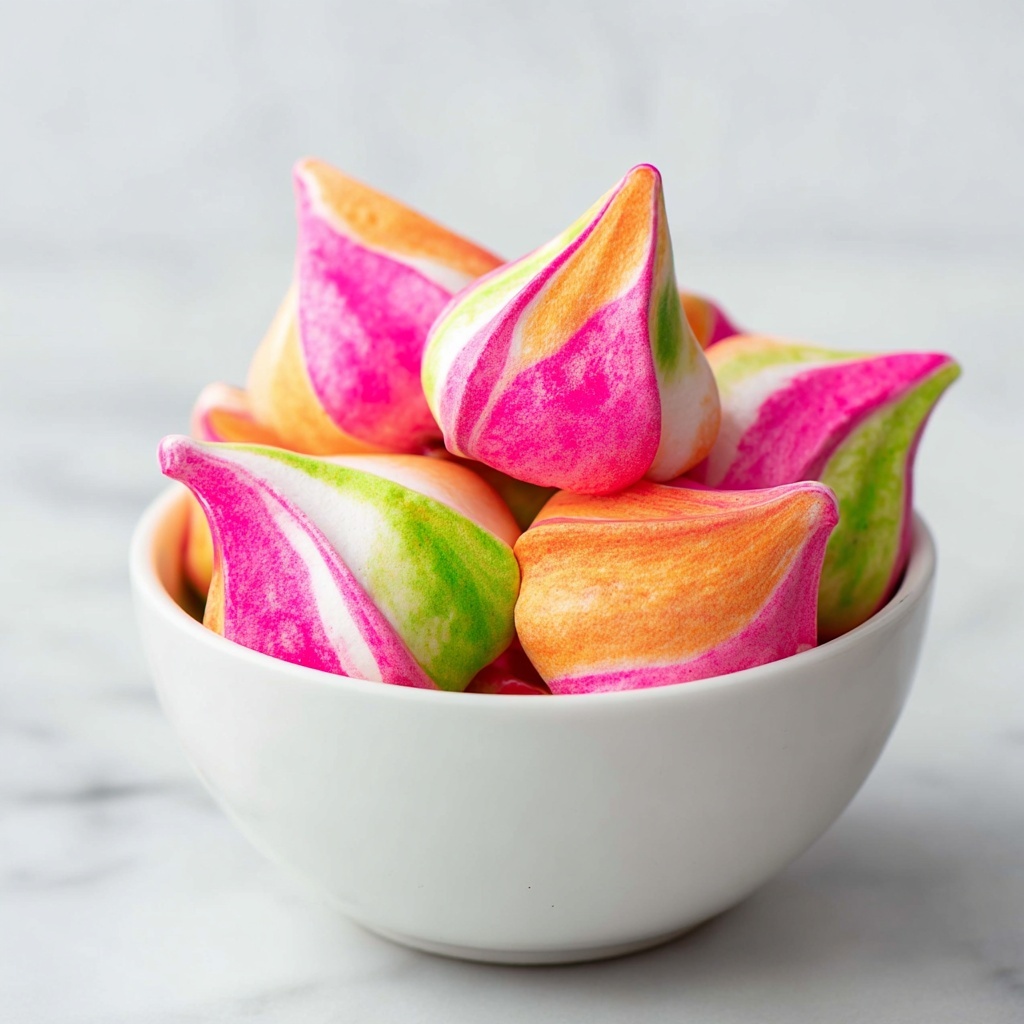
There is something utterly joyful about these bright, airy Rainbow Sherbet Meringues Recipe that just puts a smile on your face. Imagine biting into a crisp, melt-in-your-mouth cloud kissed with vivid sherbet-inspired colors that evoke summer afternoons and carefree gatherings. These delightful treats are not only a feast for your eyes but also deliver a delicate sweetness with every bite. If you’ve been searching for a show-stopping dessert to impress guests or simply brighten your day, this Rainbow Sherbet Meringues Recipe is your perfect go-to creation.
Ingredients You’ll Need
Getting started with the Rainbow Sherbet Meringues Recipe is a breeze thanks to its simple, pantry-friendly ingredients. Each component plays a vital role: egg whites for that light, airy structure; sugar for sweetness and gloss; cream of tartar to stabilize the meringue; and gel food coloring to bring the magical sherbet hues to life.
- 4 large egg whites (room temperature): The foundation of your meringue, ensuring maximum volume and fluffiness when whipped.
- 1 cup granulated sugar: Gradually folded in to add sweetness and create those glossy, stiff peaks.
- 1/4 teaspoon cream of tartar: A natural meringue stabilizer that helps maintain that perfect, airy texture.
- 1/2 teaspoon vanilla extract: Gives a subtle, comforting hint of warmth to complement the zingy sherbet colors.
- Gel food coloring in orange, pink, and green: These sherbet-inspired shades bring a fun and colorful twist without thinning the batter.
- Optional sherbet or sprinkles for garnish: To add an extra pop of flavor and festive flair when serving.
How to Make Rainbow Sherbet Meringues Recipe
Step 1: Prepare Your Oven and Equipment
Begin by preheating your oven to a low 200°F, which is essential for drying out the meringues without browning them. Line two baking sheets with parchment paper to prevent sticking and ensure perfect shapes when you pipe your colorful kisses onto the tray.
Step 2: Whip the Egg Whites
Using a clean, dry mixing bowl, beat the egg whites and cream of tartar on medium speed until soft peaks form. This means the mixture will hold a gentle curve when you lift the beaters. This is the critical starting point to building volume before adding your sugar.
Step 3: Add Sugar Gradually
Slowly add the sugar, a tablespoon at a time, while increasing the speed to high. Patience here ensures the sugar fully dissolves, resulting in stiff, glossy peaks that stand firm. Test by rubbing a pinch between your fingers—it should feel smooth, not gritty.
Step 4: Flavor the Meringue
Beat in the vanilla extract for a subtle aromatic touch that nicely balances the sweetness. This step enhances the indulgence without overpowering the sherbet colors.
Step 5: Color the Meringue
Carefully divide the meringue into three bowls. Tint each with a small amount of gel food coloring—pink, orange, and green—to mimic classic sherbet shades. Using gel colors is crucial to maintain the meringue’s perfect consistency.
Step 6: Create Your Sherbet Swirls
Gently spoon the colored meringues into a single piping bag, layering the different shades side by side. Avoid mixing them too much; you want those beautiful, distinct swirls to show when piped. The effect is like painting with dessert!
Step 7: Pipe and Bake
Pipe meringue kisses or swirls onto your prepared baking sheets, spacing them about an inch apart to allow air circulation. Bake for 1 hour and 30 minutes to dry them out perfectly. Then turn off the oven but leave the meringues inside with the door closed for another hour—the slow drying ensures those crisp exteriors with tender centers.
How to Serve Rainbow Sherbet Meringues Recipe
Garnishes
When it comes to garnishing, a tiny scoop of sherbet atop each meringue adds a delightful contrast of cold creaminess against the airy sweetness. Sprinkles in coordinating pastel shades or edible glitter also make for a festive and eye-catching presentation that’s perfect for celebrations.
Side Dishes
Pair your Rainbow Sherbet Meringues with fresh fruit salad or a light whipped cream for a refreshing combo. These meringues also complement a simple scoop of vanilla ice cream, combining textural fun and flavor harmony that feels like summer every time.
Creative Ways to Present
Presentation is half the joy here. Arrange the meringues in a colorful pyramid on a cake stand or scatter them atop a pavlova dessert for added whimsy. Layer them between thin sheets of fruit-flavored jelly for a stunning, multi-textured treat that dazzles guests and kids alike.
Make Ahead and Storage
Storing Leftovers
Rainbow Sherbet Meringues store wonderfully in an airtight container at room temperature for up to a week. This way, their crispness stays intact and you can enjoy their bright colors and light texture anytime.
Freezing
Want to keep them longer? Freeze the meringues in a single layer on a baking tray before transferring them to a sealed bag or container. When ready to enjoy, simply thaw at room temperature for about an hour without losing any of their charm or crunch.
Reheating
Since meringues are best served crisp, avoid reheating in the microwave. If you prefer a freshly crisp bite, pop them in a low oven (about 200°F) for 5 to 10 minutes to gently refresh their texture, but be careful not to burn their delicate edges.
FAQs
Can I use liquid food coloring instead of gel for this recipe?
It’s best to use gel food coloring because liquid varieties can thin out the meringue mixture, affecting the texture and the ability to hold stiff peaks.
Why is cream of tartar important in this Rainbow Sherbet Meringues Recipe?
Cream of tartar stabilizes the egg whites, helping the meringue maintain its volume and structure, which is crucial for those light, airy textures.
Can I make these meringues on a humid day?
Humidity can cause meringues to become sticky and soft, so it’s preferable to make them on a dry day for best results and crispy texture.
How do I know when the sugar is fully dissolved in the meringue?
Rub a small amount of meringue between your fingers; if it feels smooth and not grainy, the sugar is fully dissolved and ready for the next step.
What is the best way to store leftover Rainbow Sherbet Meringues?
Store them in an airtight container at room temperature away from moisture to keep their crispness for up to a week.
Final Thoughts
If you’re ready to add a burst of color and light sweetness to your dessert repertoire, I wholeheartedly encourage you to try this Rainbow Sherbet Meringues Recipe. Its delicate crispness, vibrant sherbet hues, and subtle vanilla charm make it an absolute crowd-pleaser. It’s a recipe that’s as fun to make as it is to eat, bringing a little sunshine and joyous flair right into your kitchen.
Print
Rainbow Sherbet Meringues Recipe
- Prep Time: 20 minutes
- Cook Time: 1 hour 30 minutes
- Total Time: 2 hours 50 minutes
- Yield: 40 small meringues
- Category: Dessert
- Method: Baking
- Cuisine: American
- Diet: Gluten Free
Description
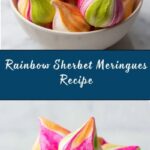
Delightful Rainbow Sherbet Meringues are light, airy, and colorful treats inspired by sherbet flavors. These crisp, pastel meringue cookies combine the sweetness of whipped egg whites with vibrant orange, pink, and green swirls, making them perfect for parties, celebrations, or a fun dessert. Finished with optional sherbet or sprinkles, they offer a playful and visually stunning addition to any dessert table.
Ingredients
Meringue Mixture
- 4 large egg whites (room temperature)
- 1 cup granulated sugar
- 1/4 teaspoon cream of tartar
- 1/2 teaspoon vanilla extract
- Gel food coloring in orange, pink, and green (or sherbet-inspired colors)
Optional Garnish
- Sherbet scoops or decorative sprinkles
Instructions
- Preheat and prepare baking sheets: Preheat your oven to 200°F (93°C) and line two baking sheets with parchment paper to prevent sticking and ensure easy cleanup.
- Beat egg whites: In a clean, dry mixing bowl, combine the 4 large egg whites with 1/4 teaspoon cream of tartar. Beat on medium speed until soft peaks form, which means the egg whites will hold shape but tips will curl.
- Add sugar gradually: Slowly add 1 cup granulated sugar, one tablespoon at a time, while beating on high speed. Continue beating until the mixture is glossy, stiff peaks form, and the sugar is fully dissolved, ensuring a smooth and stable meringue.
- Flavor the meringue: Beat in 1/2 teaspoon vanilla extract to add a subtle sweetness and depth to the meringue base.
- Divide and color: Split the meringue mixture evenly into three separate bowls. Tint each bowl with a small amount of gel food coloring to create the sherbet-inspired shades: pink, orange, and green.
- Prepare piping and swirl colors: Gently spoon the colored meringues into a single piping bag fitted with a star or round tip, layering the colors side by side carefully. Do not overmix to maintain distinct colored swirls.
- Pipe meringues onto sheets: Pipe small meringue kisses or swirls onto the prepared baking sheets, spacing each about 1 inch apart to avoid sticking during baking.
- Bake and dry: Bake the meringues at 200°F for 1 hour and 30 minutes. After baking, turn off the oven and leave the meringues inside with the door closed for an additional hour to dry completely, ensuring crispness throughout.
- Cool and store: Allow the meringues to cool fully on the baking sheets before transferring to an airtight container. Store at room temperature for optimal texture.
- Serve with garnish: When serving immediately, top with a small scoop of sherbet or decorative sprinkles for additional flavor and a festive touch.
Notes
- Ensure no egg yolk contaminates the whites, as even a small amount can prevent proper whipping.
- For crispier results, avoid making meringues on humid days since moisture affects drying.
- Use gel food coloring instead of liquid food coloring to keep the meringue mixture thick and stable.