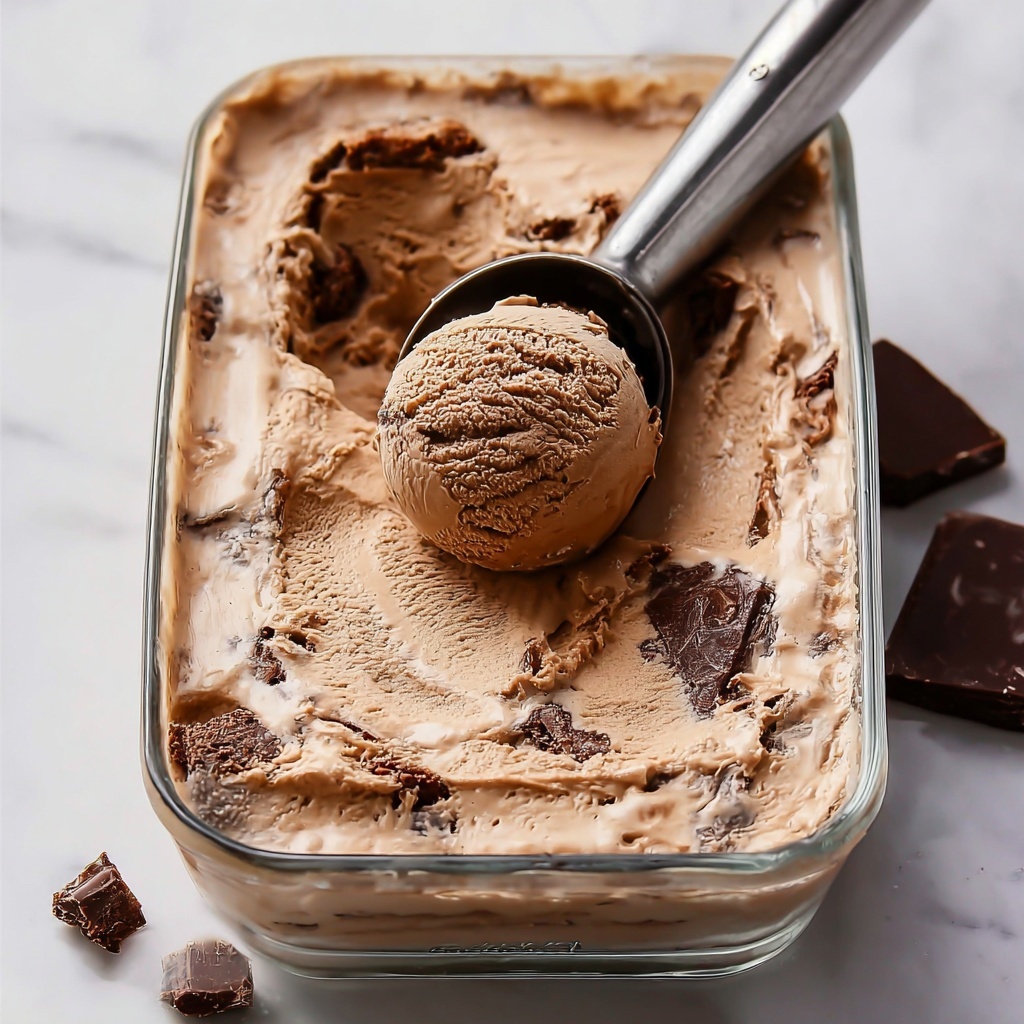
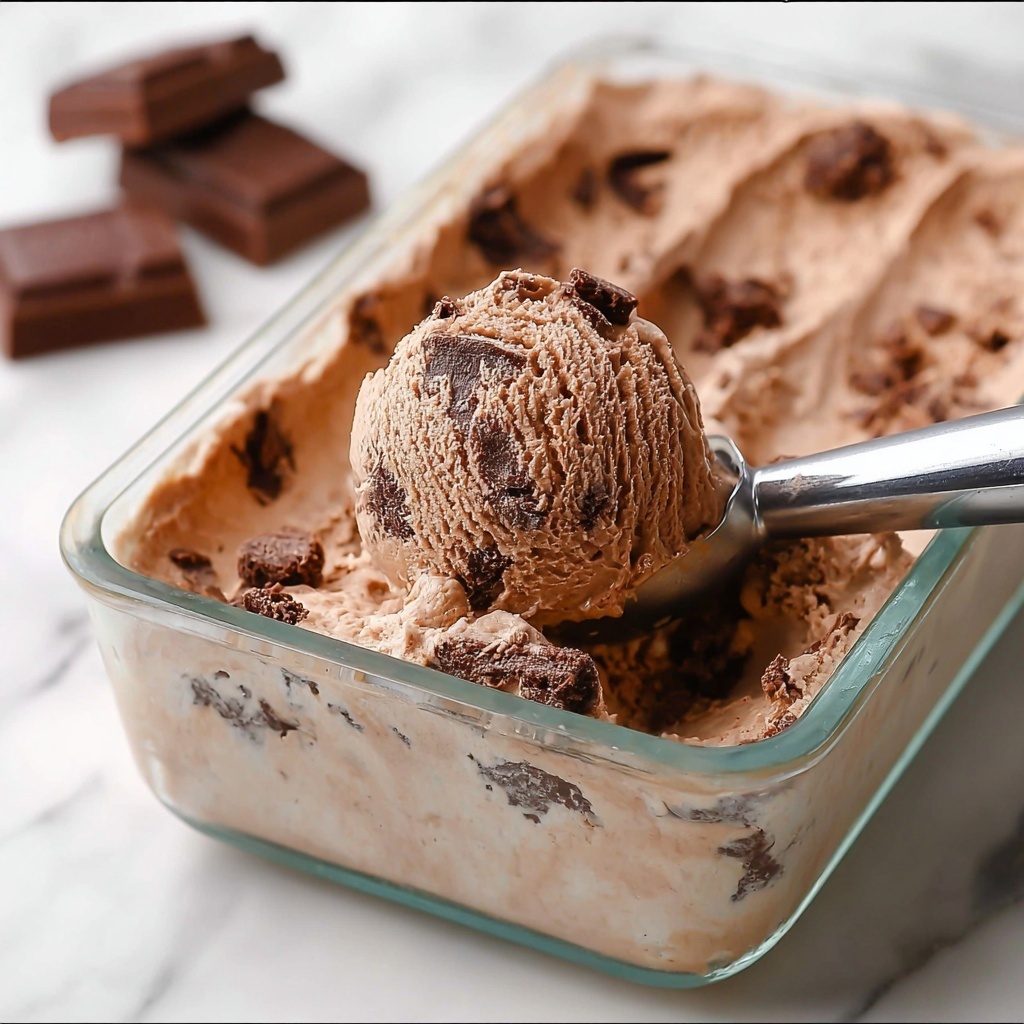
If you have a serious sweet tooth and love everything chocolate, then you absolutely have to try this No Churn Chocolate Brownie Ice Cream Recipe. It’s the perfect blend of creamy, rich chocolate ice cream loaded with delightful chunks of fudgy brownies, all made without an ice cream maker. Imagine indulging in velvety smooth ice cream that’s so easy to prepare, you’ll wonder why you never made homemade ice cream this way before. This recipe brings together the best of both worlds: luscious chocolate flavor and chewy brownie bites, offering a decadent treat that’s perfect for any occasion.
Ingredients You’ll Need
Getting started on this No Churn Chocolate Brownie Ice Cream Recipe is a breeze because the ingredients are simple yet powerful. Each component plays a key role in crafting the perfect taste, texture, and deep chocolate color that will make your dessert unforgettable.
- 2 cups heavy whipping cream, cold: This is the foundation for that creamy, airy texture that makes the ice cream so luscious.
- 1 can (14 ounces) sweetened condensed milk: Acts as the sweetener and creamy base, giving a smooth consistency without needing to churn.
- 1/2 cup unsweetened cocoa powder: Provides intense, rich chocolate flavor while keeping things balanced and not overly sweet.
- 1 teaspoon vanilla extract: Adds a warm, complementary note that enhances the chocolate without stealing the show.
- 1/4 teaspoon salt: Just a pinch to brighten and deepen all the chocolate flavors.
- 1 cup brownie chunks (homemade or store-bought): The star ingredient for that chewy, fudgy surprise in every bite.
- 1/2 cup chocolate chips (optional): Adds little bursts of melty chocolate goodness throughout the ice cream.
How to Make No Churn Chocolate Brownie Ice Cream Recipe
Step 1: Whip the Cream to Stiff Peaks
Start by pouring your cold heavy whipping cream into a large bowl and whip it on high speed with an electric mixer. You want to beat it until stiff peaks form—this means when you lift the beaters, the cream stands tall and doesn’t slump. This fluffy texture is what will transform the mixture into a creamy ice cream without the need for churning.
Step 2: Mix the Chocolate Base
In a separate bowl, whisk together the sweetened condensed milk, unsweetened cocoa powder, vanilla extract, and salt until everything is completely smooth and glossy. This chocolate base provides the intense flavor and sweetness that balances the whipped cream perfectly.
Step 3: Combine Whipped Cream and Chocolate Mixture
Next, gently fold the whipped cream into the chocolate base in three additions. Take your time with this step—folding ensures you keep as much air as possible in the mix, creating that light, dreamy texture. Avoid stirring vigorously or overmixing, or you’ll lose the fluffiness!
Step 4: Fold in Brownie Chunks and Chocolate Chips
Once your ice cream base is beautifully combined, fold in the brownie chunks and optional chocolate chips. These luscious bites add wonderful texture, making every spoonful exciting and indulgent.
Step 5: Freeze Until Firm
Pour the mixture into a 9×5 inch loaf pan or an airtight container, smoothing the top gently. Cover with plastic wrap or a lid, then freeze for at least 6 hours or, ideally, overnight until the ice cream is firm and scoopable.
How to Serve No Churn Chocolate Brownie Ice Cream Recipe

Garnishes
Bring your No Churn Chocolate Brownie Ice Cream Recipe to life with some fun garnishes. Sprinkle chopped nuts, mini chocolate chips, or a drizzle of caramel or fudge sauce on top for extra flavor and visual appeal. A dusting of cocoa powder or a dollop of whipped cream transforms it into an elegant dessert worthy of any celebration.
Side Dishes
This ice cream pairs wonderfully with fresh berries or a warm brownie to keep the chocolate theme strong. For a summer twist, serve alongside grilled peaches or a berry compote for a delightful contrast of temperatures and textures.
Creative Ways to Present
For a playful twist, serve scoops in waffle bowls or chocolate-dipped cones. You can also layer the ice cream with brownie chunks and chocolate sauce in a parfait glass for a show-stopping presentation. Offering small dessert spoons or even brownie bites speared on toothpicks makes it fun for parties and gatherings.
Make Ahead and Storage
Storing Leftovers
Leftover No Churn Chocolate Brownie Ice Cream Recipe is best stored in an airtight container in the freezer to maintain freshness. Be sure to press a piece of parchment paper or plastic wrap directly onto the surface before sealing to prevent ice crystals from forming.
Freezing
If you want to prepare this recipe well in advance, simply freeze it for up to two weeks. Because it’s no churn, it keeps its creamy texture nicely and doesn’t get icy the way some homemade ice creams can. Just remember to let it sit for a few minutes at room temperature before scooping for easier serving.
Reheating
This dessert is meant to be enjoyed cold, so reheating isn’t recommended. However, if you want to soften the ice cream quickly, let it sit at room temperature for 5 to 10 minutes or use a warm spoon to easily scoop without melting it completely.
FAQs
Can I use store-bought brownies in this recipe?
Absolutely! Store-bought brownies work perfectly and save time. Just cut them into bite-sized chunks and fold them gently into the ice cream base. Homemade brownies can add a personal touch, but either way, you’ll have a delicious result.
Is there a dairy-free option for this ice cream?
Yes, you can substitute coconut cream for the heavy whipping cream and use a sweetened condensed coconut milk alternative to keep it dairy-free. Just ensure both are well chilled before whipping for that ideal texture.
How long does this ice cream need to freeze?
To get the best scoopable consistency, freeze your ice cream for at least 6 hours or overnight. This ensures it firms up sufficiently and all the flavors meld beautifully.
Can I add nuts or other mix-ins?
Definitely! Feel free to add chopped nuts, toffee bits, or even a swirl of peanut butter to personalize your ice cream. Just fold them in with the brownie chunks to keep that perfect texture.
Will the ice cream get icy without an ice cream maker?
Not with this No Churn Chocolate Brownie Ice Cream Recipe! Because it relies on whipped cream and sweetened condensed milk, it stays creamy and smooth, avoiding the icy texture common in other homemade ice creams.
Final Thoughts
You really can’t go wrong with this No Churn Chocolate Brownie Ice Cream Recipe. It’s a simple, foolproof way to make an indulgent chocolate treat that feels special without all the fuss. Whether you’re serving it up for a summertime dessert, a family treat, or just because, this recipe will quickly become a beloved favorite that everyone asks for again and again. So grab those ingredients and get ready to indulge in the perfect scoop of chocolatey heaven.
Print
No Churn Chocolate Brownie Ice Cream Recipe
- Prep Time: 15 minutes
- Cook Time: 0 minutes
- Total Time: 15 minutes plus freezing time
- Yield: 8 servings
- Category: Dessert
- Method: No-Cook
- Cuisine: American
- Diet: Vegetarian
Description
This No Churn Chocolate Brownie Ice Cream is a rich and creamy homemade dessert that’s incredibly easy to make without an ice cream maker. Combining whipped heavy cream, sweetened condensed milk, and cocoa powder, this recipe is enhanced with chunks of fudgy brownies and optional chocolate chips for extra indulgence. Perfect for chocolate lovers, it requires minimal prep time and freezes into a luscious treat that’s ready to scoop and enjoy.
Ingredients
Ice Cream Base
- 2 cups heavy whipping cream, cold
- 1 can (14 ounces) sweetened condensed milk
- 1/2 cup unsweetened cocoa powder
- 1 teaspoon vanilla extract
- 1/4 teaspoon salt
Add-ins
- 1 cup brownie chunks (homemade or store-bought)
- 1/2 cup chocolate chips (optional)
Instructions
- Whip the Cream: In a large mixing bowl, beat the cold heavy whipping cream with an electric mixer on high speed until stiff peaks form, which means the cream holds firm peaks when the beaters are lifted.
- Prepare Chocolate Mixture: In a separate bowl, whisk together the sweetened condensed milk, unsweetened cocoa powder, vanilla extract, and salt until the mixture is smooth and well combined.
- Fold Cream and Chocolate Mixture: Gently fold the whipped cream into the chocolate mixture in three additions, carefully combining them while maintaining a light and airy texture to keep the ice cream creamy.
- Add Brownies and Chocolate Chips: Fold in the brownie chunks and optional chocolate chips evenly into the mixture, distributing the pieces throughout the ice cream base.
- Freeze the Ice Cream: Pour the combined mixture into a 9×5 inch loaf pan or airtight container, smooth the top with a spatula, then cover with plastic wrap or a lid. Freeze for at least 6 hours or overnight until firm and scoopable.
- Serve: Once fully frozen, scoop the ice cream into bowls or cones and enjoy your homemade no churn chocolate brownie ice cream.
Notes
- For extra texture and flavor, drizzle caramel or fudge sauce over the ice cream before freezing.
- You can substitute gluten-free brownies if needed to make the recipe gluten-free.
- Avoid overmixing when folding the whipped cream into the chocolate mixture to keep the texture light and creamy.


