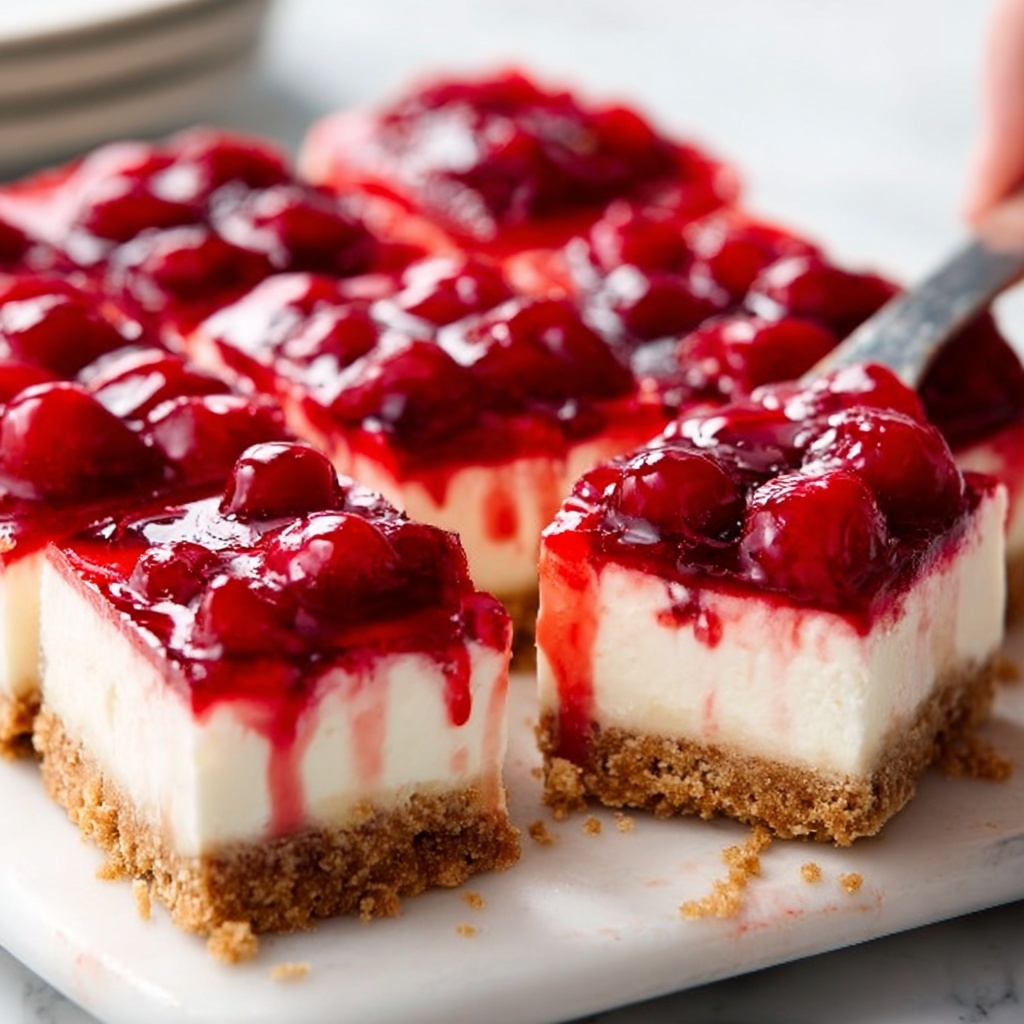
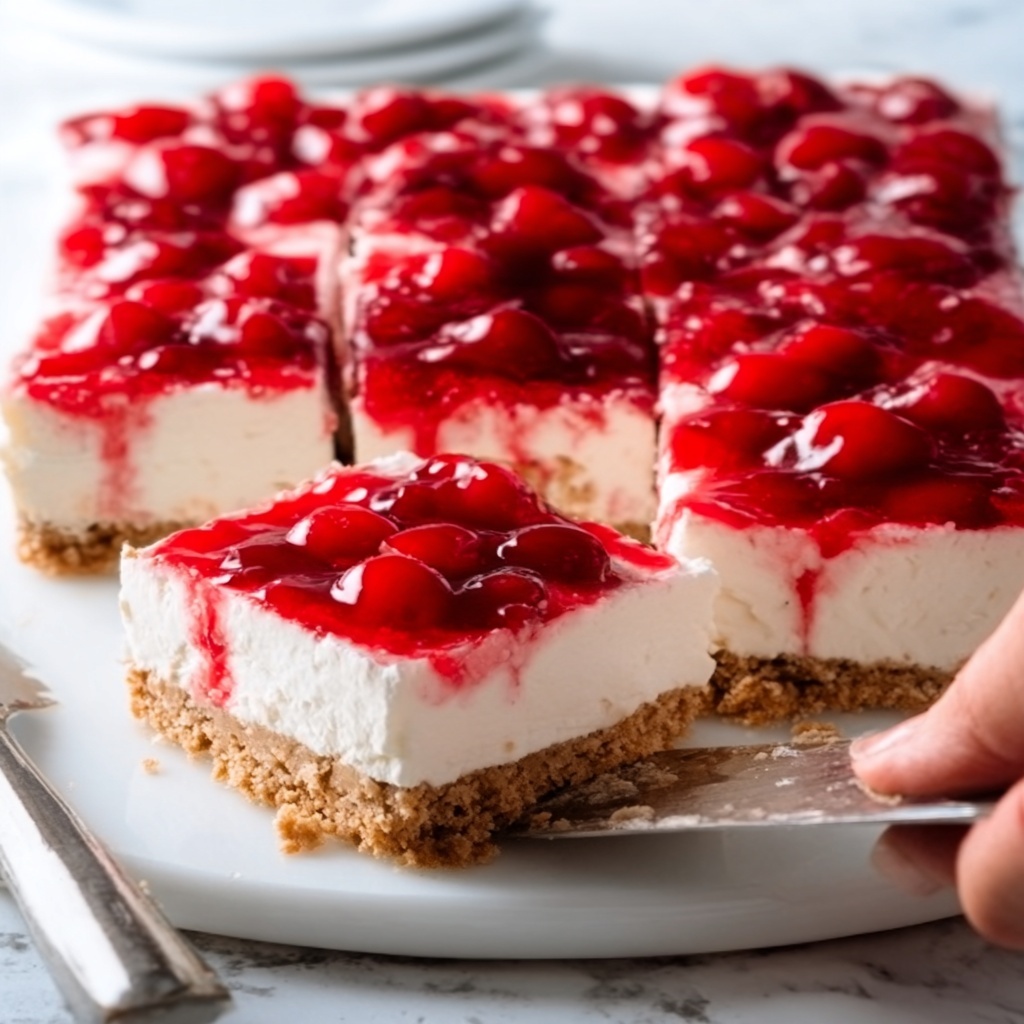
If you’ve ever wanted a dessert that’s both delightfully luscious and incredibly easy to make, then this No Bake Cherry Cheesecake Bars Recipe is about to become your new favorite. Imagine creamy, tangy cheesecake layered on a buttery graham cracker crust, crowned with vibrant, sweet cherry pie filling—all coming together without ever turning on your oven. It’s the perfect treat for those warm days or whenever you crave something sweet but fuss-free. Trust me, these bars strike the perfect balance of smooth texture and bright cherry flavor in every bite.
Ingredients You’ll Need
Getting started on this No Bake Cherry Cheesecake Bars Recipe is a breeze because the ingredients are straightforward and pantry-friendly. Each one plays a pivotal role: from the buttery graham cracker crust that provides a crisp base, to the rich cream cheese that delivers that signature cheesecake tang, and finally the cherries that add a burst of juicy color and flavor on top.
- 2 cups graham crumbs: The foundation of our crust, these crumbs bring a subtle sweetness and crunch to every bar.
- 6 tablespoons butter (melted): Helps the crumbs bind together and adds a rich, buttery flavor to the crust.
- 16 ounces cream cheese (softened): The star ingredient of the filling, providing that creamy, smooth texture we all love.
- 1/2 cup granulated sugar: Sweetens the cream cheese just enough to balance its tanginess perfectly.
- 1/2 cup heavy cream: Whipped into fluffy peaks, it adds lightness and airy texture to the cheesecake layer.
- 1 can cherry pie filling: The crowning glory, offering juicy cherries and glossy sweetness that make these bars irresistible.
How to Make No Bake Cherry Cheesecake Bars Recipe
Step 1: Prepare the Crust
Start by lining an 8 x 8 inch square baking dish with parchment paper—this will make lifting the bars out so easy later on. Mix the graham crumbs and melted butter in a small bowl until combined. Press this mixture firmly into the bottom of your pan to create a sturdy, buttery crust that holds everything in place.
Step 2: Make the Cream Cheese Mixture
Using a mixer fitted with the paddle attachment, beat the softened cream cheese and granulated sugar together until the mixture is light and fluffy. This step is key because a smooth and airy filling makes the bars feel especially indulgent.
Step 3: Whip the Heavy Cream
In a separate bowl, begin whipping the heavy cream at low speed, then crank it up to high until stiff peaks form. The whipped cream will give the filling a luscious, soft texture that’s just dreamy.
Step 4: Combine the Filling
Fold the whipped cream gently into the cream cheese and sugar mixture, then mix on high just until everything is beautifully combined. Carefully spread this luscious filling over your prepared crust, smoothing the top with the back of a spoon or spatula for an even layer.
Step 5: Add the Cherry Topping
Evenly spoon the cherry pie filling over the cheesecake layer, spreading it gently to create a glistening cherry topping that promises a burst of flavor with every bite.
Step 6: Chill and Set
Pop your dish into the fridge for at least four hours, but ideally overnight. This chilling step lets the cheesecake bars set perfectly, making them easy to cut and even easier to enjoy.
Step 7: Slice and Serve
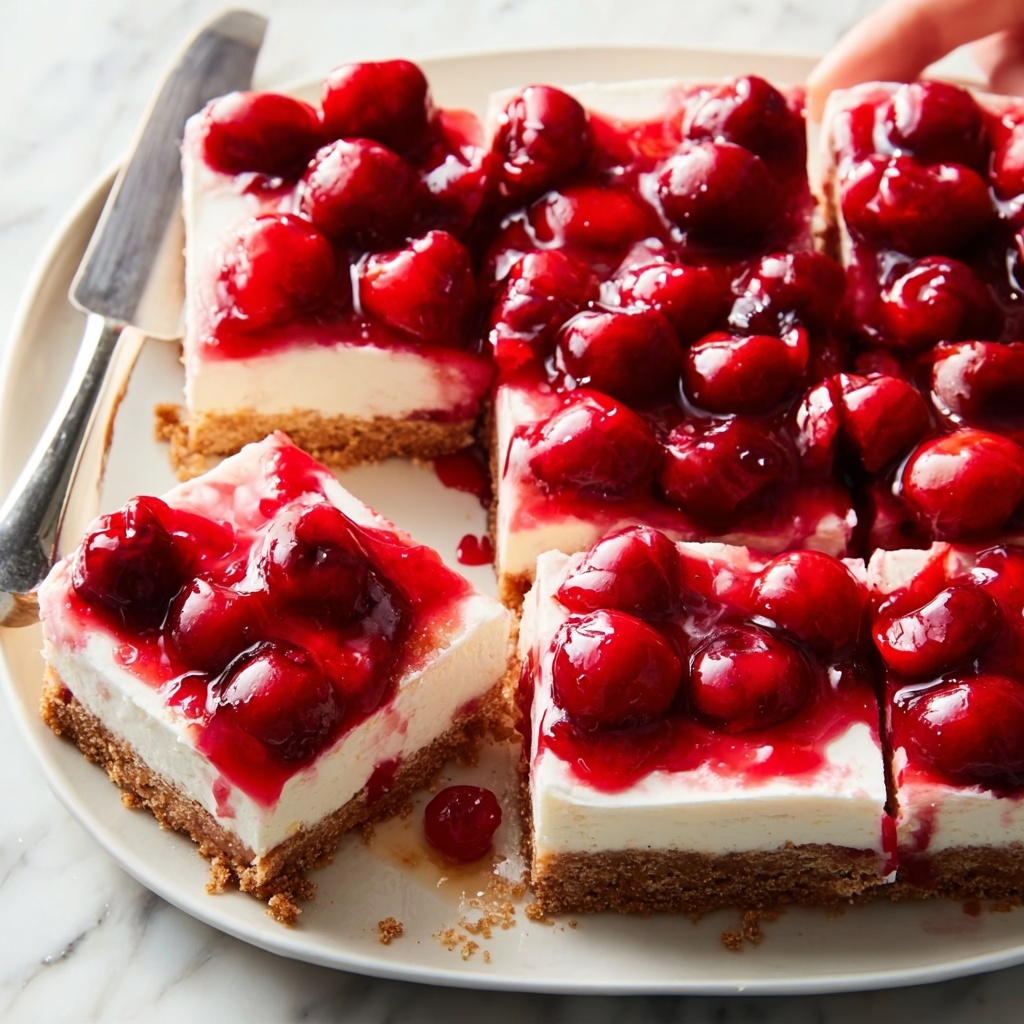
Once chilled and firm, lift the bars out by the parchment paper and slice into squares. Get ready to share smiles and maybe a few happy dance moves as you serve up this fantastically simple dessert.
How to Serve No Bake Cherry Cheesecake Bars Recipe
Garnishes
Sprinkle a few extra fresh cherries or a light dusting of powdered sugar on top to make your bars look as special as they taste. For a little extra flair, a drizzle of melted white chocolate or a few toasted almond slivers can add texture and elegance.
Side Dishes
These bars are delightful on their own but also pair wonderfully with a scoop of vanilla ice cream or a dollop of freshly whipped cream. For a refreshing twist, serve alongside a simple green salad with a citrus vinaigrette to balance the sweetness.
Creative Ways to Present
Cut your bars into mini squares and serve them on decorative toothpicks for a fun party appetizer. Or layer pieces in a parfait glass alternating with fresh whipped cream and cherry halves for a stunning dessert presentation everyone will talk about.
Make Ahead and Storage
Storing Leftovers
Place any leftover bars in an airtight container and store them in the refrigerator. They’ll stay fresh and creamy for up to 4 days—perfect for sneaking a sweet treat post-dinner.
Freezing
You can freeze these cheesecake bars for up to a month. Just wrap them tightly in plastic wrap and foil to prevent freezer burn. Thaw them overnight in the fridge before enjoying to preserve that luscious texture.
Reheating
Since these are no bake and best served chilled, reheating isn’t recommended. Instead, let them sit at room temperature for 10-15 minutes before serving if you prefer them a bit less cold.
FAQs
Can I use a different fruit topping instead of cherry pie filling?
Absolutely! Blueberry, raspberry, or strawberry pie fillings work beautifully as alternatives. You could even use fresh fruit with a bit of homemade glaze for a fresh twist.
Is it necessary to soften the cream cheese beforehand?
Yes, softening the cream cheese ensures it blends smoothly with the sugar, preventing lumps and giving the filling that silky texture everyone loves.
Can I make this recipe vegan or dairy-free?
With a few substitutions like vegan cream cheese, coconut cream instead of heavy cream, and a dairy-free crust option, you can definitely make a vegan version that’s just as satisfying.
How thick should I press the graham crust?
Press the crust firmly and evenly to about a half-inch thickness. This ensures it holds the filling well without being too crumbly or too thick.
Can I double the recipe for a larger batch?
Yes, doubling the ingredients and using a larger baking dish will work great just make sure to adjust chilling time accordingly to ensure proper setting.
Final Thoughts
This No Bake Cherry Cheesecake Bars Recipe is truly a game changer in the world of easy desserts. It brings together the classic flavors of cheesecake with a cherry kick in a way that is both simple and stunning. Whether you’re making it for a casual family night or to impress guests, these bars never fail to please. Give it a try—you’ll find yourself reaching for this recipe again and again!
Print
No Bake Cherry Cheesecake Bars Recipe
- Prep Time: 15 minutes
- Cook Time: 0 minutes
- Total Time: 4 hours 15 minutes
- Yield: 8 servings
- Category: Dessert
- Method: No-Cook
- Cuisine: American
Description
These No Bake Cherry Cheesecake Bars are a delightful, creamy dessert featuring a buttery graham cracker crust, smooth cream cheese filling, and a sweet cherry pie topping. Perfect for quick preparation without any oven use, this recipe is a simple and delicious way to satisfy cheesecake cravings with minimal effort.
Ingredients
Crust
- 2 cups graham cracker crumbs
- 6 tablespoons butter, melted
Filling
- 16 ounces cream cheese, softened
- 1/2 cup granulated sugar
- 1/2 cup heavy cream
Topping
- 1 can cherry pie filling
Instructions
- Prepare the Baking Dish: Line an 8 x 8 inch square baking dish with parchment paper and set aside. This prevents sticking and makes it easier to remove the bars later.
- Make the Crust: In a small mixing bowl, combine the graham cracker crumbs and melted butter. Mix until the crumbs are evenly moistened. Press this mixture firmly into the bottom of the prepared baking dish to form an even crust layer.
- Create the Cream Cheese Mixture: Using a stand mixer fitted with the paddle attachment, beat the softened cream cheese and granulated sugar together until the mixture becomes light and fluffy, indicating that the sugar is fully incorporated and the texture is smooth.
- Whip the Cream: In a separate bowl, begin mixing the heavy cream on low speed, gradually increasing to high until it forms stiff peaks, turning it into whipped cream.
- Combine Filling Ingredients: Gently fold the whipped cream into the cream cheese mixture using the mixer on high speed until fully combined, creating a smooth, creamy filling. Spread this evenly over the prepared graham cracker crust in the baking dish.
- Add Cherry Topping: Spoon the cherry pie filling evenly over the cream cheese layer and carefully smooth it out, ensuring an attractive and even cherry topping.
- Chill: Refrigerate the assembled bars for at least 4 hours, preferably overnight, to allow the filling to set properly.
- Serve: Remove the bars from the fridge, lift them out of the dish using the parchment paper, cut into squares, and serve with a smile ready for cherry cheesecake lovers!
Notes
- Ensure the cream cheese is softened to room temperature for smoother mixing.
- Press the crust firmly to prevent it from crumbling when cutting the bars.
- Chilling overnight yields the best texture for clean, firm bars.
- For a more intense cherry flavor, add a little cherry juice from the pie filling into the cream cheese mixture before chilling.
- Use parchment paper with overhang for easier removal of the bars.

