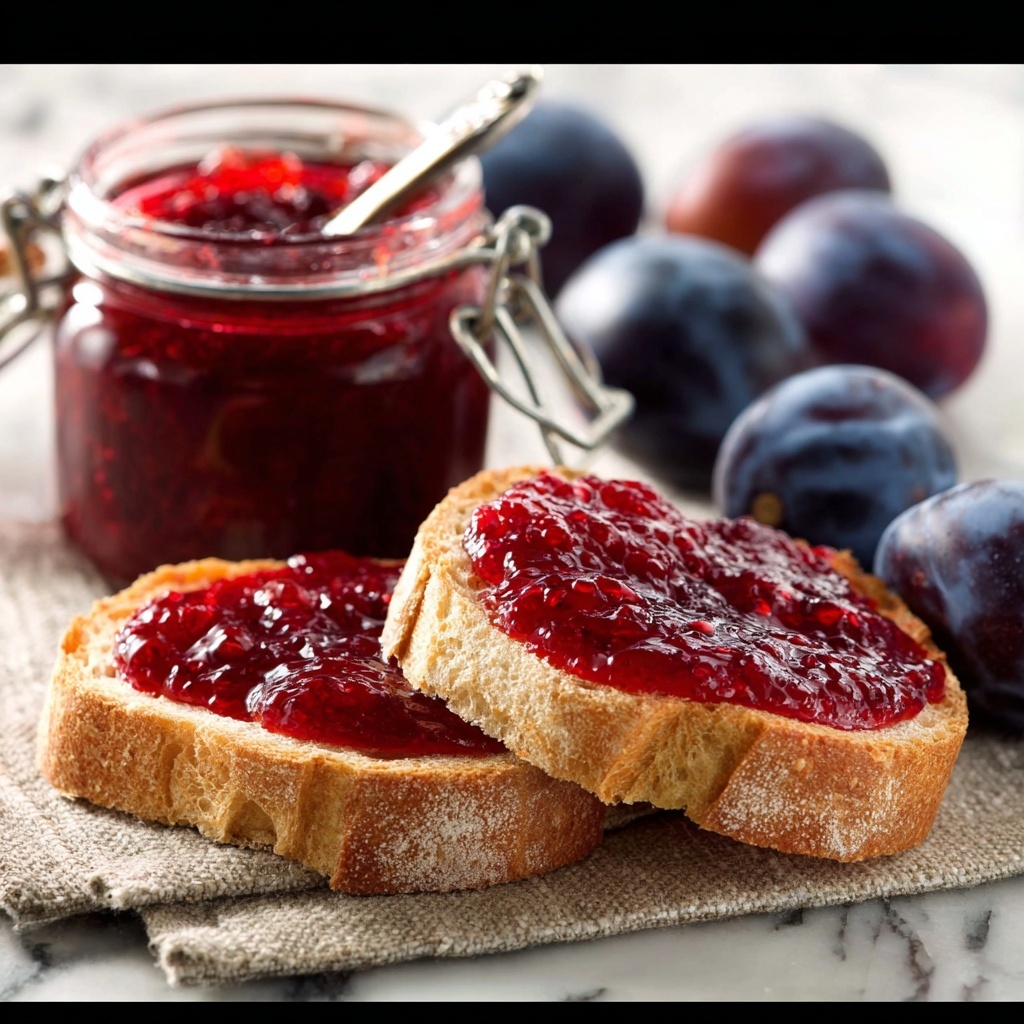
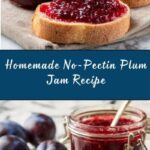
If you’ve ever craved a luscious, fruity spread without any additives, this Homemade No-Pectin Plum Jam Recipe is exactly what you need in your kitchen repertoire. Bursting with natural sweetness, vibrant color, and that perfect balance of tartness, this jam embraces the beauty of ripe plums in their purest form. The best part? You don’t need to add any commercial pectin—the plums naturally bring that thickening magic to the table, making each spoonful a treasure of homemade goodness. Whether you’re a jam aficionado or just discovering the joy of preserving fruit, this recipe promises a delightful experience from start to finish.
Ingredients You’ll Need
Creating this Homemade No-Pectin Plum Jam Recipe is a breeze with a handful of simple, straightforward ingredients. Each one plays a critical role—plums provide the rich base and natural pectin, sugar balances the tartness, lemon juice brightens the flavor and assists with preservation, while optional additions like cinnamon and lemon zest add a subtle warmth and zing.
- 2 lbs ripe plums, pitted and chopped: The star of the show, these bring natural pectin and juicy sweetness to the jam.
- 1 ½ cups granulated sugar: Sweetens the jam perfectly, but feel free to tweak based on your preferred sweetness.
- 2 tablespoons lemon juice: Adds brightness and helps the jam set by activating natural pectin.
- 1 teaspoon lemon zest (optional): Boosts the citrus aroma for a fresh twist.
- ½ teaspoon ground cinnamon (optional): Brings a warm, cozy note that pairs beautifully with plums.
How to Make Homemade No-Pectin Plum Jam Recipe
Step 1: Combine Your Ingredients
Start by placing the chopped plums, sugar, and lemon juice into a large saucepan. Give everything a gentle stir so the sugar can begin dissolving into the plums. Bring this mixture over medium heat, allowing the fruit to slowly start releasing its juices, creating that beautiful jam base.
Step 2: Simmer and Stir
Keep the saucepan uncovered and let the mixture simmer gently. Stir frequently, about every few minutes, to prevent sticking and ensure even cooking. Within 25 to 35 minutes, you’ll notice the plums breaking down into a luscious, thickened mixture—the hallmark of a well-made jam.
Step 3: Add Finishing Flavors
In the last 5 minutes of cooking, now’s the perfect time to stir in lemon zest and ground cinnamon if you’re using them. These little flavor boosts elevate the jam, giving it a cozy complexity without overpowering the fresh plum taste.
Step 4: Test for Doneness
To check if your jam is ready, spoon a small amount onto a chilled plate. Let it set for about a minute, then gently push it with your finger. If the surface wrinkles, your jam has reached the perfect consistency. If not, simply simmer a bit longer, then test again.
Step 5: Cool and Store
Once thickened, remove the saucepan from heat and let the jam cool slightly. Transfer the warm jam into clean, sterilized jars and let them cool completely at room temperature before sealing. Store your precious homemade jam in the refrigerator for up to three weeks or freeze it if you want to enjoy it longer.
How to Serve Homemade No-Pectin Plum Jam Recipe
Garnishes
A dollop of your homemade plum jam shines beautifully on top of creamy Greek yogurt or rich ricotta cheese. Sprinkle with a few fresh mint leaves or a dusting of cinnamon for a gorgeous, inviting presentation that tempts every palate.
Side Dishes
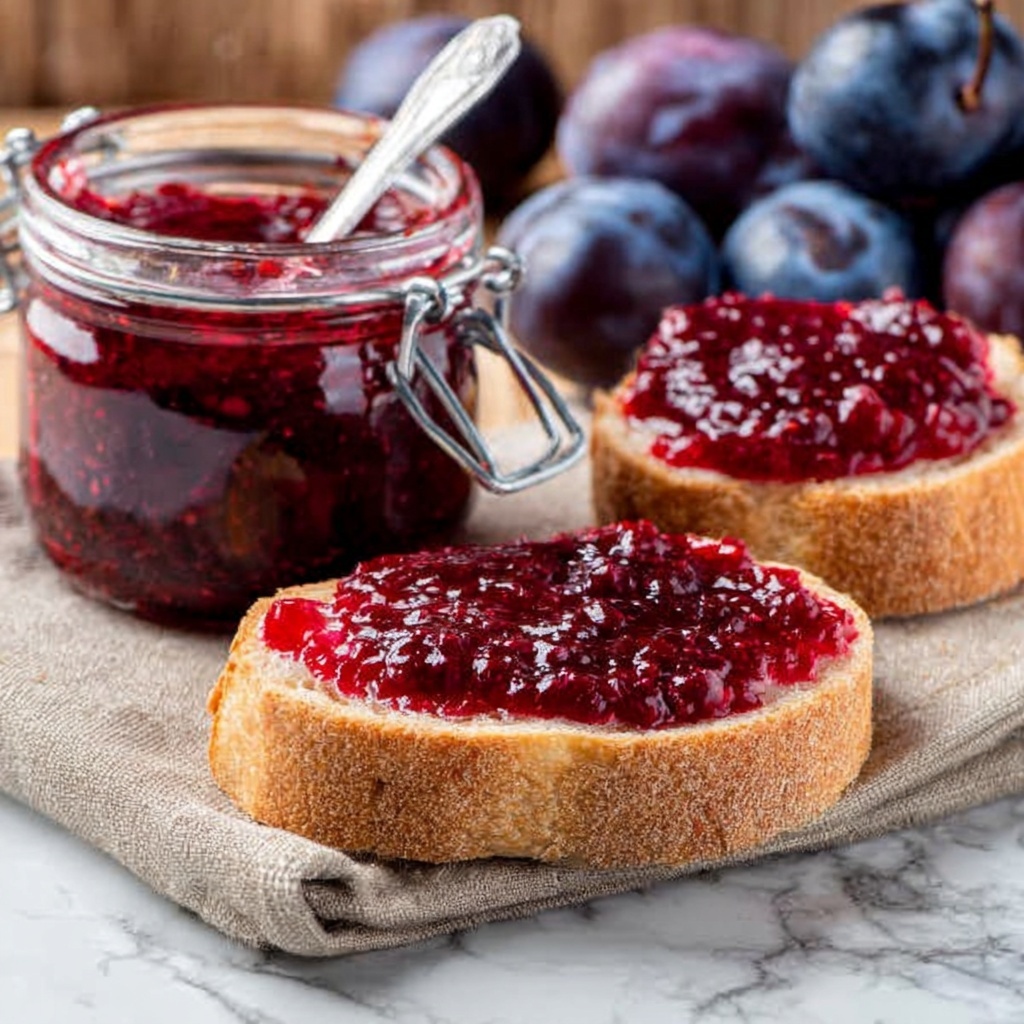
This jam pairs wonderfully with freshly toasted bread, flaky croissants, or buttery biscuits. It also makes an exceptional companion to roasted meats, cheese boards, or even as a sweet contrast on savory sandwiches. The possibilities are endless and delicious.
Creative Ways to Present
Why not take your plum jam to the next level? Swirl it into oatmeal, layer it in parfaits, or use it as a glaze for baked goods like cakes and muffins. You can even mix it into salad dressings for a touch of sweetness with a fruity punch. Every jar opens a world of flavor adventures!
Make Ahead and Storage
Storing Leftovers
Keep your homemade jam refrigerated in airtight containers once opened. This will help preserve its freshness and vibrant flavor for up to three weeks. Always use clean utensils to avoid contamination and keep your jam tasting fresh.
Freezing
If you want to enjoy the Homemade No-Pectin Plum Jam Recipe well beyond a few weeks, freezing is your best friend. Portion it into freezer-safe jars or containers, leaving room for expansion, and you can enjoy summer’s bounty well into the winter months.
Reheating
When you want to use frozen jam, thaw it gently overnight in the refrigerator. If you prefer it warm, simply heat it softly in a saucepan over low heat, stirring occasionally. Reheating helps regain that spreadable, pourable texture and fresh-from-the-pot experience.
FAQs
Do I really need lemon juice in the recipe?
Yes! Lemon juice not only adds a lovely bright flavor but also helps activate the natural pectin in plums, ensuring your jam sets nicely without added pectin.
Can I use frozen plums for this jam?
Absolutely! Just thaw and drain any excess juice before cooking. The texture might be slightly different, but your jam will still be delicious.
How sweet will this jam be?
The sweetness level is customizable. The recipe calls for 1 ½ cups of sugar, but you can reduce it slightly if you prefer a tangier, more natural plum flavor.
What if I want a smoother jam?
For a silkier texture, try blending the jam gently with an immersion blender after cooking and before cooling. This results in a creamy spread without compromising flavor.
Is this jam vegan and gluten-free?
Yes, this jam is naturally vegan and gluten-free, making it a wholesome spread suitable for a variety of dietary preferences.
Final Thoughts
There is something truly magical about capturing the essence of fresh plums in a jar, and this Homemade No-Pectin Plum Jam Recipe does just that with simplicity and heart. Once you taste the deep, comforting flavors of this handmade jam, you’ll understand why it becomes a kitchen staple for so many. I wholeheartedly encourage you to give this recipe a try—it’s an inviting and rewarding way to celebrate seasonal fruit and create something sweet simultaneously. Happy cooking, and enjoy every spoonful!
Print
Homemade No-Pectin Plum Jam Recipe
- Prep Time: 15 minutes
- Cook Time: 30 minutes
- Total Time: 45 minutes
- Yield: 3 cups
- Category: Preserves, Spread
- Method: Stovetop
- Cuisine: American, European
- Diet: Vegan, Gluten Free
Description
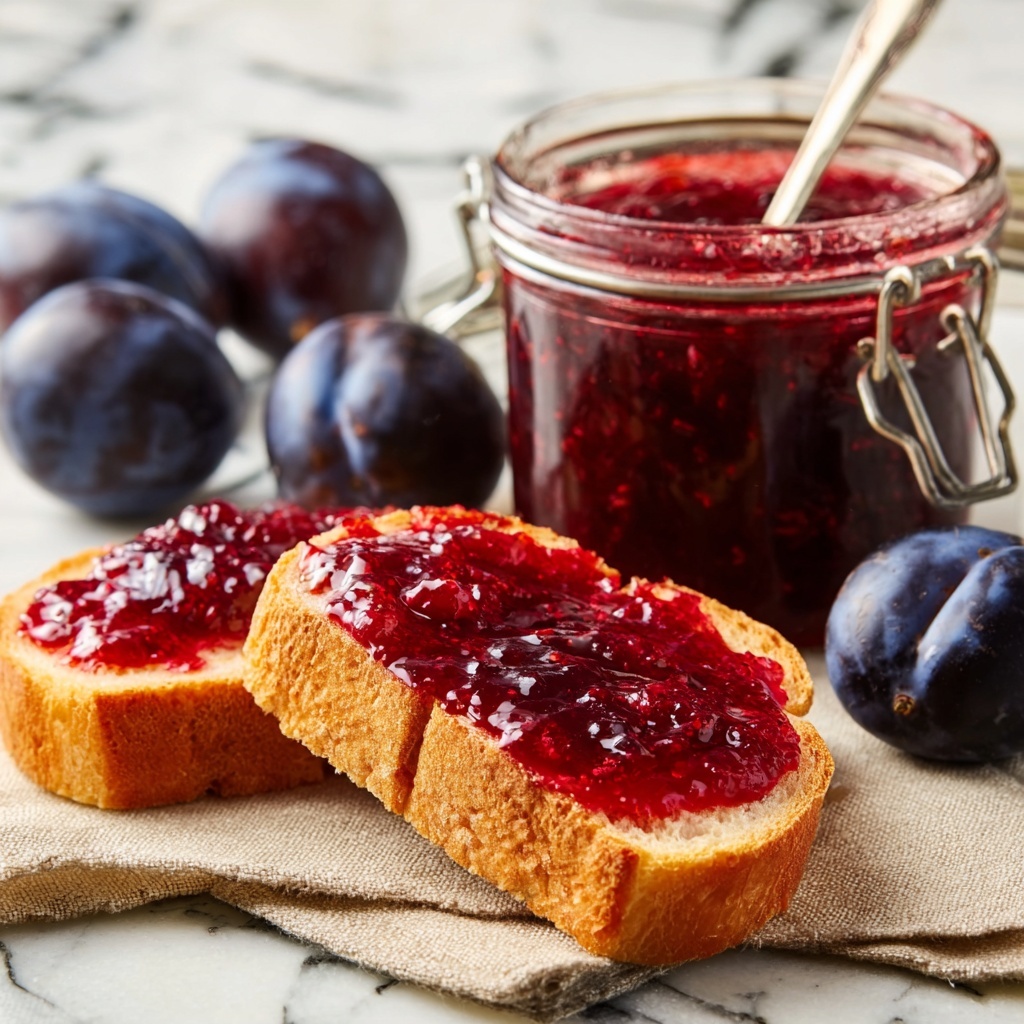
This homemade Plum Jam recipe captures the natural sweetness and tartness of ripe plums cooked down with sugar and lemon juice to create a luscious spread. Naturally high in pectin, it requires no added pectin and thickens beautifully on the stovetop, resulting in a deliciously fruity jam perfect for toast, desserts, or gifts.
Ingredients
Ingredients
- 2 lbs ripe plums, pitted and chopped (about 6 cups)
- 1 ½ cups granulated sugar (adjust to taste)
- 2 tablespoons lemon juice
- 1 teaspoon lemon zest (optional)
- ½ teaspoon ground cinnamon (optional)
Instructions
- Combine Ingredients: Place the chopped plums, granulated sugar, and lemon juice into a large saucepan over medium heat. Stir well to combine all ingredients evenly.
- Simmer the Jam: Bring the mixture to a gentle simmer and cook uncovered, stirring frequently for 25–35 minutes. During this time, the fruit will break down, and the mixture will begin to thicken.
- Add Optional Flavors: If using, stir in the lemon zest and ground cinnamon during the last 5 minutes of cooking to infuse the jam with extra flavor.
- Test for Doneness: To check if the jam is ready, place a small spoonful on a cold plate and let it sit for 1 minute. If the surface wrinkles when pressed gently with a finger, the jam is properly thickened; if not, continue simmering a few more minutes and test again.
- Cool and Store: Remove the pot from heat and let the jam cool slightly. Transfer the jam into clean jars and allow it to cool completely before sealing. Store in the refrigerator for up to 3 weeks or freeze for longer storage.
Notes
- No pectin needed—plums are naturally high in pectin, making this jam easy to thicken without additives.
- For a smoother jam texture, blend briefly with an immersion blender before cooling.
- Adjust sugar according to the sweetness of your plums and personal preference.

