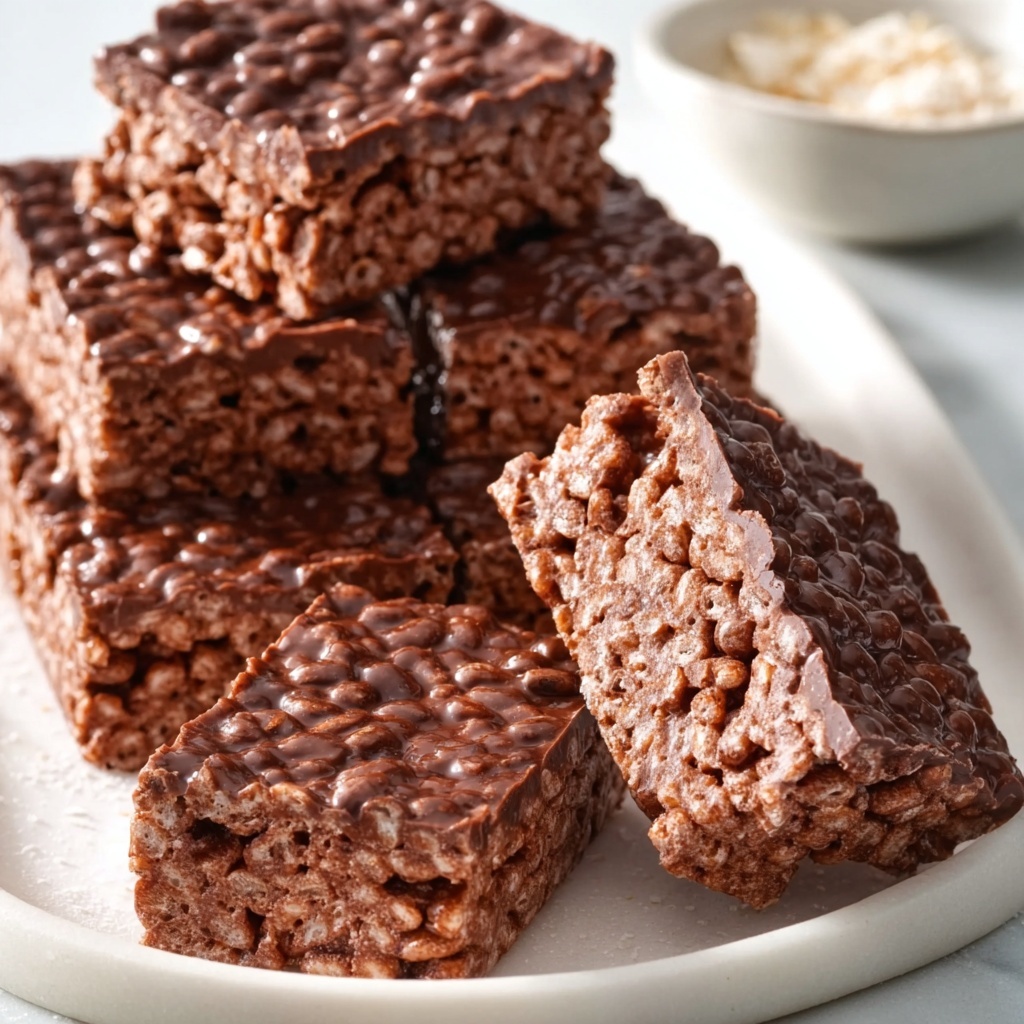
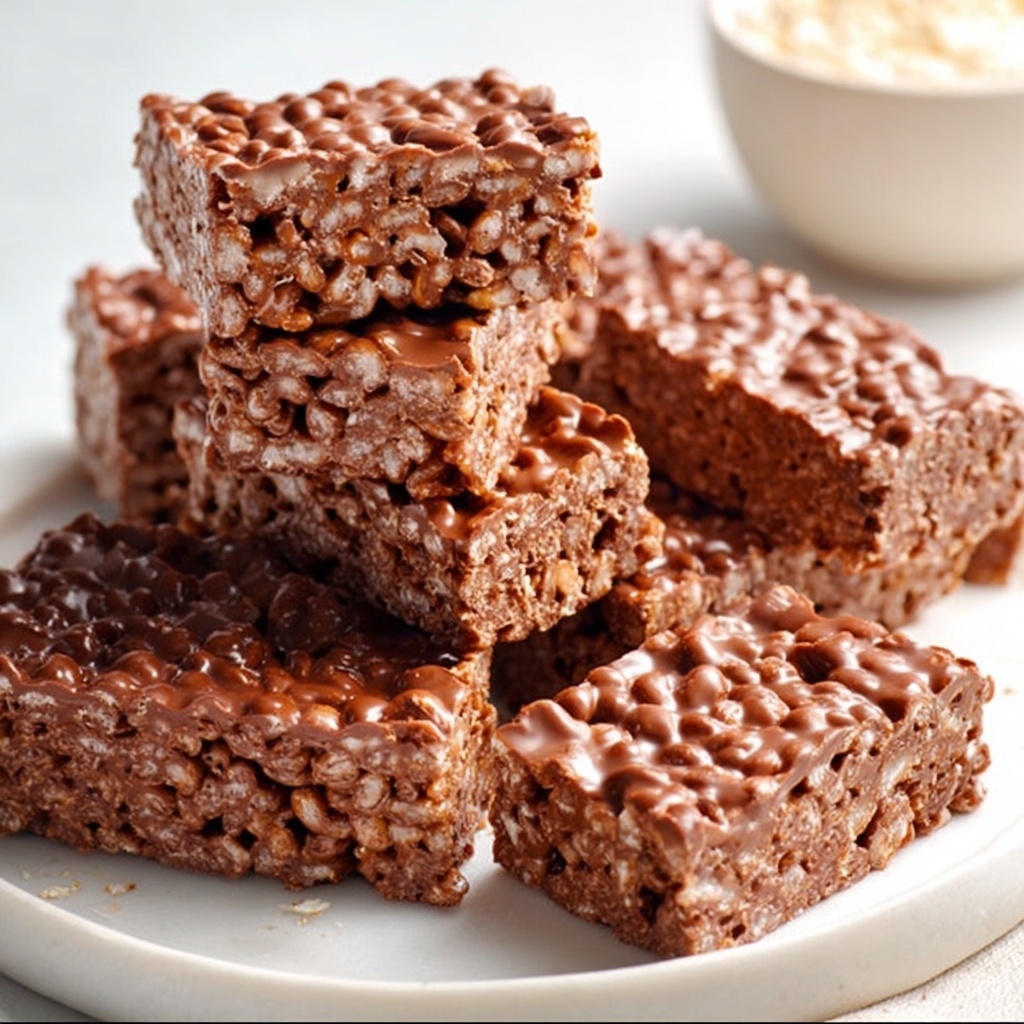
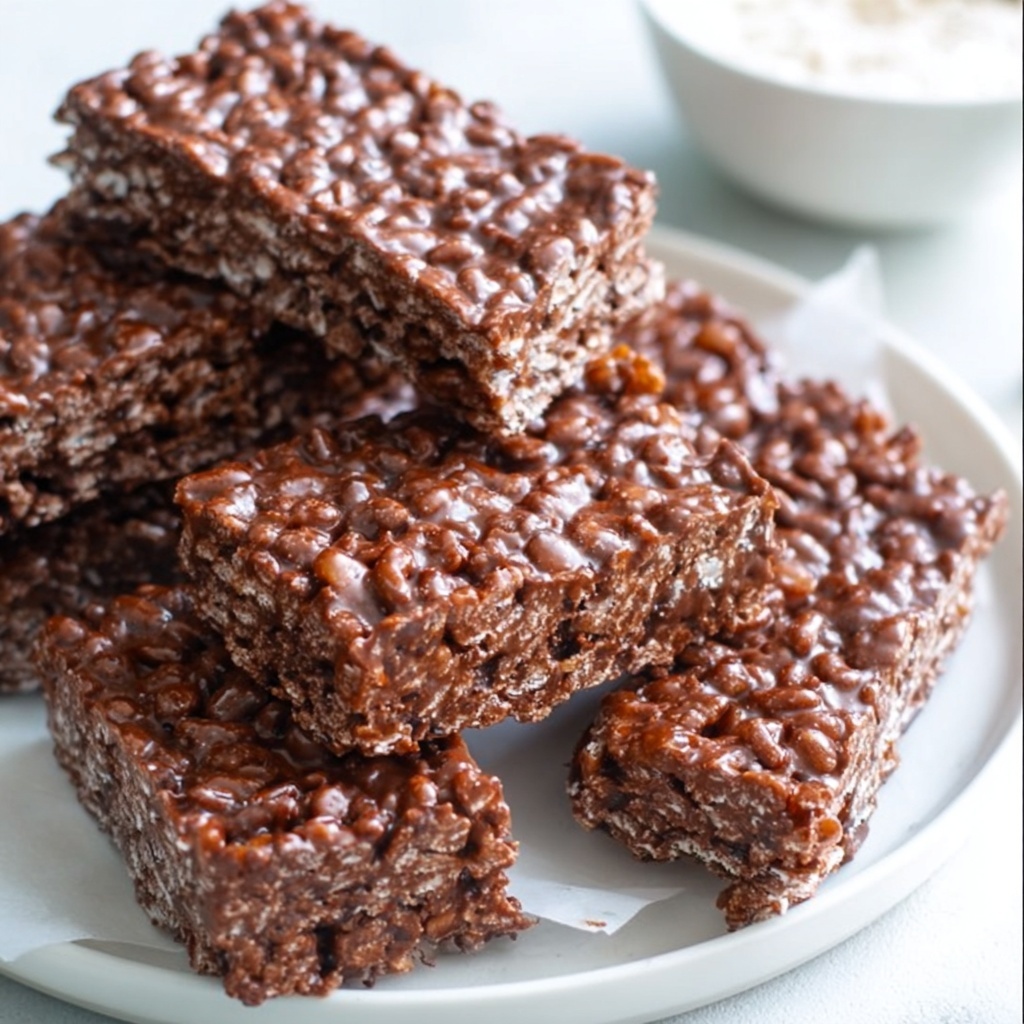
If you’ve ever craved a crunchy, chocolatey treat that melts delightful memories on your tongue, then you’re in for a real joy with this Homemade Crunch Bars Recipe. This simple yet irresistible no-bake dessert whips together silky melted chocolate with crisp rice cereal for that perfect snap in every bite. Whether you want a quick snack or a charming crowd-pleaser, these bars are a guaranteed winner — trust me, once you try making these at home, store-bought treats will nowhere near compare.
Ingredients You’ll Need
Getting started with this Homemade Crunch Bars Recipe is incredibly easy because it only involves a handful of ingredients that each play a crucial role in flavor, texture, and that classic chocolate crunch we all adore.
- 2 cups semi-sweet chocolate chips: The star of the show, providing creamy richness and deep chocolate flavor; feel free to swap with milk or dark chocolate to suit your preference.
- 1 cup crispy rice cereal: Adds that signature crunch and light texture, keeping every bite exciting and satisfying.
- 1 tablespoon coconut oil or butter (optional): Helps create a smoother melt and glossy finish, giving your bars a silky touch.
How to Make Homemade Crunch Bars Recipe
Step 1: Prepare Your Pan
Start by lining an 8×8-inch baking dish with parchment paper. This ensures your bars won’t stick and will lift out easily once set, making cleanup a breeze and giving you perfect square edges every time.
Step 2: Melt the Chocolate
Place your chocolate chips and coconut oil or butter (if using) into a microwave-safe bowl. Heat in 30-second intervals, stirring well after each to create a smooth, luscious chocolate melt. If you prefer, the gentle double boiler method works beautifully to avoid any scorching and maintain velvety chocolate.
Step 3: Fold in the Crispy Rice Cereal
Once your chocolate is silky and warm, gently fold in the crispy rice cereal until every little puff is fully coated with chocolate. This step is where your bars come alive with their charming crunch and delightful texture.
Step 4: Spread and Set
Transfer the mixture into your prepared pan and spread it out evenly using a spatula. Give the pan a gentle tap on the counter to release any trapped air bubbles. Then, pop the pan into the refrigerator for 1 to 2 hours to firm up completely.
Step 5: Slice and Enjoy
When chilled and set, lift the parchment paper to remove the chocolatey masterpiece from the pan. Cut into squares (around 16 small bars) and prepare yourself for that deliciously satisfying crunch!
How to Serve Homemade Crunch Bars Recipe
Garnishes
Add a sprinkle of flaky sea salt or a dusting of cocoa powder on top for an elegant touch that enhances the chocolate’s depth and adds a hint of sophistication to your bars.
Side Dishes
Pair these bars with a warm mug of coffee or chai tea to complement the sweetness and keep you cozy. For a fun afternoon treat, serve alongside fresh fruit for a balance of refreshing and indulgent flavors.
Creative Ways to Present
Imagine stacking these homemade crunch bars in a pretty glass jar tied with a ribbon as a thoughtful gift or dessert centerpiece. Cut bars into fun shapes using cookie cutters for parties or decorate with drizzles of white chocolate or sprinkles to make each bar uniquely inviting.
Make Ahead and Storage
Storing Leftovers
Keep your stored Homemade Crunch Bars Recipe refrigerated in an airtight container to maintain that unbeatable crunch and prevent melting, especially in warmer conditions.
Freezing
To extend their shelf life, freeze the bars in a single layer on a tray first, then transfer to a freezer-safe container. When you want a treat, simply thaw in the fridge for 20-30 minutes and enjoy fresh texture and flavor.
Reheating
Since these bars are best served chilled for maximum crunch, avoid reheating them. If they soften, just pop them back in the fridge for 15-30 minutes to regain firmness before serving.
FAQs
Can I use a different type of chocolate?
Absolutely! You can substitute semi-sweet chocolate chips with milk chocolate for a creamier taste or dark chocolate for a richer, more intense flavor. Each will change the result slightly but deliciously.
Is it possible to make this recipe vegan?
Yes! Use dairy-free chocolate chips and swap butter for coconut oil to keep everything plant-based. Just be sure the crispy rice cereal you choose is also vegan-friendly.
Can I add mix-ins like nuts or marshmallows?
Definitely. Stirring in mini marshmallows, chopped nuts, or even dried fruit before chilling adds personalized texture and flavors to your Homemade Crunch Bars Recipe.
How long do the bars stay fresh?
When stored in the refrigerator, the bars maintain their impeccable crunch for up to one week. Beyond that, they might begin to lose firmness but will still taste great.
Can I double the recipe?
For sure! Just double all ingredients and use a larger baking dish, adjusting thickness and chilling time accordingly. This recipe scales well for bigger batches.
Final Thoughts
There’s something truly joyful about making these Homemade Crunch Bars Recipe from scratch — from melting the chocolate to that satisfying snap as you bite in. They’re a simple, no-fuss treat that delivers big on flavor and nostalgia. Give this recipe a try, delight your taste buds, and impress your friends with your homemade flair for sweet, crunchy goodness!
Print
Homemade Crunch Bars Recipe
- Prep Time: 10 minutes
- Cook Time: 0 minutes
- Total Time: 1 hour 10 minutes
- Yield: 16 small bars
- Category: Dessert, Snack
- Method: No-Cook
- Cuisine: American
- Diet: Vegetarian, Gluten Free
Description
Homemade Crunch Bars are an easy no-bake treat combining melted chocolate with crispy rice cereal for a delightful crunch. This simple recipe requires minimal ingredients and no oven time, making it perfect for a quick dessert or snack. Customize with your choice of chocolate and optional mix-ins like marshmallows or nuts for added flavor and texture.
Ingredients
Chocolate Mixture
- 2 cups semi-sweet chocolate chips (or milk chocolate, if preferred)
- 1 tablespoon coconut oil or butter (optional, for smoother texture)
Mix-in
- 1 cup crispy rice cereal (like Rice Krispies)
Instructions
- Prepare the Pan: Line an 8×8-inch baking dish with parchment paper to prevent sticking and make removal easy.
- Melt the Chocolate: In a microwave-safe bowl, melt the chocolate chips and coconut oil (if using) in 30-second intervals, stirring after each until smooth and fully melted. Alternatively, melt using a double boiler by placing a heatproof bowl over simmering water and stirring until melted.
- Combine with Cereal: Gently fold the crispy rice cereal into the melted chocolate until all pieces are fully coated.
- Set the Bars: Pour the chocolate and cereal mixture into the prepared pan, spreading evenly. Tap the pan gently on the counter to release any trapped air bubbles.
- Chill and Serve: Refrigerate for 1–2 hours until the bars are fully set and firm. Lift the bars out using the parchment paper and cut into 16 small squares for serving.
Notes
- Store the bars in the refrigerator to maintain crunchiness, especially in warmer climates.
- For a richer flavor, use dark chocolate instead of semi-sweet or milk chocolate.
- Feel free to add extras like mini marshmallows or crushed nuts to customize the texture and taste.
- Ensure your crispy rice cereal is gluten-free if you require a gluten-free dessert.


