
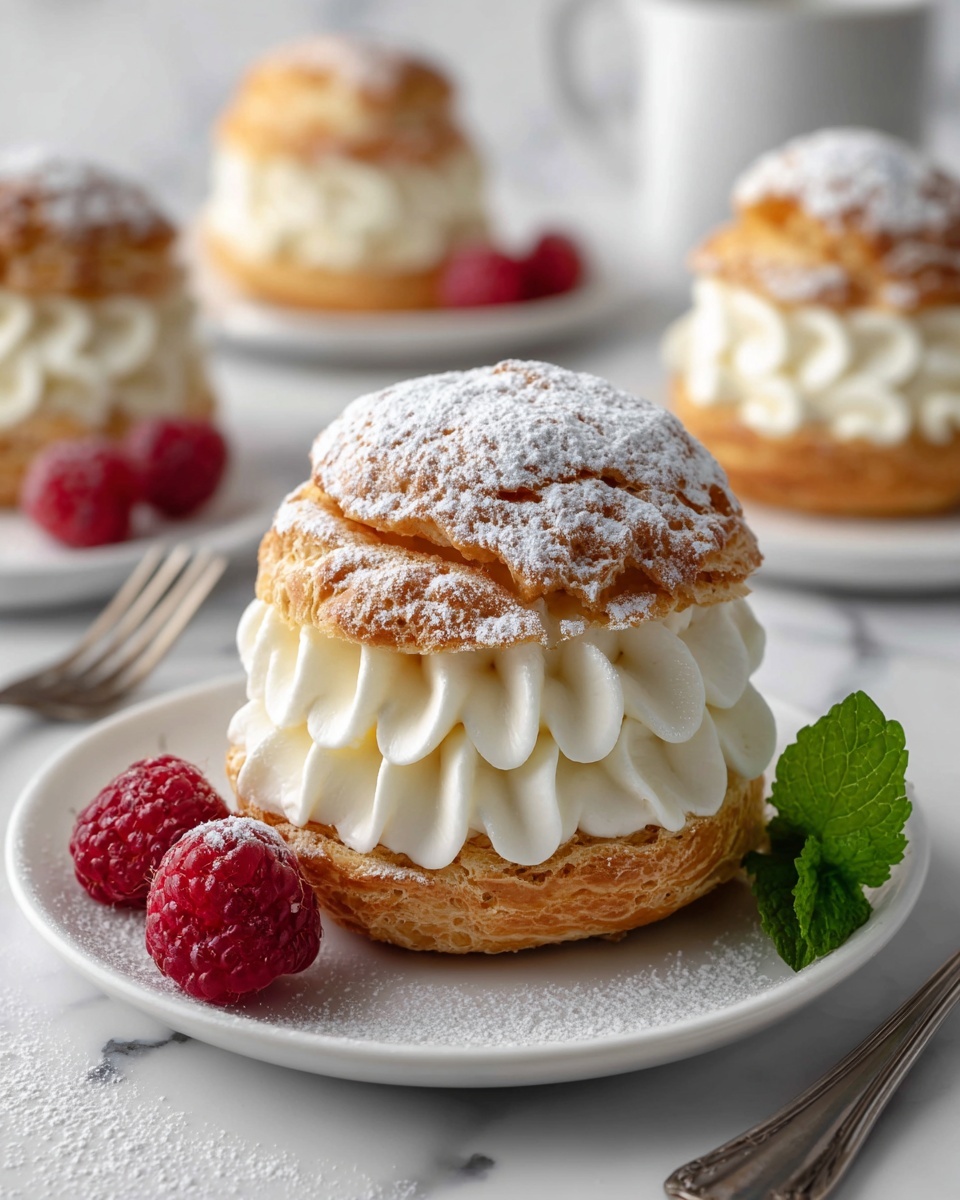
If you’re ready to dive into a world of light, airy, and irresistibly versatile pastries, then this Classic Choux Pastry (Pâte à Choux) Recipe is your golden ticket. This beloved French dough is the foundation for so many of our favorite treats like éclairs, cream puffs, and profiteroles. What makes it truly magical is its unique cooking method that creates a dough capable of puffing up into hollow shells—perfect for filling with anything your heart desires. Whether you’re an experienced baker or a kitchen newcomer, mastering this recipe will elevate your dessert game to delicious new heights.
Ingredients You’ll Need
Believe it or not, the ingredients for this Classic Choux Pastry (Pâte à Choux) Recipe are incredibly simple, but each plays a crucial role in creating the perfect texture and flavor. From the rich butter adding creaminess to the eggs which give the dough its structure and puff, understanding their purpose helps you appreciate every step of the process.
- ½ cup water: Provides moisture to steam and puff up the dough during baking.
- ½ cup milk: Adds richness and aids in browning for a beautifully golden finish.
- ½ cup unsalted butter: Delivers essential fat for a tender, flavorful dough.
- ¼ teaspoon salt: Enhances the overall flavor, balancing the sweetness.
- 2 teaspoons sugar: Slight sweetness to complement savory or sweet fillings.
- 1 cup all-purpose flour: The structure-builder that turns liquid into dough.
- 4 large eggs, beaten: Crucial for creating the dough’s rise and delicate texture.
- 1 large egg, beaten (for brushing): Helps achieve a shiny, golden crust on your pastries.
How to Make Classic Choux Pastry (Pâte à Choux) Recipe
Step 1: Prepare Oven and Baking Sheet
Start by preheating your oven to 425°F (220°C). While it warms, line a baking sheet with parchment paper and lightly brush the surface with water. This prevents the dough from sliding around as it bakes, ensuring evenly shaped puffs.
Step 2: Combine Liquids and Butter
In a medium saucepan, bring together the water, milk, unsalted butter, salt, and sugar over medium-high heat. Let it come to a full boil so the butter is completely melted and the mixture is hot enough to cook the flour efficiently later on.
Step 3: Add Flour
Once boiling, remove the pan from heat and stir in the flour all at once using a wooden spoon. Keep stirring vigorously until the dough pulls away from the sides and forms a smooth ball. Then, return the pan to low heat and cook the dough for 2 more minutes to dry it out slightly, which helps it form the perfect puff later.
Step 4: Cool and Add Eggs
Transfer the dough to a mixing bowl and let it cool just enough so it won’t scramble the eggs. Add the beaten eggs one at a time, stirring vigorously after each addition. This takes some elbow grease, but you’ll see the dough transform into a thick, smooth, and glossy batter—this is the magic texture that creates the legendary puff.
Step 5: Pipe and Shape Pastries
Fill a piping bag fitted with a round tip (about 1-2 cm wide) with your choux dough. Pipe out your desired shapes onto the prepared baking sheet—classic éclair shapes or small round puffs both work beautifully here.
Step 6: Brush with Egg
Lightly brush the tops of your piped dough with the beaten egg. This step is crucial for that stunning golden color and glossy finish. If you notice any sharp piping tips, gently flatten them with your finger so the pastries rise evenly.
Step 7: Bake
Pop the tray into the oven on the middle rack. Bake for 10 minutes at 425°F (220°C). Then lower the temperature to 375°F (190°C) and continue baking for an additional 15-20 minutes or until the pastries turn golden brown and puff up nicely. Avoid opening the oven during this time to prevent them from collapsing.
Step 8: Cool and Pierce
Once out of the oven, quickly pierce each pastry with a sharp knife or toothpick to let escaping steam release and prevent sogginess. Let them cool completely on a wire rack, patiently waiting for the moment you fill them with deliciousness.
Step 9: Fill and Serve
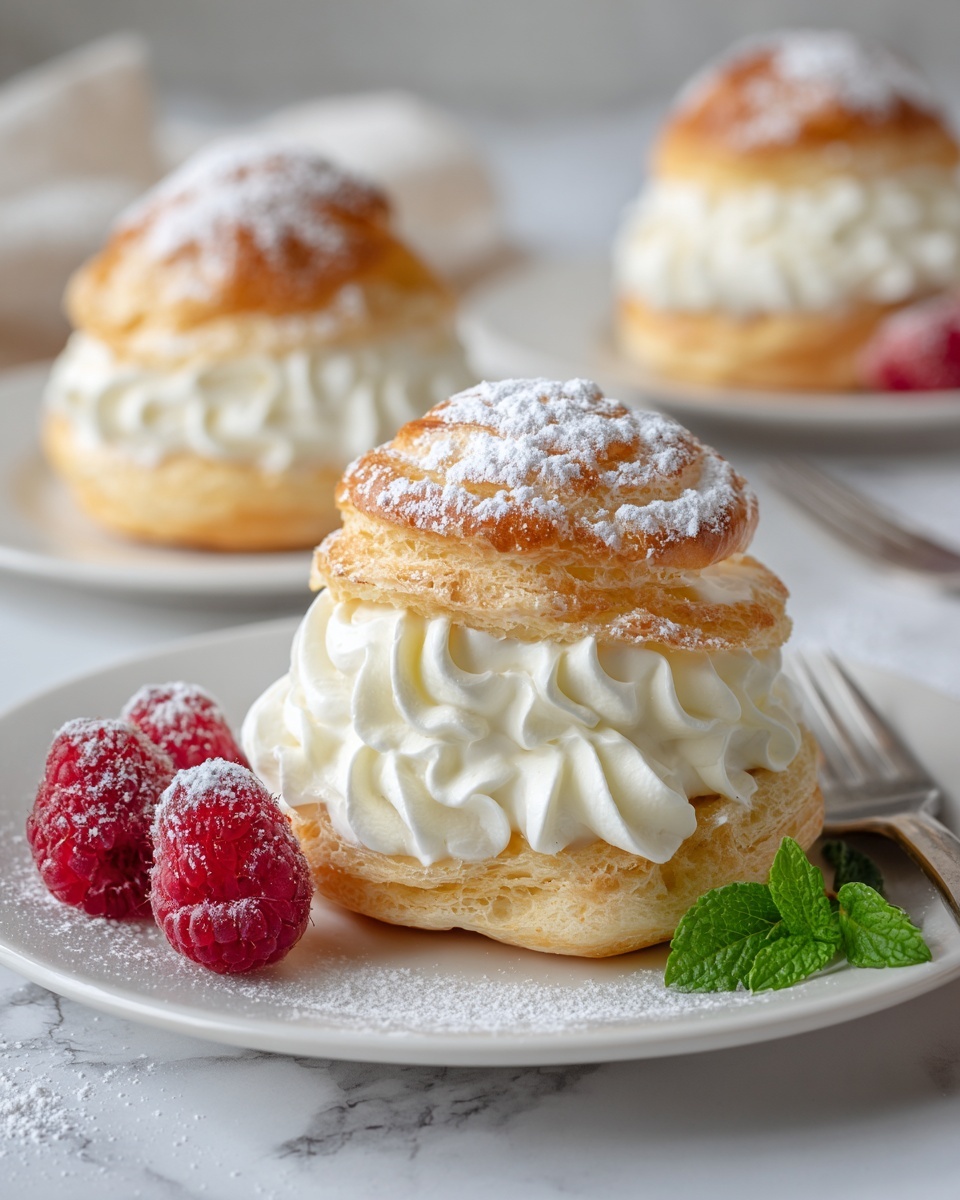
Fill your choux pastries with your favorite fillings like fluffy whipped cream, luscious vanilla custard, or fruity jam. The hollow interiors make them a perfect vessel for endless tasty possibilities!
How to Serve Classic Choux Pastry (Pâte à Choux) Recipe
Garnishes
Your beautifully baked choux pastries shine even more with simple garnishes. Dust a light sprinkle of powdered sugar for an elegant look, drizzle chocolate or caramel sauce for extra decadence, or top with fresh berries to add brightness and color.
Side Dishes
Though often enjoyed as standalone treats, choux pastries can complement a refreshing side like a mixed berry salad or a scoop of vanilla ice cream. These pairings balance richness with something light and fresh, making your dessert experience wonderfully balanced.
Creative Ways to Present
Feeling adventurous? Arrange your éclairs or cream puffs on a tiered dessert stand for a spectacular presentation at gatherings. Or serve small profiteroles dipped in warm chocolate sauce for an interactive dessert everyone will love. The possibilities are as limitless as your creativity!
Make Ahead and Storage
Storing Leftovers
If you have any leftover choux pastry, store them in an airtight container at room temperature for up to two days. Keep them dry and avoid refrigeration to preserve that cherished crispness on the outside.
Freezing
You can freeze unfilled, baked choux pastries by placing them in a single layer on a baking sheet to freeze individually, then transferring them to a freezer-safe bag. They’ll keep well for up to one month, making this a convenient option for future dessert emergencies.
Reheating
To bring frozen or day-old pastries back to life, warm them in a 350°F (175°C) oven for about 5-10 minutes. This refreshes their crisp exterior while keeping the interior light and airy, ready to be filled with your favorite creams or custards.
FAQs
Can I substitute all milk for water in this recipe?
While you can use only water, milk adds a lovely richness and helps create a tender crust and better browning. For the best texture and flavor in your Classic Choux Pastry (Pâte à Choux) Recipe, it’s ideal to include both.
Why doesn’t my choux pastry puff up?
This usually happens if the dough is too wet or eggs are added incorrectly. Make sure to cook the dough enough to dry it slightly, and add eggs one at a time with thorough mixing to achieve the proper consistency.
Can I make savory choux with this recipe?
Absolutely! The basic dough is neutral and perfect for both sweet and savory applications. Skip the sugar and fill with cheese, herbs, or your favorite savory fillings for appetizers that impress.
How do I keep the pastry from becoming soggy after filling?
Let the choux shells cool completely and fill them just before serving. If you must fill ahead, avoid watery fillings or pipe a layer of chocolate inside the shell to create a moisture barrier.
Is it necessary to brush the pastries with egg before baking?
Brushing with egg wash isn’t mandatory, but it gives the exterior a glossy, golden finish that looks stunning and adds a slight crispiness. It’s a small step with a big payoff in visual appeal.
Final Thoughts
Baking this Classic Choux Pastry (Pâte à Choux) Recipe might seem daunting at first, but trust me, once you’ve mastered it, you’ll open a door to endless pastry creativity. Whether you fill them with creamy custard, luscious whipped cream, or savory delights, these puffs never fail to delight. So grab your mixing bowl and get ready to create a batch of golden, airy choux that will wow your friends and family every single time!
Print
Classic Choux Pastry (Pâte à Choux) Recipe
- Prep Time: 20 minutes
- Cook Time: 45 minutes
- Total Time: 1 hour 5 minutes
- Yield: 24 servings
- Category: Dessert
- Method: Baking
- Cuisine: French
Description
This classic Choux Pastry (Pâte à Choux) recipe teaches you how to create light, airy, and golden pastries perfect for éclairs, cream puffs, or gougères. Made with simple ingredients like water, milk, butter, flour, and eggs, this versatile dough puffs beautifully in the oven to form hollow centers perfect for filling with your favorite creams or custards.
Ingredients
Liquid Ingredients
- ½ cup water
- ½ cup milk
- 4 large eggs, beaten
- 1 large egg, beaten (for brushing pastries)
Dry Ingredients
- 1 cup all-purpose flour
- ¼ teaspoon salt
- 2 teaspoons sugar
Fat
- ½ cup unsalted butter
Instructions
- Prepare Oven and Baking Sheet: Preheat your oven to 425°F (220°C). Line a baking sheet with parchment paper and lightly brush it with water to help prevent the dough from sticking.
- Combine Liquids and Butter: In a medium saucepan over medium-high heat, combine water, milk, unsalted butter, salt, and sugar. Bring this mixture to a rolling boil, ensuring the butter is fully melted.
- Add Flour: Remove the pan from heat, then add the all-purpose flour all at once. Stir vigorously with a wooden spoon until the mixture forms a smooth ball of dough that pulls away from the sides of the pan. Return the pan to low heat and cook the dough for an additional 2 minutes while stirring constantly to dry out the dough slightly.
- Cool and Add Eggs: Transfer the dough to a mixing bowl and allow it to cool slightly. Once it has cooled enough to avoid cooking the eggs, add the beaten eggs one at a time, stirring vigorously after each addition until the dough is smooth, glossy, and fully incorporates the eggs.
- Pipe Pastries: Spoon the choux dough into a piping bag fitted with a round tip approximately 1–2 cm wide. Pipe the dough onto the prepared baking sheet in the desired shapes—either éclairs or small choux balls.
- Brush with Egg: Lightly brush the piped dough with the beaten egg to give the pastries a shiny, golden finish. Smooth any pointed tips with your finger to prevent misshapen pastries.
- Bake: Place the baking sheet in the oven on the middle rack and bake at 425°F for 10 minutes. Then reduce the oven temperature to 375°F (190°C) and bake for an additional 15 to 20 minutes until the pastries are puffed, golden brown, and crisp.
- Cool and Pierce: Remove the pastries from the oven and immediately pierce each one with a small knife or toothpick to allow steam to escape. Cool them completely on a wire rack to maintain crispness.
- Fill and Serve: Once completely cooled, fill your choux pastries with whipped cream, vanilla custard, jam, or any preferred filling. Serve fresh for best texture and flavor.
Notes
- The key to perfect choux pastry is to properly cook the dough on the stovetop to remove excess moisture before adding eggs.
- Be sure to let the dough cool slightly before adding eggs to prevent scrambling.
- Piercing the pastries right after baking prevents sogginess by allowing steam to escape.
- Use fresh eggs for the best rise and texture.
- You can freeze baked choux pastry and fill them after thawing.
- Adjust baking times slightly depending on your oven’s calibration and the size of your piped pastries.


