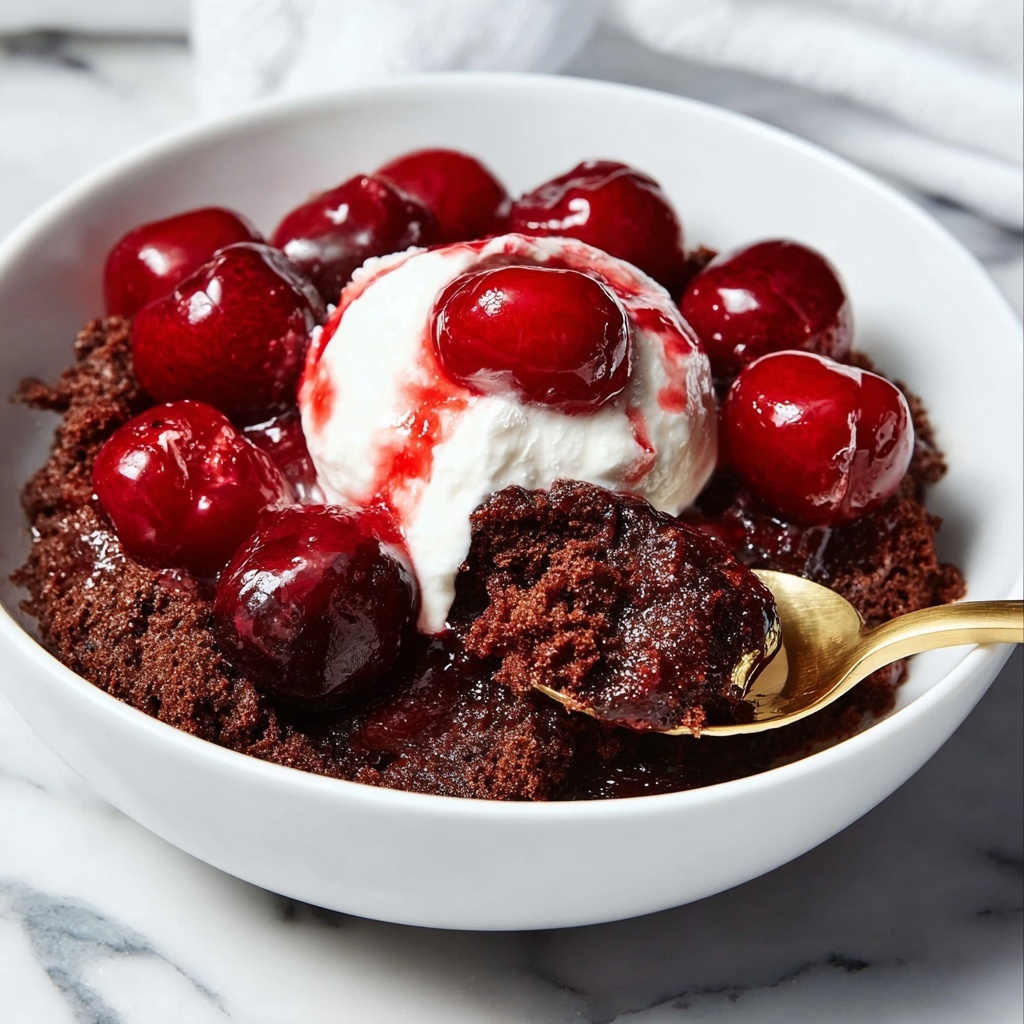
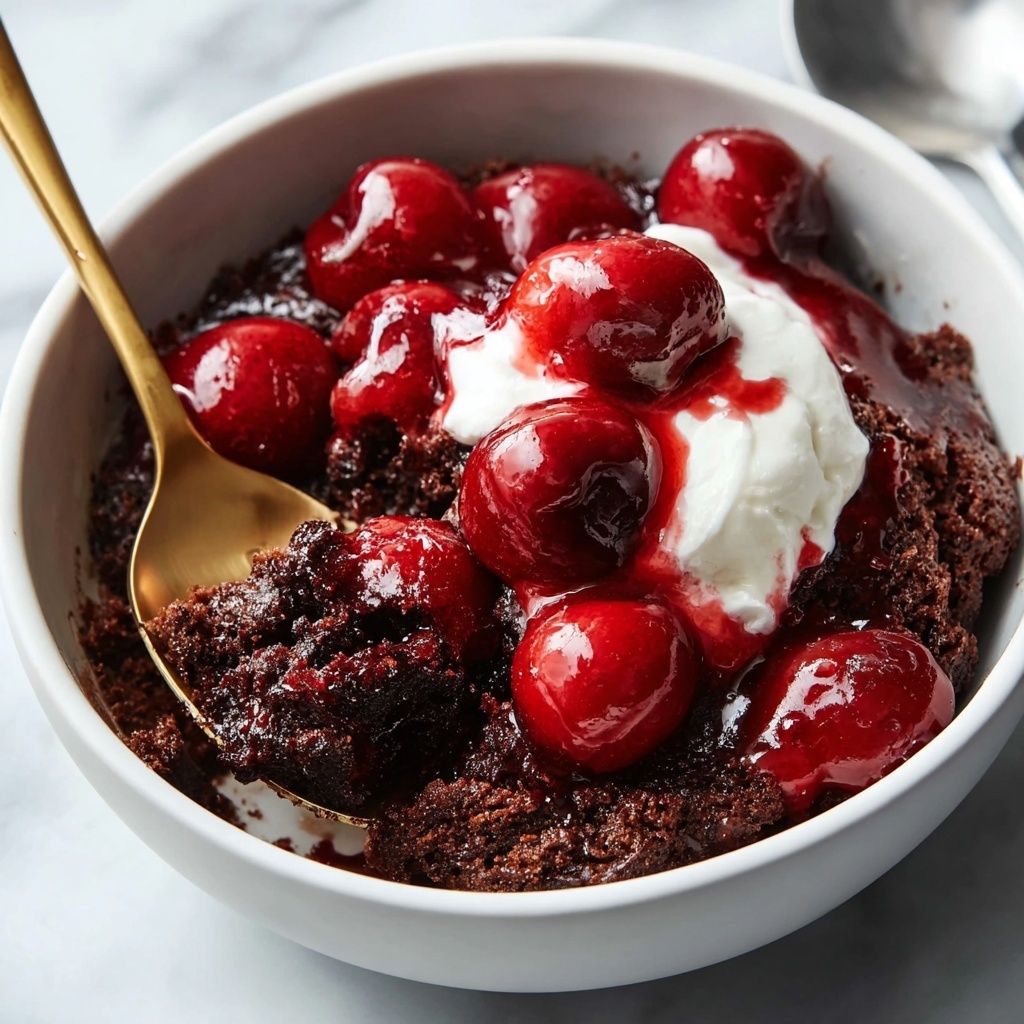
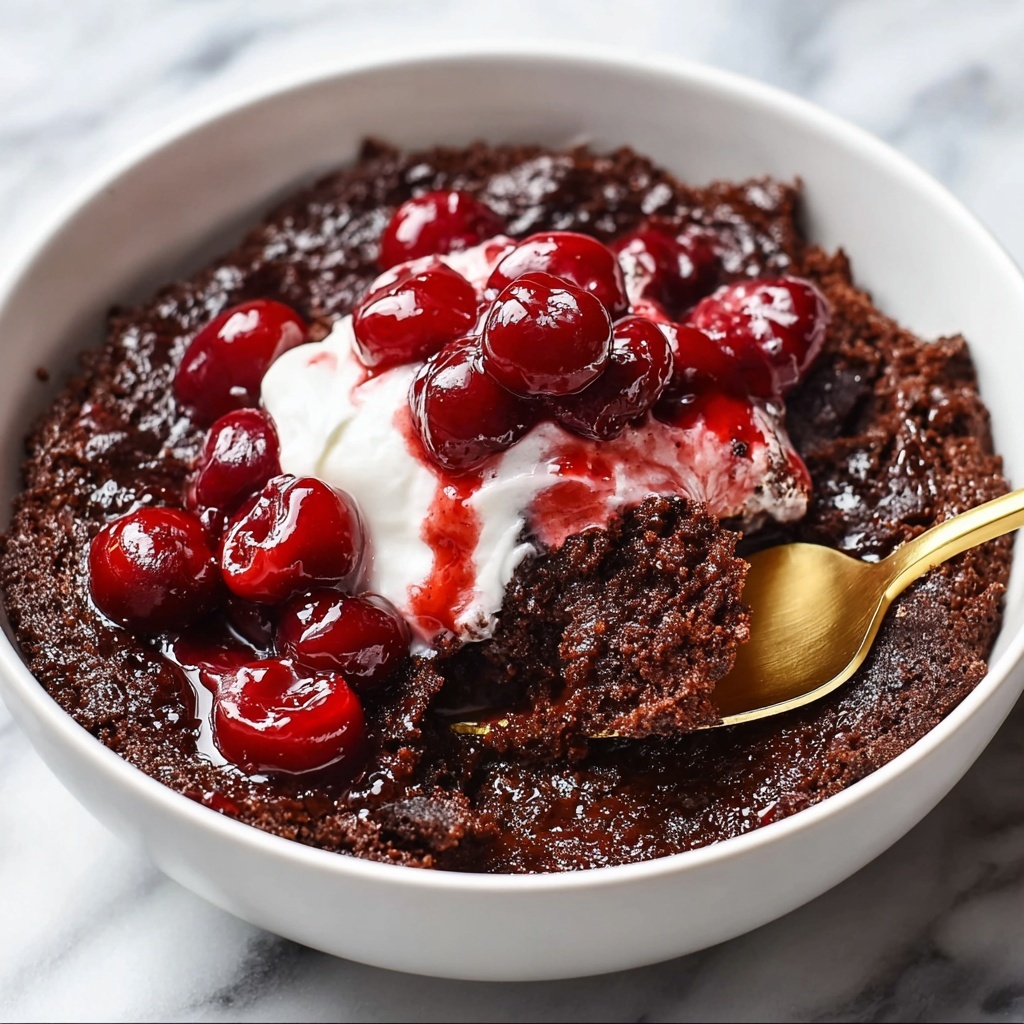
If you’re craving a dessert that’s both effortless and absolutely irresistible, this Chocolate Cherry Dump Cake Recipe is exactly what you need in your baking repertoire. Imagine luscious cherry pie filling bubbling underneath a rich, fudgy devil’s food cake topping that’s crisp on the outside and tender inside. It’s the kind of comfort dessert that practically makes itself, but tastes like you spent hours in the kitchen. Whether you’re a busy weeknight baker or looking for a crowd-pleasing treat, this recipe delivers big on flavor with minimal fuss.
Ingredients You’ll Need
This Chocolate Cherry Dump Cake Recipe is all about simplicity, and each ingredient has an important role in creating its signature taste and texture. From the bright burst of cherries to the deep chocolate goodness and buttery finish, every component combines for a perfectly balanced dessert.
- Cherry pie filling (2 cans, 21 ounces each): Provides a sweet, tangy base packed with whole cherries that add juicy texture and vibrant color.
- Devil’s food cake mix (1 box): The foundation for the rich, chocolatey top layer that crisps nicely in the oven.
- Butter (3/4 cup, melted): Keeps the cake moist and helps create that crisp, golden crust on top.
- Whipped topping: Adds a light, creamy contrast when serving, perfect for balancing the dessert’s richness.
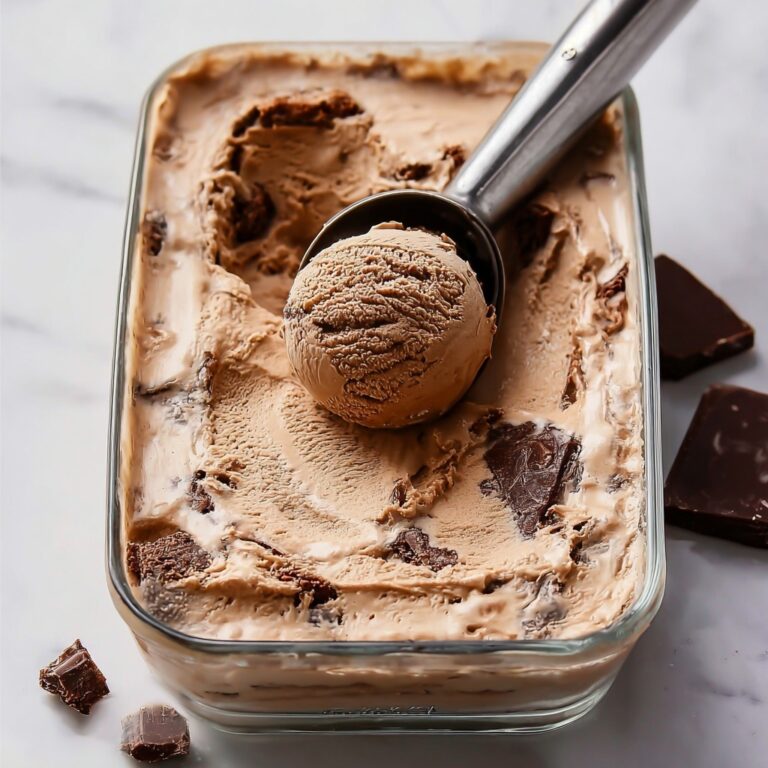
- Vanilla ice cream: Optional but highly recommended; the cold, smooth vanilla flavor pairs wonderfully with the warm cake.
How to Make Chocolate Cherry Dump Cake Recipe
Step 1: Preheat Oven and Prepare Pan
Start by heating your oven to 350°F (175°C). Make sure to spray the bottom of a 13×9-inch baking dish with cooking spray to prevent your luscious dump cake from sticking anywhere and give you a clean release after baking.
Step 2: Layer Cherry Filling
Evenly spread both cans of cherry pie filling across the bottom of the prepared pan. This juicy layer acts as the sweet and tangy base, so be sure it’s well-distributed for perfect flavor in every bite.
Step 3: Add Cake Mix
Next, sprinkle the dry devil’s food cake mix right on top of the cherries, covering every inch evenly. This dry layer might seem odd, but once baked, it turns into a moist, chocolatey topping that perfectly contrasts with the fruit beneath.
Step 4: Pour Melted Butter
Slowly pour the melted butter over the cake mix, trying to cover as much area as possible. Tilt the pan gently to help the butter reach all spots, though a few dry patches are fine since the heat will work its magic and meld everything together.
Step 5: Bake the Cake
Place the dish in your preheated oven and bake for 40 to 45 minutes. You’ll know it’s done when the edges bubble invitingly and the top is set with a slightly crisp texture — that’s your signal that this cake is ready to be enjoyed.
Step 6: Cool and Serve
Let the cake cool for about 10 minutes. Serving it warm is the best way to enjoy the gooey cherry filling balanced with the rich chocolate crust. Add a dollop of whipped topping or a scoop of vanilla ice cream for extra indulgence.
How to Serve Chocolate Cherry Dump Cake Recipe
Garnishes
Elevate your Chocolate Cherry Dump Cake Recipe by adding a generous swirl of whipped topping or a scoop of creamy vanilla ice cream. A sprinkle of mini chocolate chips or a few fresh cherries on top can also add a delightful finishing touch and invite guests to dive right in.
Side Dishes
This dessert pairs beautifully with lighter sides like fresh fruit salad or a simple green tea to balance out the richness. For a true decadent experience, serve it alongside a cup of rich hot coffee or a glass of dessert wine to complement the chocolate-cherry flavors.
Creative Ways to Present
For a fun twist, spoon the Chocolate Cherry Dump Cake Recipe into parfait glasses layered with whipped cream or mascarpone cheese. Or serve it in individual ramekins with a drizzle of chocolate sauce and a mint leaf for a charming presentation that’s perfect for dinner parties or special occasions.
Make Ahead and Storage
Storing Leftovers
Store any leftover Chocolate Cherry Dump Cake Recipe in an airtight container in the refrigerator. It will stay moist and flavorful for up to 4 days. To keep it tasting fresh, reheat gently to revive that warm, gooey texture before serving.
Freezing
You can freeze this dessert for longer storage by wrapping it tightly with plastic wrap and aluminum foil. Freeze for up to 2 months, then thaw overnight in the fridge before reheating. Just remember, texture is best enjoyed fresh, but freezing is a great option for prepping in advance.
Reheating
To reheat, warm individual portions in the microwave for 30 to 45 seconds or place the entire dish in a 350°F oven for about 15 minutes. Keep an eye on it so it doesn’t dry out, and serve warm with your favorite toppings.
FAQs
Can I use fresh cherries instead of canned pie filling?
Fresh cherries do bring a lovely flavor but might release more juice and affect the texture. If you prefer fresh, consider cooking them down with some sugar and a thickener like cornstarch to mimic the pie filling consistency.
Is it possible to make this recipe gluten-free?
Absolutely! Substitute the devil’s food cake mix with a gluten-free chocolate cake mix. Just make sure to check the labels to ensure all ingredients are gluten-free, and bake as directed.
Can I make this dessert vegan?
While the original calls for butter and cake mix containing eggs and dairy, vegan versions are possible with vegan butter substitutes and a dairy-free chocolate cake mix. Be sure to double-check ingredients to fit your dietary needs.
What makes this called a “dump” cake?
“Dump” cake gets its name because you literally dump the ingredients into your pan with minimal mixing or fuss. It’s a quick and easy method that produces delicious, layered cakes without complicated steps.
How can I tell when the cake is done baking?
You’re looking for bubbly edges where the cherry filling is visibly cooking and a top that feels firm to the touch, with a lightly crisp surface. Insert a toothpick into the cake topping; it should come out with moist crumbs but no raw batter.
Final Thoughts
There’s something undeniably magical about how simple ingredients can transform into such a rich and comforting treat with this Chocolate Cherry Dump Cake Recipe. Easy to make, yet guaranteed to impress, it’s perfect for any occasion where you want a sweet finish without the stress. Trust me, once you try it, this recipe will become one of your favorites to share and enjoy again and again.
Print
Chocolate Cherry Dump Cake Recipe
- Prep Time: 5 minutes
- Cook Time: 40 minutes
- Total Time: 45 minutes
- Yield: 6 servings
- Category: Dessert
- Method: Baking
- Cuisine: American
Description
This easy and delicious Chocolate Cherry Dump Cake combines sweet cherry pie filling with rich devil’s food cake mix and melted butter, all baked together into a warm, bubbly dessert. Topped with whipped topping or vanilla ice cream, it’s a perfect treat for any occasion requiring minimal effort but maximum flavor.
Ingredients
Filling
- 2 cans (21 ounces each) cherry pie filling
Cake Topping
- 1 box devil’s food cake mix
- 3/4 cup butter, melted
Serving
- Whipped topping, for serving (optional)
- Vanilla ice cream, for serving (optional)
Instructions
- Preheat Oven and Prepare Pan: Heat oven to 350°F (175°C). Spray the bottom of a 13×9-inch baking dish with cooking spray to prevent sticking.
- Layer Cherry Filling: Spread the cherry pie filling evenly over the bottom of the prepared baking dish to form the base layer.
- Add Cake Mix: Sprinkle the dry devil’s food cake mix evenly over the cherry pie filling, covering it completely to ensure an even cake layer.
- Add Butter: Pour the melted butter evenly over the entire surface of the dry cake mix. Tilt the pan gently to help the butter coat as much of the topping as possible. Some dry spots are fine as they will bake through.
- Bake: Place the dish in the oven and bake for 40 to 45 minutes or until the edges are bubbly and the cake topping is set and slightly browned.
- Cool and Serve: Remove from the oven and let cool about 10 minutes before serving. Serve warm with whipped topping or a scoop of vanilla ice cream if desired.
Notes
- You can substitute cherry pie filling with other fruit pie fillings like blueberry or apple for variety.
- Use salted or unsalted butter according to taste preference; if using salted butter, you might omit added salt elsewhere.
- Allowing the cake to cool slightly will help it set and improve slicing and serving consistency.
- Leftovers can be refrigerated and reheated gently for serving later.

