
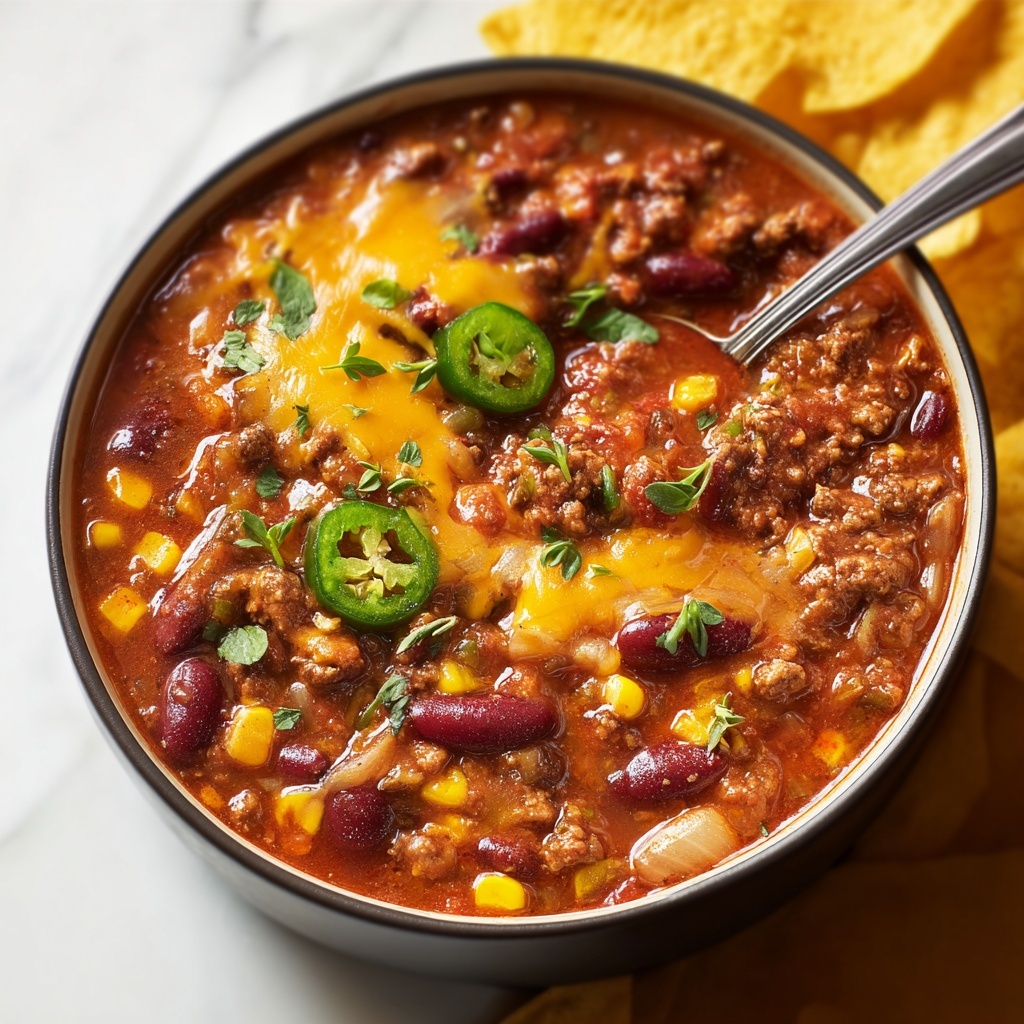
If you’re searching for a hearty, comforting dish that brings together the best of Tex-Mex flavors with a rich, creamy twist, this Cheesy Enchilada Chili Recipe is going to become your new go-to. Packed with tender ground beef, flavorful beans, fire-roasted green chilies, and a luscious blend of salsa con queso and sour cream, every spoonful delivers layers of taste and texture that warm the soul. Whether it’s a chilly evening or a gathering with friends, this chili hits all the right notes and comes together in under 40 minutes, making it as practical as it is delicious.
Ingredients You’ll Need
These ingredients are wonderfully simple yet play vital roles in creating the magic of this Cheesy Enchilada Chili Recipe. Each one brings its own texture, flavor, or color that merges into a vibrant, hearty dish you won’t stop craving.
- Ground beef: The rich and savory foundation that makes the chili satisfyingly meaty.
- Taco seasoning: Adds that classic Tex-Mex spice punch without overpowering the other flavors.
- Water: Helps the seasoning blend evenly into the beef for a perfect flavor infusion.
- Tostitos Salsa Con Queso: Creamy, cheesy, and slightly tangy, this salsa sets the chili apart with cheesy richness.
- Potato soup (canned): A surprising ingredient that adds creamy texture and depth to the chili base.
- Sour cream: Brings smoothness and a touch of tang that balances the spice.
- Fire-roasted diced green chilies: They provide gentle heat and a smoky, earthy note.
- Beef broth: Enhances the meaty depth and keeps the chili perfectly hearty but not dry.
- Chicken broth: A lighter broth that rounds out the flavor without heaviness.
- Frozen corn: Adds pops of sweetness and a pleasant texture contrast.
- Pinto or black beans: Essential for a traditional chili feel, adding creaminess and fiber.
How to Make Cheesy Enchilada Chili Recipe
Step 1: Brown the Beef
Begin by heating a large skillet over medium heat and adding the ground beef. Break it up with a spatula and cook until it is beautifully browned all over, which should take about 7 to 10 minutes. Once browned, drain any excess fat to keep the chili from becoming greasy, but don’t skip this step—the beef’s savory flavor is the base of the dish.
Step 2: Season the Beef
Next, stir in two tablespoons of taco seasoning and a quarter cup of water into the browned beef. The water helps the seasoning coat the meat evenly and infuse deep flavor as it cooks down. Let it simmer until the water is mostly absorbed, about 2 to 3 minutes. Then transfer this flavorful beef mixture to a large pot or Dutch oven to continue building your chili.
Step 3: Combine the Creamy Ingredients
Now it’s time to add some creamy magic—pour in one jar of Tostitos Salsa Con Queso, one can of potato soup, one and a quarter cups of sour cream, one and a quarter cups of beef broth, and half a cup of chicken broth. Stir everything gently until the sour cream melts into the mixture, giving your chili a silky, cheesy base that sets it apart from any ordinary chili.
Step 4: Add the Peppers, Corn, and Beans
To bring authentic Southwestern flavor and texture, stir in one can of fire-roasted diced green chilies, one cup of frozen corn, and one cup of your choice of pinto or black beans. These ingredients add smoky heat, a touch of natural sweetness, and hearty bite that make every spoonful a delight.
Step 5: Simmer to Perfection
Bring the chili to a gentle boil over medium heat, then immediately lower the heat to simmer. Let it cook uncovered, stirring occasionally, for 15 to 20 minutes. This simmer allows the flavors to deepen and blend beautifully. The chili will thicken slightly, giving you that comforting, stick-to-your-ribs consistency.
Step 6: Serve and Enjoy
Once your chili is perfectly simmered and bubbling with cheesy goodness, scoop it into bowls and get ready to enjoy! The aroma alone will have everyone at the table excited, and the taste won’t disappoint.
How to Serve Cheesy Enchilada Chili Recipe
Garnishes
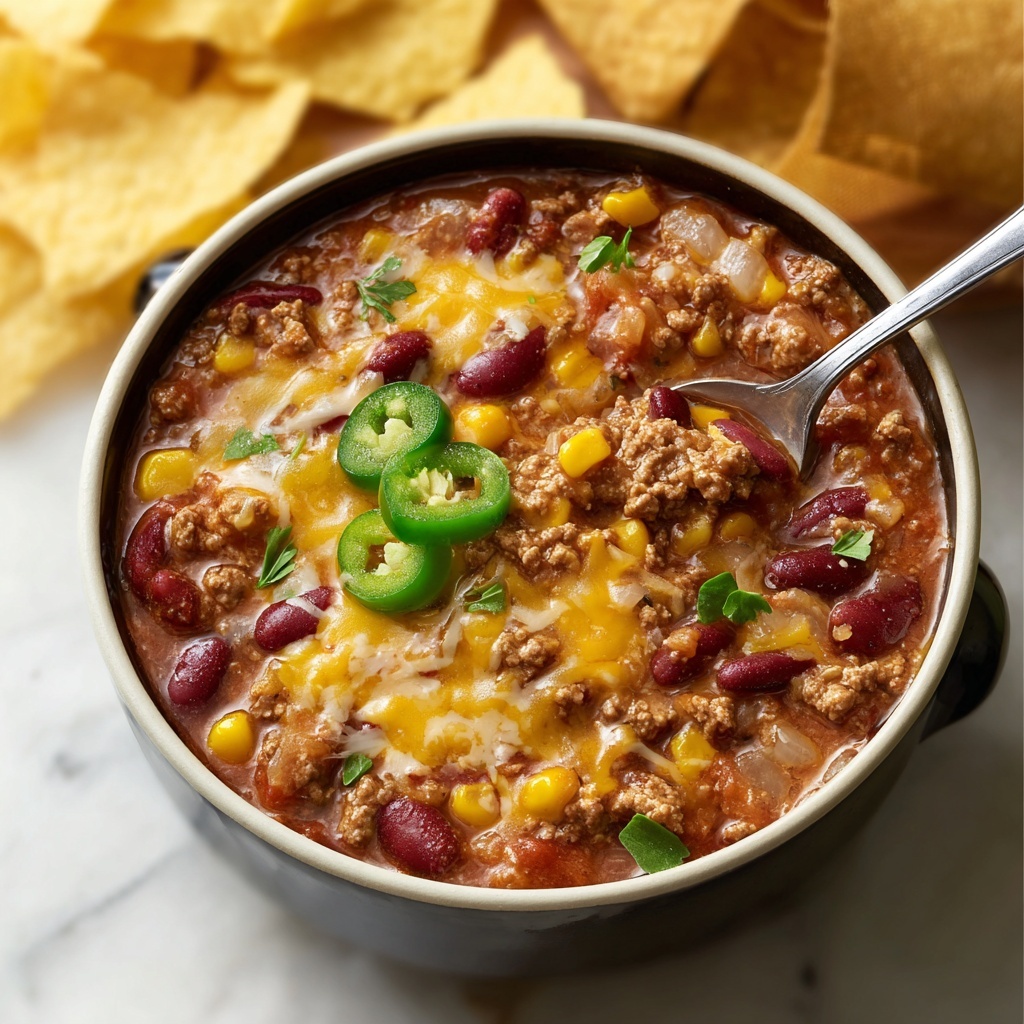
Garnishes take this chili to the next level. Consider sprinkling shredded cheddar or Monterey Jack cheese on top, a dollop of cool sour cream, and some freshly chopped cilantro for a zesty finish. Slices of avocado or a squeeze of fresh lime juice brighten the flavors and add creaminess and acidity to balance the richness.
Side Dishes
For sides, tortilla chips or Fritos are a natural match to scoop and crunch alongside. Warm cornbread, either classic or jalapeño-infused, adds a sweet and spicy complement. A simple green salad or Mexican rice also pairs beautifully, bringing fresh and hearty components that round out the meal.
Creative Ways to Present
Hosting a casual dinner or game day? Serve this chili in individual bread bowls for a fun, rustic presentation. Alternatively, top your chili with crispy fried tortilla strips or crushed chili-lime peanuts for an unexpected crunch that’ll surprise and delight. For a lighter approach, turn this into a chili-stuffed baked potato or over nachos for a cheesy, layered experience.
Make Ahead and Storage
Storing Leftovers
Leftover Cheesy Enchilada Chili keeps beautifully in an airtight container in the refrigerator for up to 4 days. The flavors actually deepen overnight, making leftovers even more irresistible. Just give it a quick stir before reheating to re-incorporate any settled ingredients.
Freezing
This chili freezes wonderfully, perfect for meal prep or saving for busy days. Portion it into freezer-safe containers, leaving space for expansion, and freeze for up to 3 months. Thaw overnight in the refrigerator before reheating for best results.
Reheating
To reheat, warm the chili gently on the stovetop over low-medium heat, stirring occasionally to prevent sticking. If it thickens too much, stir in a splash of broth or water to reach your desired consistency. Microwaving works well too for individual portions—just cover and heat in 1-minute increments, stirring in between.
FAQs
Can I make this chili vegetarian?
Absolutely! Swap out the ground beef for a plant-based meat substitute or just increase the beans and vegetables like bell peppers and zucchini. You can also use vegetable broth instead of beef and chicken broth to keep it fully vegetarian.
What type of cheese is best if I want to add extra cheese?
Cheddar, Monterey Jack, or a Mexican blend cheese all melt beautifully on top of chili. They add a gooey, savory finish that complements the enchilada-inspired flavors perfectly.
Is the potato soup really necessary?
Potato soup adds a creamy texture and a subtle depth of flavor that helps make the chili smooth and luscious. If you don’t have potato soup, you can substitute with a creamy mushroom soup or simply add extra sour cream, but the potato soup gives a unique touch.
Can I adjust the spiciness?
Definitely. The fire-roasted diced green chilies provide moderate heat, but if you prefer it milder, use mild diced green chilies or reduce the amount. For more heat, add some chopped jalapeños or a pinch of cayenne pepper when seasoning.
How can I make this recipe gluten-free?
This recipe is naturally gluten-free as long as you choose gluten-free taco seasoning, broths, and salsa con queso. Always check labels to be safe, especially on processed ingredients.
Final Thoughts
There’s just something incredibly comforting about this Cheesy Enchilada Chili Recipe that makes it an absolute favorite. It’s easy to make, incredibly flavorful, and perfect for sharing or savoring solo. If you want a chili that brings warmth, cheesy goodness, and a little southwestern flair all in one pot, this recipe is your answer. Trust me, once you try it, it’ll be a staple in your cooking rotation for years to come.
Print
Cheesy Enchilada Chili Recipe
- Prep Time: 10 minutes
- Cook Time: 25 minutes
- Total Time: 35 minutes
- Yield: 6 servings
- Category: Main Dish
- Method: Stovetop
- Cuisine: Mexican-American
Description
This Cheesy Enchilada Chili is a hearty and flavorful dish that combines ground beef, salsa con queso, potato soup, and a medley of beans and vegetables. Perfect for a cozy dinner, it simmers on the stovetop to create a rich, creamy chili with a delicious cheesy enchilada twist. Serve with tortilla chips or your favorite toppings for a comforting meal that the whole family will enjoy.
Ingredients
Main Ingredients
- 1 pound ground beef
- 2 tablespoons taco seasoning
- 1/4 cup water
- 1 jar Tostitos Salsa Con Queso (approx. 15 ounces)
- 1 can potato soup (approx. 10.5 ounces)
- 1 1/4 cups sour cream
- 1 can fire-roasted diced green chilies (approx. 4 ounces)
- 1 1/4 cups beef broth
- 1/2 cup chicken broth
- 1 cup frozen corn
- 1 cup pinto beans or black beans, drained and rinsed if canned
Instructions
- Brown the Beef: Heat a large skillet over medium heat. Add the ground beef and cook, breaking it up into small pieces, until fully browned. Drain any excess fat from the skillet.
- Season: Stir in the taco seasoning and 1/4 cup water into the browned beef. Continue cooking until the water is absorbed, allowing the seasoning to fully coat the meat. Then transfer the beef mixture to a large pot or Dutch oven.
- Combine Ingredients: To the pot, add the jar of Tostitos Salsa Con Queso, can of potato soup, sour cream, beef broth, and chicken broth. Stir well to combine, ensuring the sour cream melts smoothly into the mixture.
- Add Vegetables and Beans: Mix in the can of fire-roasted diced green chilies, frozen corn, and pinto or black beans. Stir everything thoroughly to distribute the ingredients evenly.
- Simmer: Bring the chili to a gentle boil over medium heat, then reduce the heat to low to simmer. Let it cook uncovered for 15 to 20 minutes, stirring occasionally to prevent sticking and to meld the flavors together.
- Serve: Once thickened and creamy, ladle the chili into bowls. Serve hot alongside tortilla chips, Fritos, or your favorite chili toppings such as shredded cheese, chopped onions, cilantro, or sour cream.
Notes
- You can substitute ground turkey or chicken for a leaner option.
- If you prefer a spicier chili, add jalapeños or hot sauce to taste.
- Use canned beans that have been drained and rinsed to reduce sodium content.
- For a thicker chili, simmer longer or add a little tomato paste to enhance the texture.
- Leftovers store well in the refrigerator for up to 4 days and can be frozen for up to 3 months.


