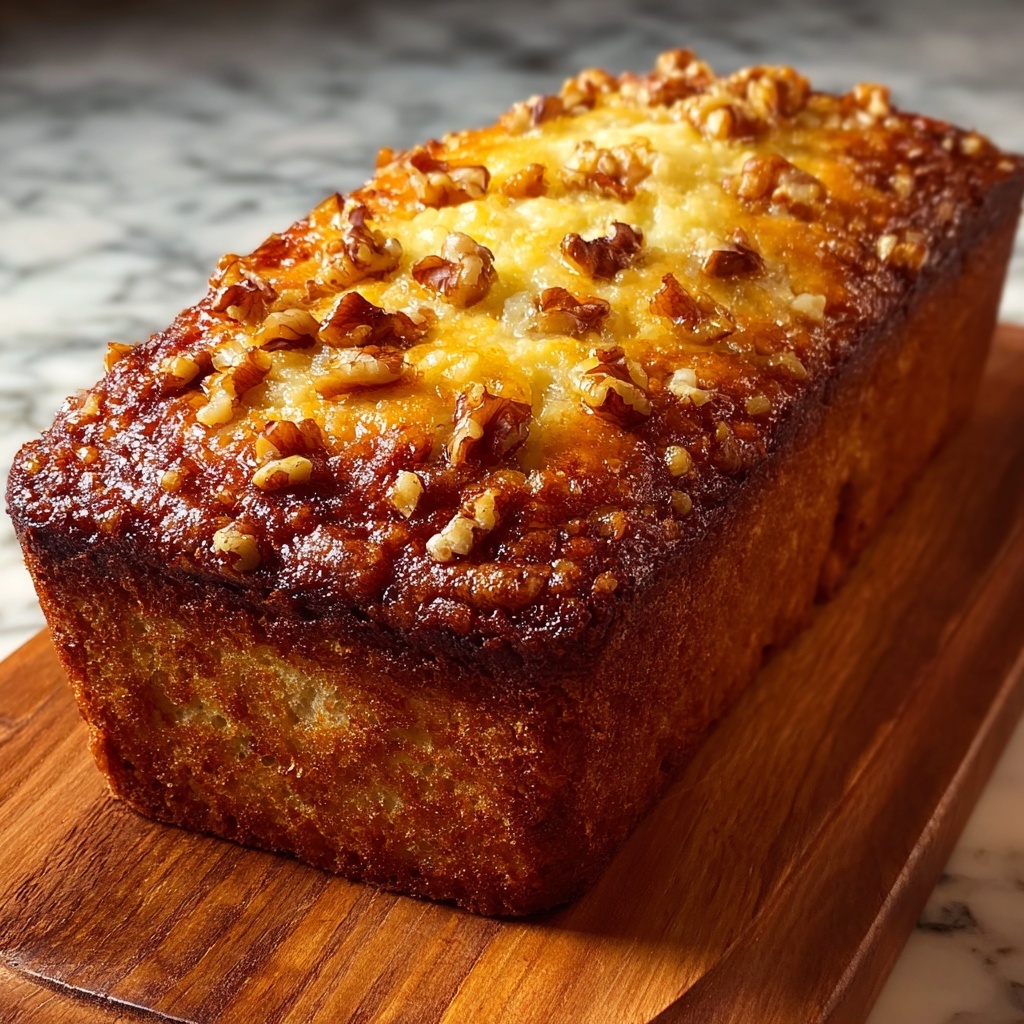
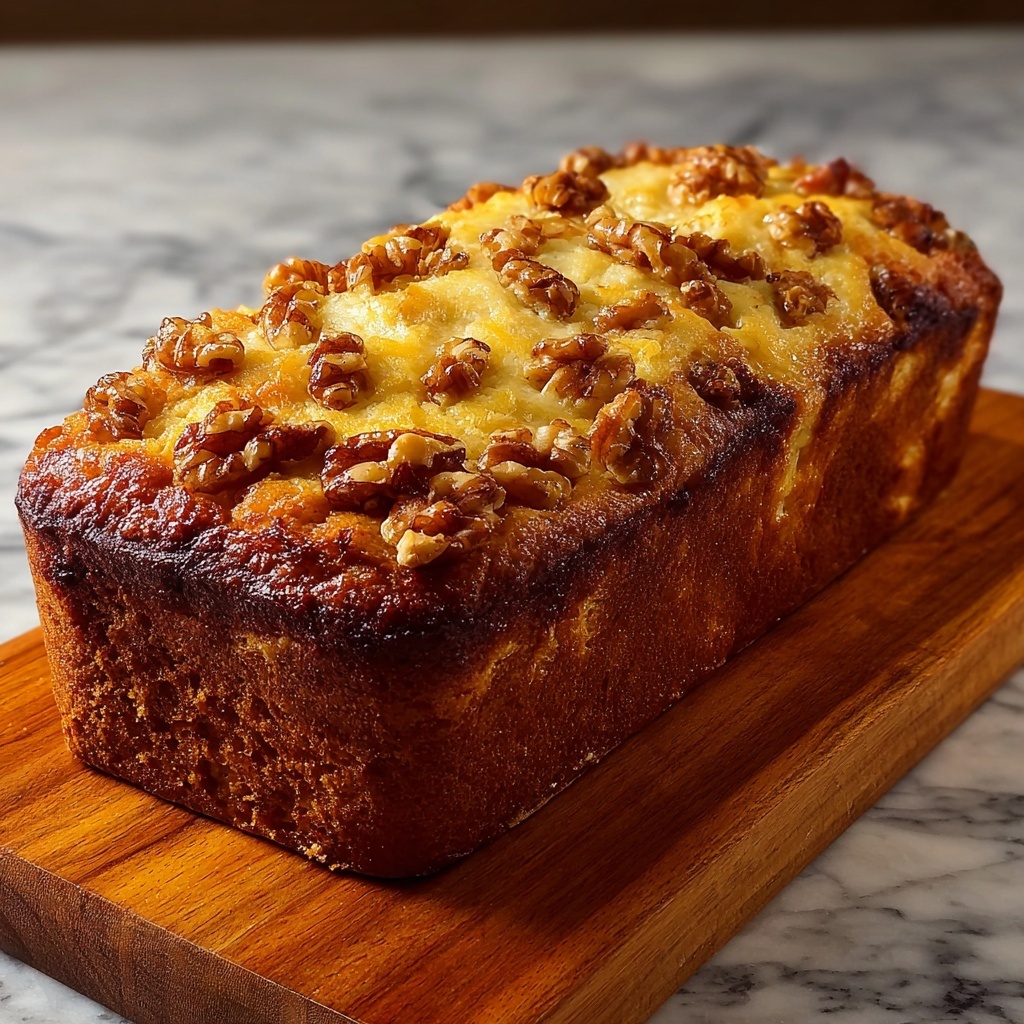
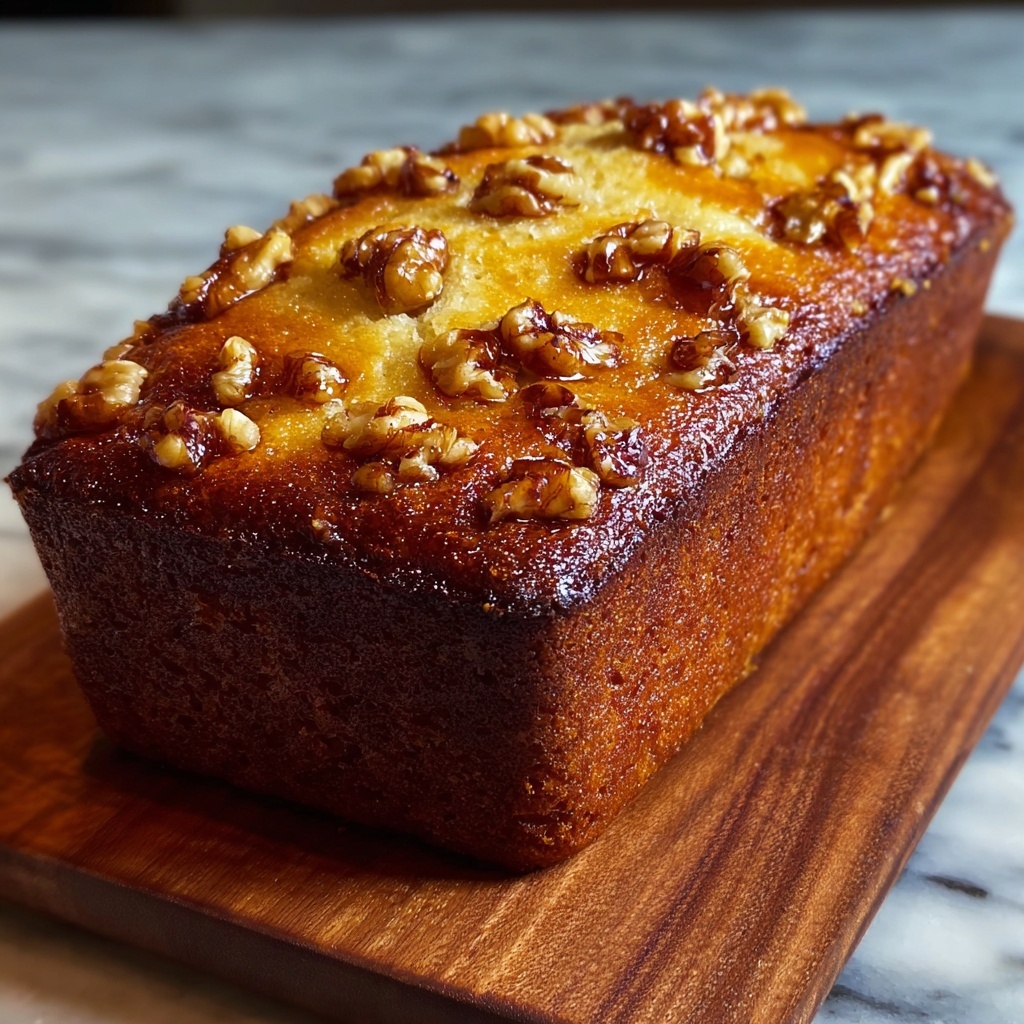
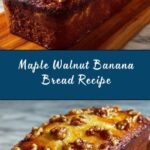
If you’re looking for a cozy, sweet treat that feels like a warm hug on a plate, the Maple Walnut Banana Bread Recipe is exactly what you need. This loaf perfectly balances the natural sweetness of ripe bananas with the rich, deep notes of pure maple syrup and the satisfying crunch of toasted walnuts. Each bite is moist, tender, and packed with comforting flavors that make it a perfect snack or a delightful breakfast companion. Whether you’re baking for a lazy Sunday morning or a cheerful gathering with friends, this recipe is sure to bring smiles and requests for seconds.
Ingredients You’ll Need
All these ingredients come together effortlessly to create a bread that’s full of flavor and texture. Each one plays a special role, from the moisture and sweetness of bananas and maple syrup to the richness of butter and the nutty crunch of walnuts.
- 3 ripe bananas: The star of the show, providing natural sweetness and moisture for a soft crumb.
- 1/2 cup (120 ml) maple syrup: Adds depth and a unique sweetness that sets this bread apart from your usual banana bread.
- 1/2 cup (115 g) unsalted butter: Melted for richness and to create that tender, melt-in-your-mouth texture.
- 2 large eggs: Bind everything together and add a bit of structure to the loaf.
- 1 teaspoon vanilla extract: Enhances the sweetness and rounds out the flavors beautifully.
- 1 1/2 cups (190 g) all-purpose flour: The foundation of the bread’s texture, keeping it moist and just dense enough.
- 1 teaspoon baking soda: Helps the bread rise perfectly, making it fluffy and soft.
- 1/4 teaspoon salt: Balances the sweetness and deepens the flavors.
- 1/2 cup (60 g) walnuts: Adds a wonderful crunch and earthiness that pairs beautifully with the maple and banana flavors.
How to Make Maple Walnut Banana Bread Recipe
Step 1: Prepare Your Oven and Pan
Begin by preheating your oven to 350°F (175°C), and grease or line a 9×5-inch loaf pan. This ensures your bread bakes evenly and pops out easily once it’s done.
Step 2: Mix the Wet Ingredients
In a large mixing bowl, mash your ripe bananas until smooth. Then stir in the melted butter, luscious maple syrup, eggs, and fragrant vanilla extract. This mixture forms the sweet and tender base that makes this banana bread so special.
Step 3: Combine the Dry Ingredients
In a separate bowl, whisk together the flour, baking soda, and salt. This simple trio is key to getting the right texture and a perfect rise for the bread.
Step 4: Bring It All Together
Slowly add the dry ingredients to the banana mixture, stirring gently just until everything is combined. Over-mixing can make the bread tough, so a gentle touch keeps it wonderfully soft.
Step 5: Fold in Those Walnuts
Chop your walnuts and fold them into the batter carefully. If you want an extra hint of maple sweetness, this is the time to drizzle in a bit more maple syrup before mixing.
Step 6: Pour and Smooth the Batter
Transfer the batter into your prepared loaf pan, smoothing out the top with a spatula. This helps the bread bake evenly and look beautiful when it’s done.
Step 7: Bake Until Golden
Bake for 50 to 60 minutes. You’ll know it’s ready when a toothpick inserted in the center comes out clean, with just a few moist crumbs clinging to it. This means you’ve got that perfect balance between moistness and structure.
Step 8: Cool Before Slicing
Allow the bread to cool in the pan for about 10 minutes. Then carefully transfer it to a wire rack to cool completely. This cooling step helps the flavors settle and makes slicing a breeze.
How to Serve Maple Walnut Banana Bread Recipe
Garnishes
Elevate each slice by adding a pat of soft butter or a drizzle of pure maple syrup on top. A sprinkle of extra chopped walnuts gives a lovely crunch that pairs perfectly with the warm, tender bread. For a touch of fresh brightness, try a few fresh berry halves alongside.
Side Dishes
This banana bread pairs beautifully with a cup of your favorite coffee or tea. For a more indulgent treat, serve it with a dollop of Greek yogurt or a scoop of vanilla ice cream, turning a simple loaf into a comforting dessert. If you’re enjoying it for breakfast, crisp bacon or a fresh fruit salad adds a nice contrast.
Creative Ways to Present
Try cutting your Maple Walnut Banana Bread into thick slices and toasting them lightly to bring out the nutty flavors even more. Drizzle with a little maple syrup and sprinkle with cinnamon sugar for a simple yet impressive twist. For brunches, serve it alongside an assortment of jams and nut butters to let everyone customize their bites.
Make Ahead and Storage
Storing Leftovers
Wrap your remaining bread tightly in plastic wrap or store it in an airtight container at room temperature. It will stay fresh and moist for up to three days, making it perfect for quick snacks or breakfast on the go.
Freezing
If you want to keep the loaf longer, freezing is an excellent option. Slice the bread first and place the slices in a freezer-safe bag, separating them with parchment paper to prevent sticking. Frozen bread can last up to three months and still taste just as delicious when thawed.
Reheating
To enjoy your Maple Walnut Banana Bread Recipe fresh again, warm slices in the toaster or oven until just heated through. This helps the flavors bloom and the bread regain its soft, tender texture. If you’re in a hurry, a quick zap in the microwave wrapped in a damp paper towel does the trick too!
FAQs
Can I substitute the walnuts for other nuts?
Absolutely! Pecans or almonds work wonderfully, offering different textures and flavors. Just keep the quantity the same and chop them finely for an even distribution throughout the bread.
Is it possible to make this vegan?
Yes, by swapping out the butter for a plant-based alternative and using flax eggs or chia eggs in place of chicken eggs, you can make a delicious vegan version. Adjust baking time slightly as needed and enjoy!
Can I use brown sugar instead of maple syrup?
While brown sugar can add a nice caramel flavor, maple syrup gives this banana bread its signature taste and moist crumb. If you do substitute, reduce other liquid sweeteners and expect a slightly different texture.
How ripe should the bananas be?
The riper the bananas, the better. You want bananas that are heavily speckled with brown or mostly brown, which means they’re sweeter and softer—perfect for blending into the batter.
Why does the recipe use baking soda and not baking powder?
Baking soda reacts with the acidity in the bananas and maple syrup, helping the bread rise and achieve a tender crumb without being too dense. Baking powder could make the texture too cakey or rubbery in this particular recipe.
Final Thoughts
You really can’t go wrong with this Maple Walnut Banana Bread Recipe. It’s straightforward to make, wonderfully flavorful, and a great way to use up those ripe bananas. Whether you’re sharing it with friends, enjoying it with your morning coffee, or just craving a cozy bite of sweetness, this recipe is a delightful kitchen companion you’ll want to revisit time and time again. Give it a try—you’re going to love every bite!
Print
Maple Walnut Banana Bread Recipe
- Prep Time: 15 minutes
- Cook Time: 50-60 minutes
- Total Time: 1 hour 15 minutes
- Yield: 1 loaf (about 8-10 slices)
- Category: Dessert
- Method: Baking
- Cuisine: American
- Diet: Vegetarian
Description
This Maple Walnut Banana Bread is a moist, naturally sweetened treat featuring ripe bananas, rich maple syrup, and crunchy walnuts. Perfect as a comforting breakfast or an afternoon snack, this recipe combines wholesome ingredients for a delicious homemade loaf baked to perfection.
Ingredients
Wet Ingredients
- 3 ripe bananas
- 1/2 cup (120 ml) maple syrup
- 1/2 cup (115 g) unsalted butter, melted
- 2 large eggs
- 1 teaspoon vanilla extract
Dry Ingredients
- 1 1/2 cups (190 g) all-purpose flour
- 1 teaspoon baking soda
- 1/4 teaspoon salt
Add-ins
- 1/2 cup (60 g) walnuts, chopped
Instructions
- Preheat and Prepare Pan: Preheat your oven to 350°F (175°C) and grease or line a 9×5-inch loaf pan to prevent sticking.
- Mash Bananas and Mix Wet Ingredients: In a large bowl, mash the ripe bananas thoroughly, then mix in the melted butter, maple syrup, eggs, and vanilla extract until you achieve a smooth, uniform batter.
- Combine Dry Ingredients: In a separate bowl, whisk together the all-purpose flour, baking soda, and salt to evenly distribute the leavening agents and seasoning.
- Incorporate Dry into Wet: Gradually add the dry ingredient mixture to the wet banana batter, stirring gently just until everything is combined; overmixing can make the bread tough.
- Add Walnuts: Fold in the chopped walnuts carefully, and if desired, drizzle a little extra maple syrup for added sweetness.
- Transfer to Loaf Pan: Pour the batter into your prepared loaf pan, smoothing the top with a spatula to ensure even baking.
- Bake: Place the pan in your preheated oven and bake the banana bread for 50-60 minutes, or until a toothpick inserted into the center comes out clean with no wet batter.
- Cool Down: Allow the bread to cool in the pan for 10 minutes before transferring it to a wire rack. Let it cool completely for best texture and easy slicing.
Notes
- Use very ripe bananas for the best natural sweetness and moist texture.
- Chopped walnuts can be replaced or combined with other nuts or seeds if preferred.
- If you like extra sweetness, you can drizzle more maple syrup on top before serving.
- Store leftover banana bread in an airtight container at room temperature for up to 3 days or freeze for longer storage.
- Ensure not to overmix your batter to keep the bread tender and soft.

