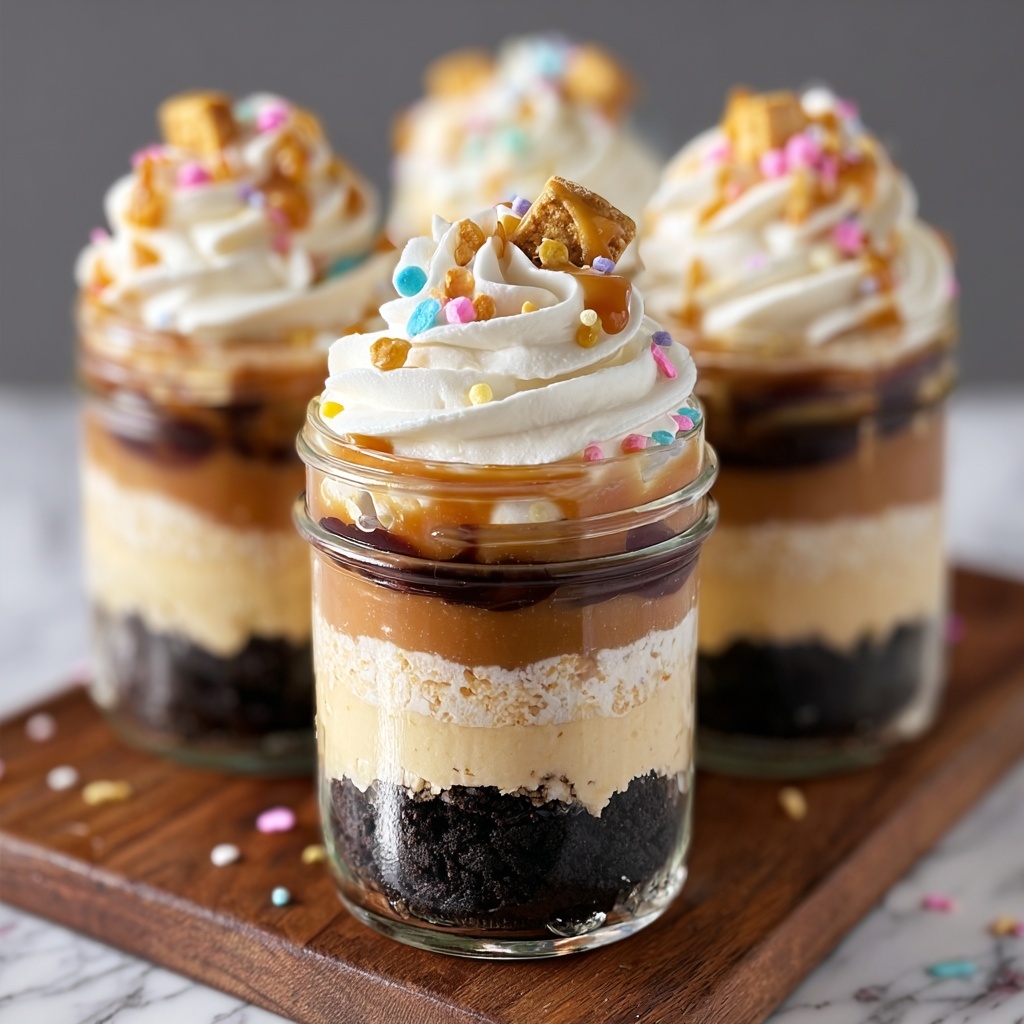
If you’re looking for a unique and delightful way to enjoy your favorite dessert, this Cake in a Jar Recipe is an absolute game-changer. Imagine perfectly moist cake baked right inside charming little mason jars, topped with creamy frosting, and served individually for a personal treat that’s both adorable and delicious. This recipe blends simplicity and style, making it perfect for parties, gifts, or just a fun weekend baking project. The best part? Each jar holds a perfectly portioned cake that’s as beautiful as it is tasty!
Ingredients You’ll Need
This Cake in a Jar Recipe relies on a handful of essential ingredients that come together to create a moist and flavorful cake with a luscious frosting finish. Each component plays a vital role in texture, moisture, and sweetness, ensuring each jar is bursting with joy.
- 1 box of cake mix (any flavor): The base of your dessert, allowing you to customize the taste to your liking with minimal effort.
- 1 cup of water: Helps hydrate the cake mix for a soft and tender crumb.
- 1/3 cup of vegetable oil: Adds moistness and keeps the cake rich without overpowering the flavors.
- 3 large eggs: Bind all the ingredients together and boost the cake’s fluffiness.
- 1/2 cup of frosting (any flavor): The sweet finishing touch, providing creaminess and enhancing visual appeal.
- 6-8 small mason jars (or any glass jars with a lid): These are more than just containers—they’re the perfect vessel for baking and serving individual cakes.
How to Make Cake in a Jar Recipe
Step 1: Prep Your Jars and Oven
Start by preheating your oven to 350°F (175°C). While it’s warming up, lightly grease the inside of each mason jar with cooking spray or butter. This step is crucial to ensure your cakes don’t stick and come out beautifully once baked.
Step 2: Mix the Cake Batter
In a large bowl, combine the cake mix, water, vegetable oil, and eggs. Make sure to follow the instructions on your cake mix box closely for the perfect batter consistency. Mixing thoroughly but gently will keep your cake light and fluffy.
Step 3: Fill the Jars
Pour the batter into each jar, filling them about halfway. This prevents overflow and gives plenty of room for the cakes to rise to fluffy perfection during baking. Remember, this step sets the stage for those charming, jar-sized cakes.
Step 4: Bake Until Perfect
Place all your filled jars on a baking sheet for stability and bake for 25-30 minutes. To check for doneness, insert a toothpick into the center of the cakes; if it comes out clean, your cakes are ready. This part always feels exciting because those sweet aromas start filling your kitchen.
Step 5: Cool Completely
Let the cakes cool right inside the jars to maintain their shape and avoid any mess. Patience here pays off because the cakes will settle, making them easier to frost and serve without wrecking their charming presentation.
Step 6: Frost to Perfection
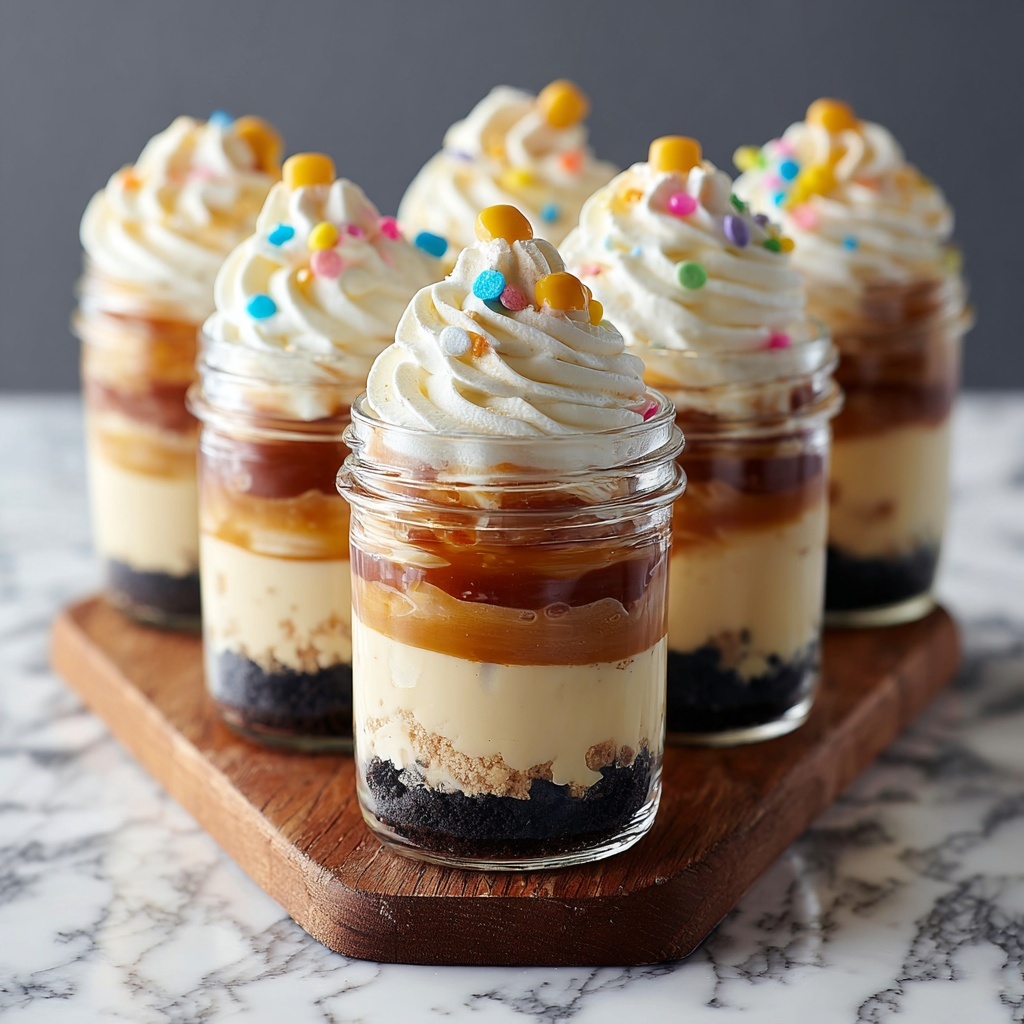
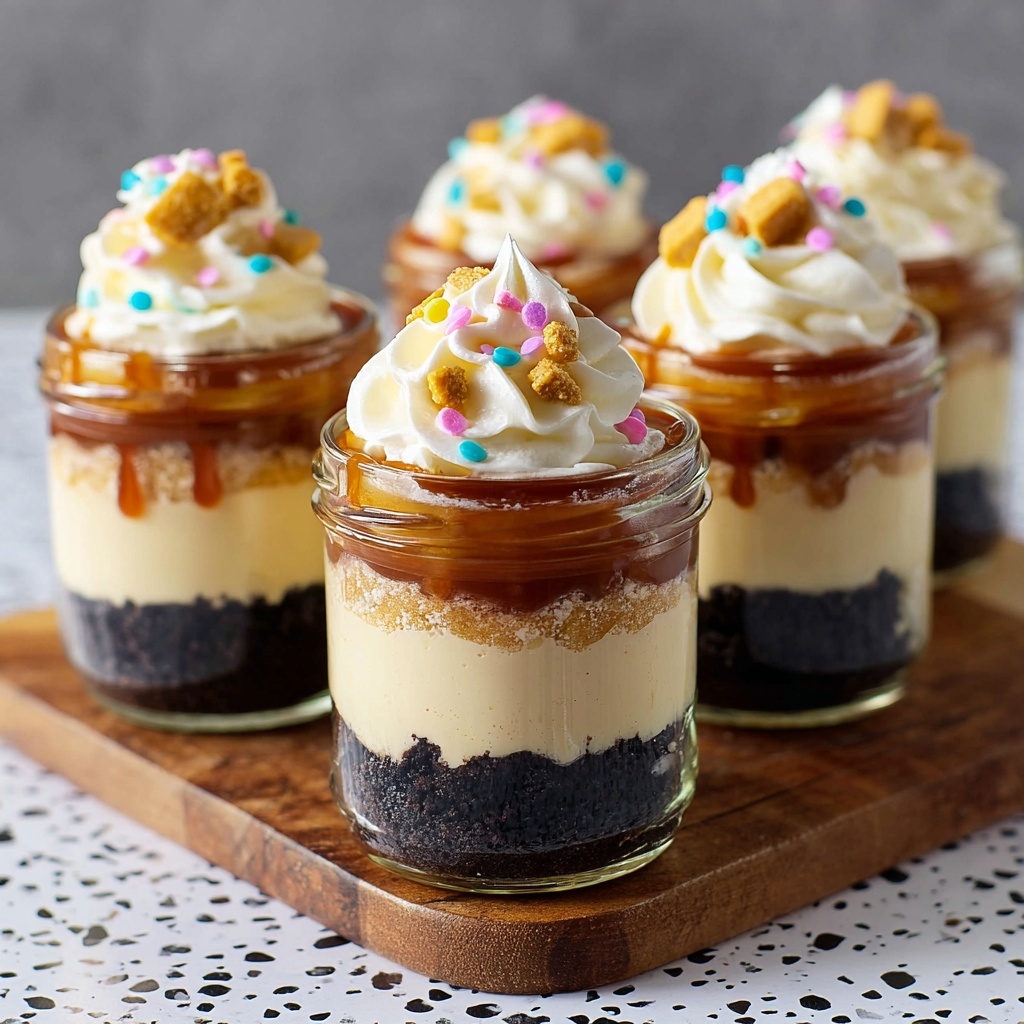
Once cool, add frosting to each jar. You can get creative by piping it on for a neat and elegant look or spreading with a spoon for a casual, homemade vibe. For an eye-catching twist, try layering frosting and cake inside the jars for a pretty, layered effect that’s visually irresistible.
Step 7: Seal and Serve
Finally, put the lids on your jars and present your creations as individual portions. Whether it’s a party favor, gift, or simply a fun treat, serving cake this way feels extra special and joyful.
How to Serve Cake in a Jar Recipe
Garnishes
Elevate your Cake in a Jar Recipe by adding colorful sprinkles, fresh berries, or a sprinkle of edible gold dust on the frosting. These tiny touches make each jar feel festive and thoughtfully prepared.
Side Dishes
Pair your jar cakes with a dollop of whipped cream, a scoop of vanilla ice cream, or a hot cup of coffee or tea. The warm beverage contrasts wonderfully with the sweet and creamy cake, making every bite feel like a cozy celebration.
Creative Ways to Present
If you’re bringing these treats to a gathering, arrange the jars on a tiered cake stand or a rustic wooden tray. Tie a ribbon around each jar lid for a charming touch. You can also personalize each jar with a label or tag, making this Cake in a Jar Recipe perfect for gifting.
Make Ahead and Storage
Storing Leftovers
Thanks to the jars’ airtight lids, leftover cakes keep beautifully when stored in the refrigerator for up to 3 days. Just remember to allow refrigerated jars to come to room temperature before serving for the best flavor and texture.
Freezing
You can freeze individual jar cakes for up to a month. Make sure the lids are on tightly and wrap jars in a layer of plastic wrap for extra protection against freezer burn. When ready to enjoy, thaw overnight in the refrigerator.
Reheating
To warm up your cake, remove the lid and microwave the jar for 20 to 30 seconds. The cake becomes soft and freshly baked-like again, perfect for eating warm on a cozy afternoon.
FAQs
Can I use homemade cake batter instead of a box mix?
Absolutely! Feel free to use your favorite homemade batter to personalize this Cake in a Jar Recipe. Just make sure it has a similar consistency to box mixes for best baking results in jars.
What size jars work best for this recipe?
Small mason jars around 4 to 8 ounces are ideal—they provide the perfect individual serving size and bake evenly without overflowing.
Can I bake these jars in a water bath to keep them extra moist?
You don’t need a water bath for this recipe. Baking directly on a baking sheet is sufficient, and it keeps the jars stable and safe in your oven.
How long do these cakes last at room temperature?
For safety and freshness, cakes in jars should be kept refrigerated and consumed within 3 days. Room temperature storage is not recommended for more than a few hours.
Can I double or triple the recipe for a bigger batch?
Yes! Just prepare more jars and adjust baking time slightly as needed. Using a baking sheet large enough to hold all jars comfortably helps ensure even cooking.
Final Thoughts
This Cake in a Jar Recipe is such a simple way to transform an everyday cake into a charming and portable delight. Whether you’re looking for a creative dessert idea or a sweet gift, these jars will impress and satisfy. So grab your favorite cake mix, some jars, and dive into this fun, tasty treat—you won’t regret it!
Print
Cake in a Jar Recipe
- Prep Time: 10 minutes
- Cook Time: 30 minutes
- Total Time: 40 minutes
- Yield: 6 servings
- Category: Dessert
- Method: Baking
- Cuisine: American
Description
Enjoy a delightful twist on classic cake with this easy Cake in a Jar recipe. Perfect for individual servings, this moist cake baked directly in mason jars is great for parties, gifts, or a charming dessert presentation. Customize with your favorite cake mix and frosting flavors for a personalized treat!
Ingredients
Cake Batter
- 1 box of cake mix (any flavor)
- 1 cup of water
- 1/3 cup of vegetable oil
- 3 large eggs
Frosting
- 1/2 cup of frosting (any flavor)
Equipment
- 6–8 small mason jars with lids (or any glass jars with lids)
Instructions
- Prepare the oven and jars: Preheat your oven to 350°F (175°C). Lightly grease the inside of each mason jar with cooking spray or butter to prevent the cake from sticking.
- Mix the batter: In a large bowl, combine the cake mix, water, vegetable oil, and eggs. Mix thoroughly following the cake mix box instructions to ensure a smooth batter.
- Fill the jars: Pour the cake batter into each greased mason jar, filling them about halfway to allow room for the cake to rise during baking.
- Bake the cakes: Place the filled jars on a baking sheet and bake in the preheated oven for 25-30 minutes. Test doneness by inserting a toothpick into the cake center; it should come out clean when ready.
- Cool the cakes: Remove the jars from the oven and let them cool completely while still in the jars to avoid condensation.
- Add frosting: Once cooled, top each cake with frosting. You may pipe or spoon the frosting onto the top. For extra flair, layer frosting and cake inside the jars before sealing.
- Seal and serve: Place lids on the jars and serve your delicious individual cakes straight from the jar, perfect for portable treats or gifts.
Notes
- Make sure jars are oven-safe to prevent cracking during baking.
- Do not fill jars more than halfway to avoid overflow while baking.
- You can customize the cake and frosting flavors to suit your taste or occasion.
- Layering frosting and cake inside the jar creates a delightful visual effect and texture contrast.
- These cakes can be stored in the refrigerator sealed with lids for up to 3 days.
- To warm before serving, remove lids and microwave for 10-15 seconds if desired.
