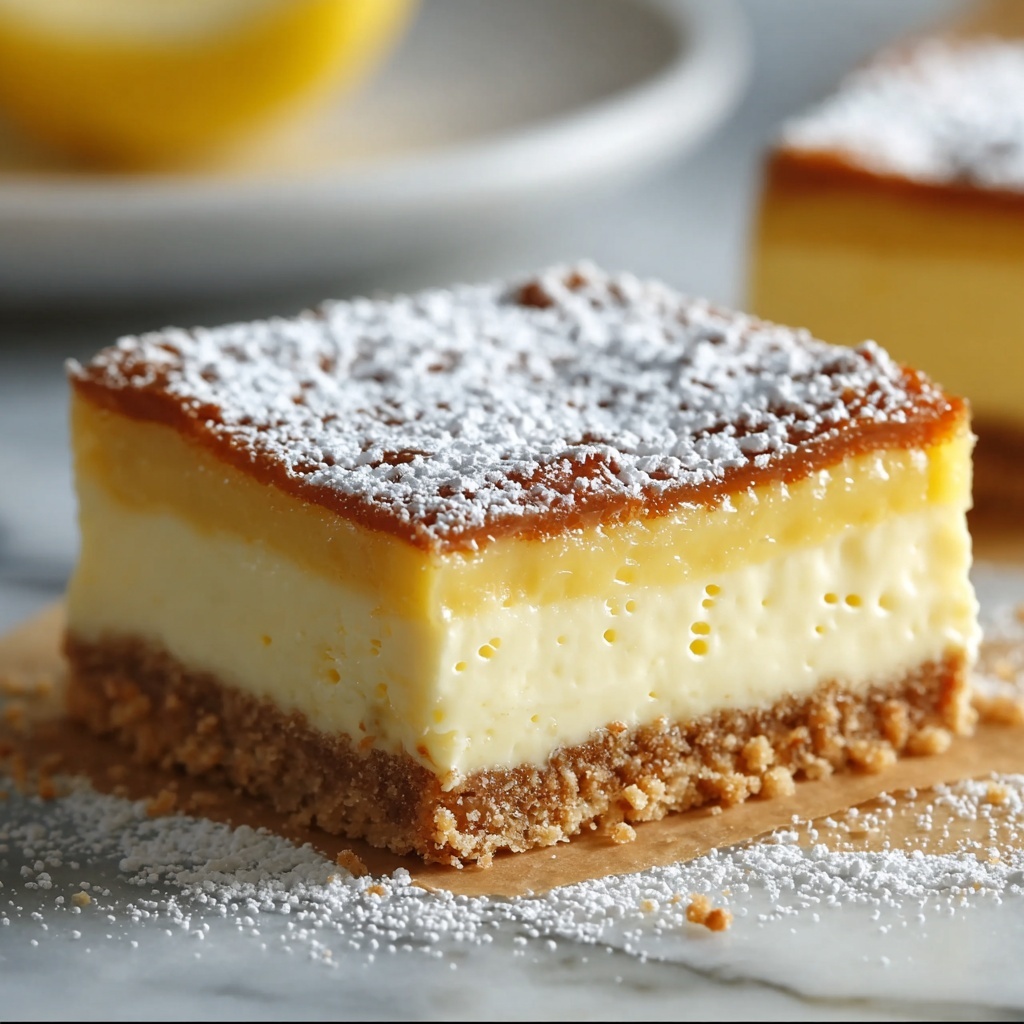
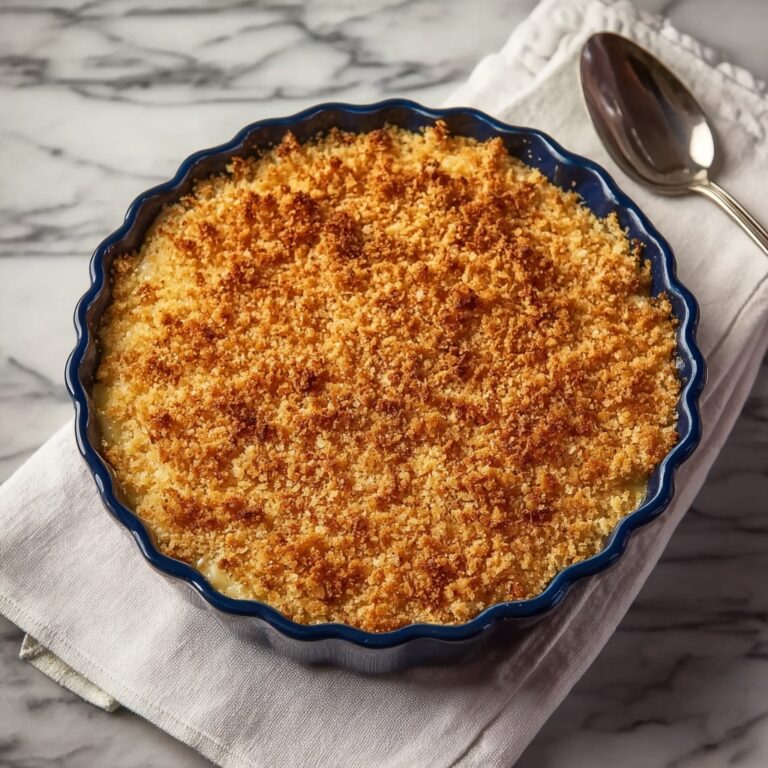
If you’ve ever dreamed of a dessert that combines creamy, dreamy custard and crunchy biscuits without ever turning on the oven, this No-Bake Custard Slice Recipe is your new best friend. It’s a luscious treat that layers silky homemade custard between crisp biscuits, all topped with a sweet, smooth icing that adds the perfect finishing touch. This recipe not only delivers incredible flavor and texture but also offers an easy way to impress friends and family with a classic, elegant dessert that’s surprisingly simple to make. Trust me, once you try this, it will quickly become a go-to for special occasions or whenever you want something indulgent and fuss-free.
Ingredients You’ll Need
This No-Bake Custard Slice Recipe is all about using simple, accessible ingredients that come together to create a rich and refreshing dessert. Each component has a starring role, whether it’s the biscuits that provide crunch, the custard that delivers creamy sweetness, or the icing that adds a lovely, delicate finish.
- Plain graham crackers or digestive biscuits (or vanilla wafers): These form the crisp layers that contrast beautifully with the creamy custard.
- Milk: The base of the custard, it brings smoothness and richness.
- Sugar: Adds the essential sweetness to both custard and icing.
- Cornstarch: The thickening agent that gives custard its signature silky texture.
- Vanilla extract: Infuses a lovely aroma and warm flavor throughout the dessert.
- Egg yolks: Provide body and richness to the custard.
- Butter: Adds creaminess and depth to the custard’s flavor.
- Powdered sugar: Creates a smooth, sweet icing to perfectly cap the slice.
- Milk (for icing): Helps achieve a spreadable consistency for the icing.
How to Make No-Bake Custard Slice Recipe
Step 1: Prepare Your Pan and Biscuit Layers
Start by lining an 8×8 or 9×9 square pan with parchment paper; this helps you lift out the slice easily once it’s set. Next, arrange a single layer of biscuits at the bottom, making sure they cover the entire area for a firm, even foundation.
Step 2: Whisk and Heat the Custard Base
In a saucepan, combine the milk, sugar, and cornstarch. Whisk these together until smooth to avoid lumps. Place the saucepan over medium heat and stir constantly. When the mixture starts to get hot but isn’t boiling, slowly whisk in the egg yolks. This gradual addition helps prevent the yolks from scrambling.
Step 3: Cook the Custard to Thick Perfection
Keep stirring the custard mixture; it should thicken nicely within 5 to 7 minutes. You’re aiming for a velvety consistency that will hold between the biscuit layers without running. Once thickened, remove from heat immediately.
Step 4: Add Butter and Vanilla
Stir in the butter and vanilla extract while the custard is still warm. The butter melts into the custard, enriching it, while the vanilla lifts the flavor, making it wonderfully fragrant and smooth.
Step 5: Build the Layers
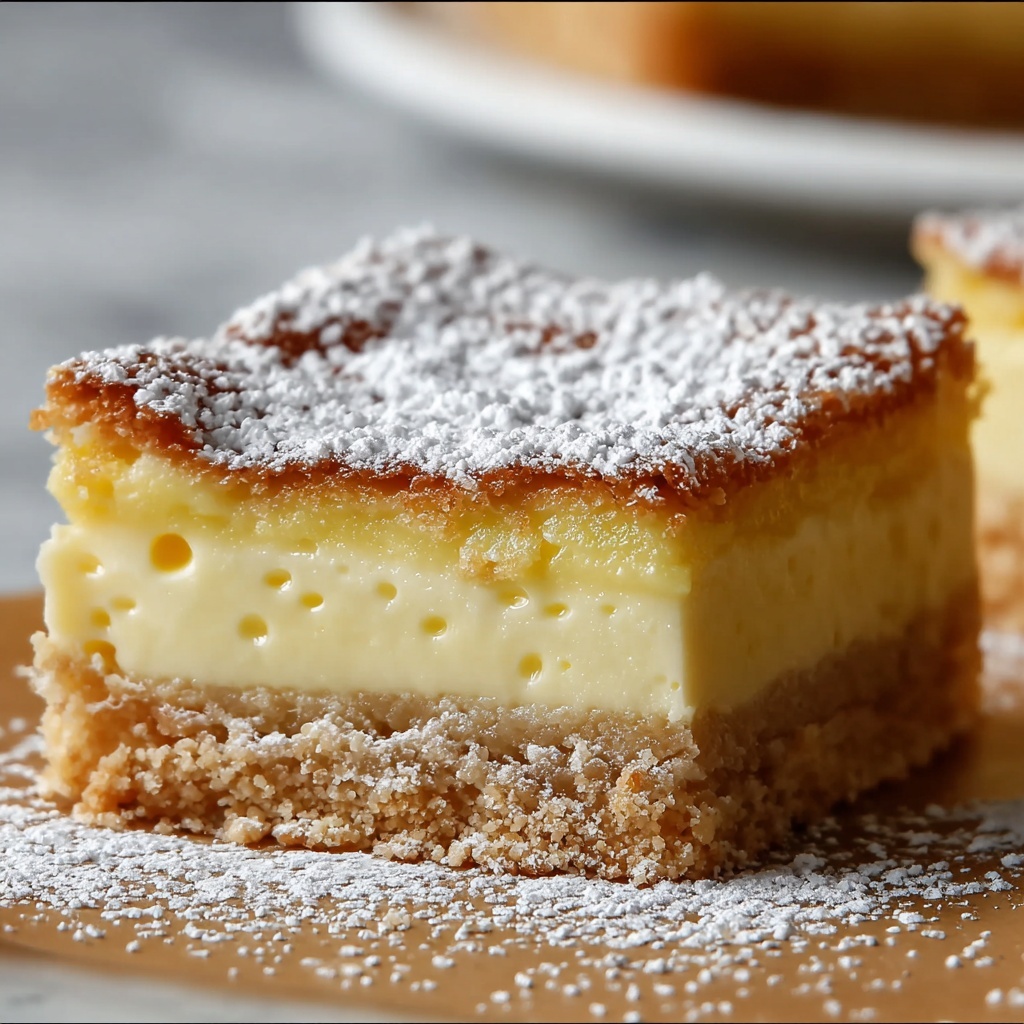
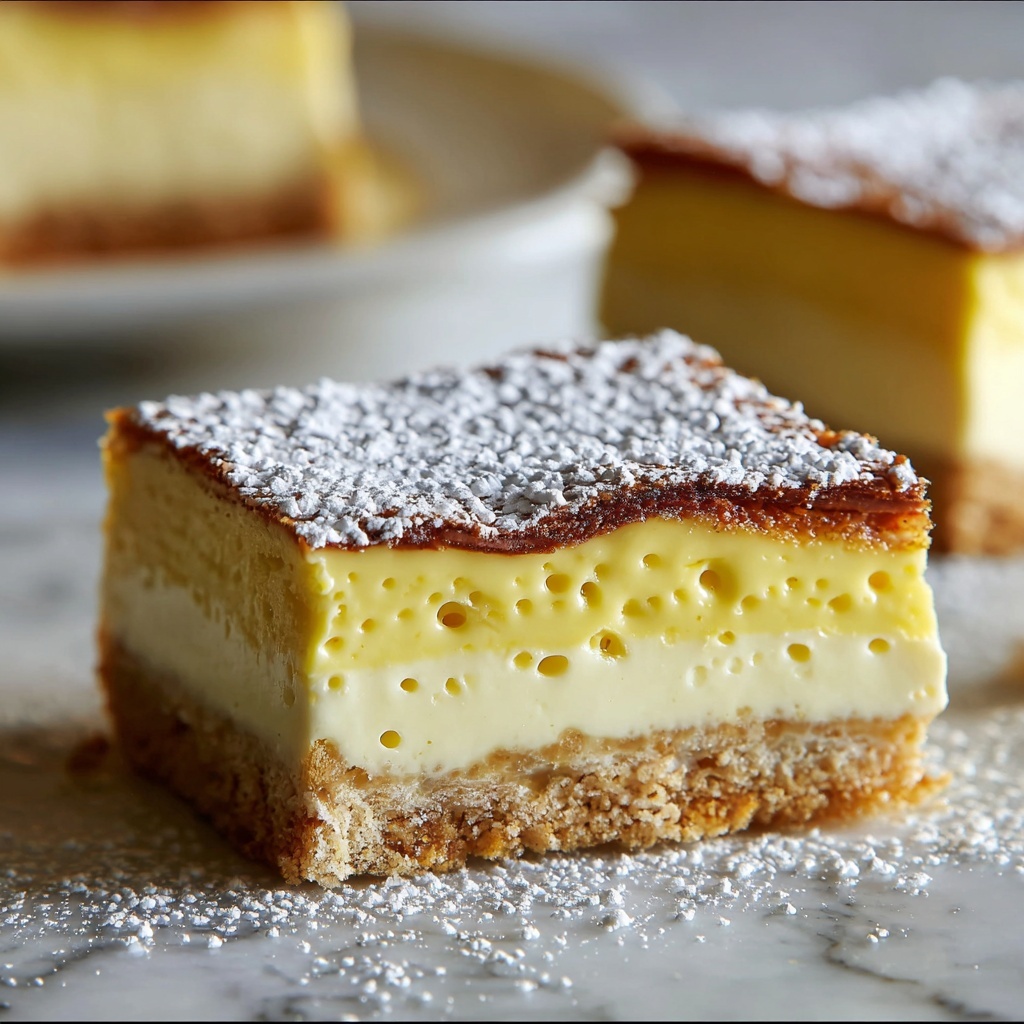
Pour half of your luscious custard over the biscuit layer and smooth it out gently. Then add a second biscuit layer on top, pressing lightly to nestle them in. Pour the remaining custard over the second biscuit layer, spreading evenly. Finally, top with a last biscuit layer to create a perfect layered look.
Step 6: Prepare and Spread the Icing
Mix the powdered sugar, 1 to 2 tablespoons of milk, and vanilla until you have a smooth icing. Spread this evenly over the top biscuit layer, sealing in the custard and providing a sweet, glossy finish.
Step 7: Chill and Slice
Place your dessert in the refrigerator to chill for at least 4 hours, but overnight is even better. This allows the biscuits to soften slightly and the custard to set fully, making slicing and serving a breeze. Cut into squares before you serve to reveal that beautiful layered effect.
How to Serve No-Bake Custard Slice Recipe
Garnishes
A few fresh berries or a dusting of cocoa powder on top of the icing can add a beautiful pop of color and extra flavor. A sprinkle of toasted coconut or chopped nuts also works if you want a bit of crunch contrast on the surface.
Side Dishes
Serve your custard slice alongside fresh fruit or a dollop of whipped cream for a light, refreshing complement. A cup of hot tea or freshly brewed coffee pairs exceptionally well, balancing out the sweetness of the dessert.
Creative Ways to Present
Try serving your No-Bake Custard Slice Recipe in individual glass jars or clear cups to showcase the beautiful layers. You could also cut smaller bite-sized squares for a party platter or stack them with decorative edible flowers for a stunning centerpiece dessert.
Make Ahead and Storage
Storing Leftovers
Keep your custard slice covered in the refrigerator, ideally stored in an airtight container or wrapped tightly with cling wrap. It will stay fresh and delicious for up to 3 days, making it perfect for preparing ahead of time.
Freezing
Freezing isn’t ideal for this dessert as the texture of the custard can be compromised. The biscuits might also become too soft or soggy upon thawing. For best results, enjoy this slice within a few days refrigerated.
Reheating
This dessert is best enjoyed chilled rather than warmed. If you prefer a softer texture, let the slice sit at room temperature for 15 to 20 minutes before serving, but avoid microwaving as it may alter the custard’s delicate texture.
FAQs
Can I use a different type of biscuit for this recipe?
Absolutely! While plain graham crackers or digestive biscuits are traditional, vanilla wafers or other mild-flavored cookies work well too. Just make sure they’re relatively firm and not overly sweet to balance the custard.
What if I don’t have cornstarch? Can I substitute it?
You can substitute cornstarch with an equal amount of arrowroot powder or flour, though you might notice a slight difference in the custard’s texture. Cornstarch usually yields the creamiest results.
Is this recipe safe with raw egg yolks?
The egg yolks are gently cooked into the custard mixture, which reduces the risk associated with raw eggs. Make sure to keep the mixture heated to the right temperature while whisking in the yolks to ensure safety.
Can I make this dessert vegan or dairy-free?
It’s a bit tricky because custard relies on eggs and dairy. However, you can experiment with plant-based milk and egg replacers designed for custards, but results may vary compared to this original recipe.
How long does the custard need to thicken properly?
Typically, the custard thickens within about 5 to 7 minutes from when you start stirring over medium heat. Keep a close eye as constant stirring is key to prevent lumps or burning.
Final Thoughts
This No-Bake Custard Slice Recipe is a delightful dessert that perfectly balances creamy custard with crunchy biscuit layers, all without needing to heat up the oven. It’s an easy, satisfying treat to prepare ahead of time and impress loved ones. Give it a try the next time you want something sweet that’s both simple and absolutely delicious—you’ll thank yourself later!
Print
No-Bake Custard Slice Recipe
- Prep Time: 20 mins
- Cook Time: 10 mins
- Total Time: 4 hours 30 mins
- Yield: 9 servings
- Category: Dessert
- Method: Stovetop
- Cuisine: Western
Description
This No-Bake Custard Slice is a delicious and easy-to-make dessert featuring layers of crunchy biscuits and creamy homemade custard, topped with a smooth vanilla icing. Perfect for those who want a comforting treat without turning on the oven, this recipe takes advantage of simple ingredients and minimal cooking time to create a rich, custardy delight that chills to perfection.
Ingredients
Biscuits Layer
- 2 packs plain graham crackers or digestive biscuits (or vanilla wafers)
Custard
- 4 cups milk
- 1/2 cup sugar
- 1/3 cup cornstarch
- 3 egg yolks
- 2 tsp vanilla extract
- 2 tbsp butter
Icing
- 1 cup powdered sugar
- 1–2 tbsp milk
- 1/2 tsp vanilla extract
Instructions
- Prepare Pan: Line an 8×8 or 9×9 square pan with parchment paper to prevent sticking and ensure easy removal of the custard slice.
- First Biscuit Layer: Arrange a layer of plain graham crackers or your choice of biscuit evenly to cover the bottom of the prepared pan.
- Make Custard Base: In a medium saucepan, whisk together the milk, sugar, and cornstarch until the mixture is smooth and free of lumps, providing a stable base for the custard.
- Add Egg Yolks: Heat the mixture over medium heat, stirring constantly to prevent burning. Once it begins to warm up, slowly whisk in the egg yolks to incorporate them smoothly without curdling.
- Thicken Custard: Continue stirring constantly for about 5 to 7 minutes until the custard thickens to a creamy consistency similar to pudding.
- Finish Custard: Remove the saucepan from heat and stir in the butter and vanilla extract until the butter is melted and fully combined, enriching the custard.
- Layer Custard and Biscuits: Pour half of the thickened custard over the first biscuit layer, then place another biscuit layer on top. Pour the remaining custard over this second biscuit layer.
- Final Biscuit Layer: Finish with one last layer of biscuits, pressing gently to even out the layers.
- Prepare Icing: In a small bowl, mix powdered sugar, milk (start with 1 tablespoon and add more if needed), and vanilla extract until the icing is smooth and spreadable.
- Top with Icing: Spread the vanilla icing evenly over the top biscuit layer to add sweetness and a glossy finish.
- Chill: Refrigerate the custard slice for at least 4 hours, preferably overnight, to set fully and allow flavors to meld.
- Serve: Once chilled and firm, slice the custard slice into 9 squares and serve chilled for best taste and texture.
Notes
- Use parchment paper to easily lift out the slice from the pan.
- If the icing is too thick, add a little more milk to achieve a spreadable consistency.
- For best results, chill overnight to allow the custard to set thoroughly.
- You can substitute dairy milk with plant-based milk but the texture of the custard might slightly differ.
- Ensure constant stirring while making custard to prevent lumps and burning on the stove.


