
“`html
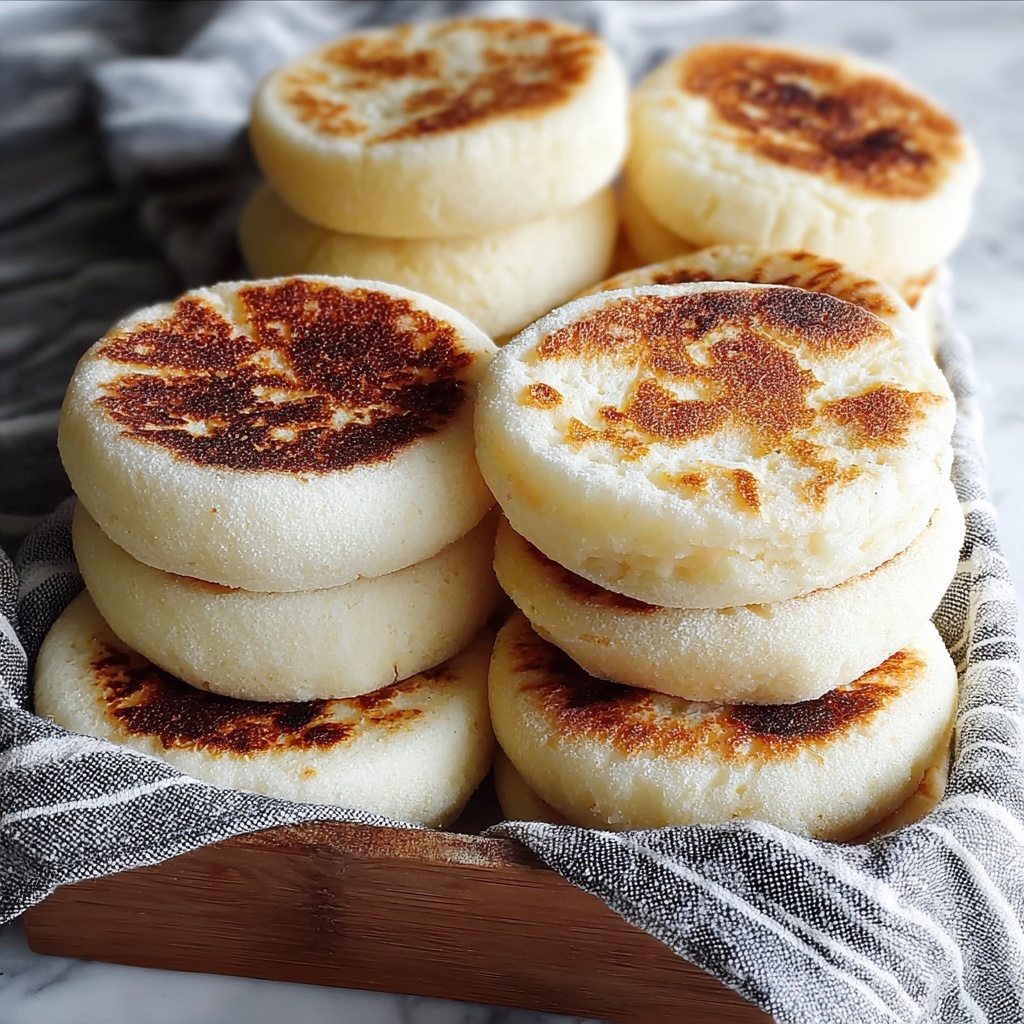
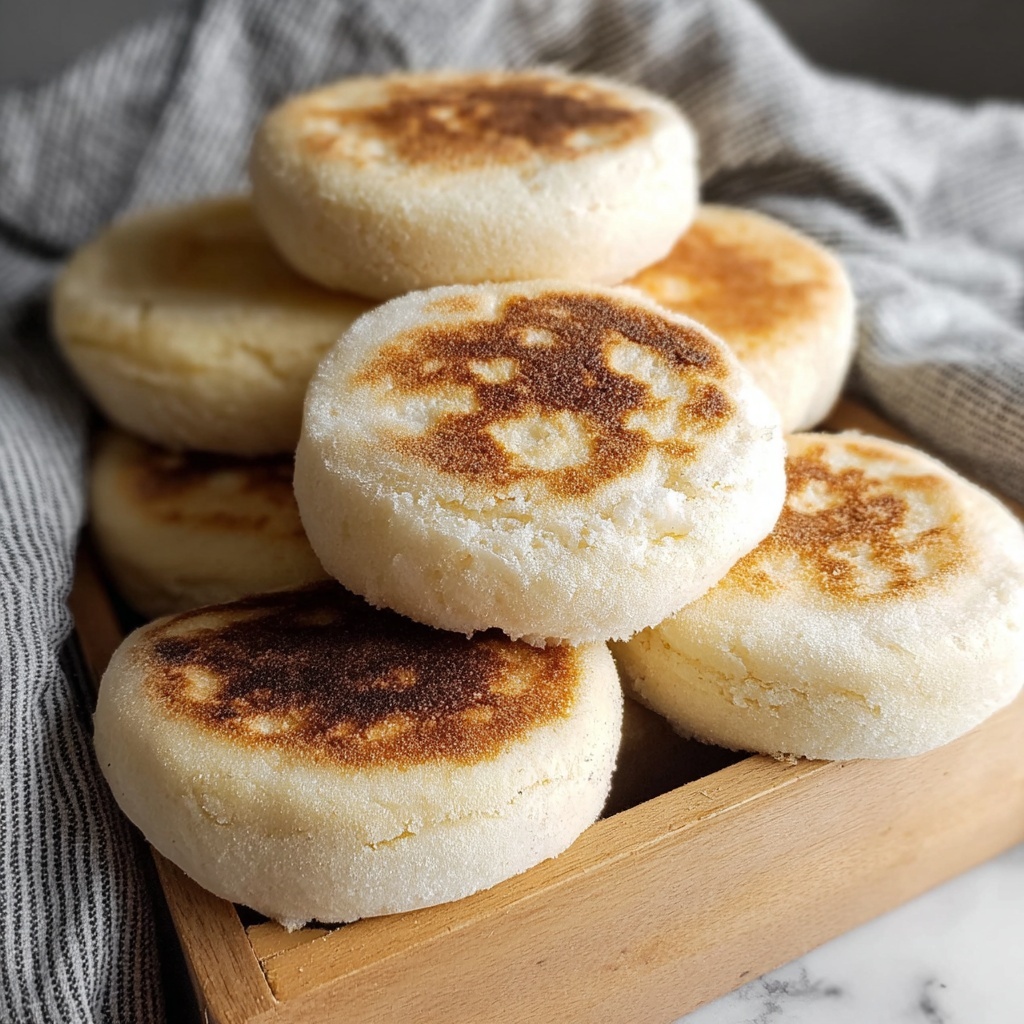
If you’ve ever wondered how to transform your sourdough discard into something truly spectacular, the Sourdough Discard English Muffins Recipe is exactly the gem you need in your kitchen repertoire. These muffins are gloriously golden, lightly crisp on the outside, and filled with those signature nooks and crannies that soak up butter and jam like a dream. Made with simple ingredients and a little patience, this recipe turns what might usually be tossed out into a delicious, comforting breakfast treat that will have you savoring every bite.
Ingredients You’ll Need
Gathering wholesome, straightforward ingredients is the first joy in making this recipe—each one plays its role perfectly, creating a harmonious balance of tender crumb, slight sweetness, and that distinct sourdough tang.
- Whole milk: Warmed to just the right temperature, it nurtures the yeast and adds richness and softness to the dough.
- Unsalted butter: Melted butter lends a delicate richness and helps keep the crumb tender.
- Brown sugar: Adds a gentle sweetness and promotes lovely browning on your English muffins.
- Active dry yeast: Gives the dough a reliable lift and lightness, complementing the natural ferment of the sourdough discard.
- Sourdough discard: The star of the show, it brings incredible depth of flavor and a subtle tang unique to homemade sourdough products.
- Bread flour: Its higher protein content creates the structure needed for those perfect nooks and crannies.
- Kosher salt: Enhances all the flavors while balancing the sweetness and tanginess in the dough.
How to Make Sourdough Discard English Muffins Recipe
Step 1: Activate and Combine the Wet Ingredients
Begin by mixing the warm whole milk with melted butter, sourdough discard, brown sugar, and active dry yeast in a large bowl. This mixture needs just a few minutes to bubble gently, waking up the yeast and blending the rich, tangy flavors that will define the dough.
Step 2: Add the Dry Ingredients and Form a Dough
Next, stir in the bread flour and kosher salt with a dough whisk or wooden spoon until a slightly sticky dough forms. This texture is key—it should feel just tacky to the touch, ensuring those characteristic airy pockets within each muffin.
Step 3: First Rise to Double
Cover the bowl with a towel or plastic wrap and let your dough rest in a warm spot until it doubles in size, typically about 60 to 90 minutes. This step develops the flavor and builds the lovely lift the muffins need to puff up beautifully.
Step 4: Optional Overnight Chill
If your schedule demands flexibility, refrigerate the dough overnight after the first rise. This slow fermentation deepens flavor and makes it great to bake fresh muffins whenever you’re ready.
Step 5: Shape the Muffins
Turn the risen dough onto a floured surface and gently roll or press it out to about an inch thick. Use a biscuit cutter, jar, or glass to cut rounds. This shaping ritual sets the stage for that classic English muffin shape and size.
Step 6: Prepare for Second Proof
Place the cut rounds on a cornmeal or semolina-dusted pan, giving each muffin some breathing room. The dusting prevents sticking and adds a lovely texture to the bottoms and sides.
Step 7: Second Rise to Puffy Perfection
Cover the muffins and allow them to rise again until puffy. This takes about an hour at room temperature or up to two hours if the dough came straight from the fridge. This stage ensures that bouncy, airy crumb we all adore.
Step 8: Cook Slowly on the Stovetop
Preheat an electric skillet to 300 degrees or use a heavy skillet over medium-low heat. Place the muffins with space in between, cover, and cook for 5 minutes before flipping. Cook another 5 minutes on the other side, always keeping the lid on to trap steam and cook evenly.
Step 9: Finish Cooking at Lower Heat or Oven
After flipping a few more times and reducing the heat to around 250 degrees, continue cooking until the muffins reach an internal temperature between 195 and 200 degrees F. Alternatively, you can finish them off in a 350-degree oven for about 10 minutes for a perfectly cooked center with a golden crust.
Step 10: Cool and Separate the Muffins
Remove your muffins to a cooling rack and let them reach room temperature. The final secret for those perfect English muffins is using a fork and fingers to gently pry the halves apart, revealing the celebrated nooks and crannies before toasting.
How to Serve Sourdough Discard English Muffins Recipe
Garnishes
These muffins are a perfect canvas for whatever toppings you love. Think rich butter melting into nooks, a smear of tangy cream cheese, or your favorite homemade jam for an irresistibly sweet contrast. A sprinkle of cinnamon sugar or a drizzle of honey also pairs wonderfully.
Side Dishes
Serve these muffins alongside crispy bacon or sausage for a hearty breakfast. Fresh fruit or a vibrant smoothie can add a refreshing balance, making your morning meal feel like a special occasion any day of the week.
Creative Ways to Present
Transform your Sourdough Discard English Muffins Recipe by turning them into mini breakfast sandwiches, layering with avocado, egg, and cheese. Or transform leftovers into small homemade croutons for a salad or soup, turning your morning favorites into something new and exciting.
Make Ahead and Storage
Storing Leftovers
Leftover muffins store beautifully in an airtight container at room temperature for a couple of days. Keeping them sealed helps retain moisture and that irresistible texture.
Freezing
To preserve your muffins longer, freeze them in a sealed bag or container. When ready to enjoy, simply thaw at room temperature or toast straight from the freezer for a warm, freshly baked feel in minutes.
Reheating
For the best texture, split each muffin open with a fork and toast until golden and crisp. Alternatively, warm them gently in a skillet over medium-low heat with a cover to bring back softness without drying out.
FAQs
Can I use sourdough starter instead of discard in this recipe?
While this recipe specifically calls for sourdough discard, using your active starter may alter the dough’s hydration and fermentation time. Discard is less active, which helps balance this recipe’s yeast and rising schedule perfectly.
What if I don’t have bread flour? Can I use all-purpose flour?
All-purpose flour can work in a pinch, but bread flour gives you the gluten strength needed for those classic English muffin nooks and a better chew. If using all-purpose, expect a slightly softer texture.
How long do these English muffins keep fresh?
Stored properly at room temperature in an airtight container, these muffins stay fresh for 2 to 3 days. Beyond that, freezing is your best friend to keep them tasting fresh.
Can I skip the yeast since sourdough discard has natural leavening?
Including yeast ensures a more predictable and quicker rise in this recipe. The sourdough discard adds flavor and tang, but the yeast helps create the light and airy texture typical of English muffins.
Why do you cook the muffins on the stovetop instead of baking them directly?
Cooking on the stovetop gives these muffins their signature crispy exterior and that delightful chew, while also allowing the interior to cook gently. This method mimics traditional English muffin preparation for authentic texture.
Final Thoughts
Trying the Sourdough Discard English Muffins Recipe is like giving new life to your sourdough starter routine and treating yourself to a truly delicious breakfast experience. This recipe offers so much flavor, texture, and satisfaction with surprisingly simple ingredients. I encourage you to bake a batch and watch how these muffins quickly become a favorite in your kitchen, bringing warmth and joy to every morning.
“`
Print
Sourdough Discard English Muffins Recipe
- Prep Time: 15 minutes
- Cook Time: 6 minutes active cooking plus rising times
- Total Time: 11 hours 6 minutes (including long proof and optional refrigeration)
- Yield: 9 servings
- Category: Breakfast
- Method: Stovetop
- Cuisine: American
- Diet: Vegetarian
Description
These Sourdough Discard English Muffins are a delightful way to use your sourdough discard, resulting in soft, fluffy muffins with traditional nooks and crannies. They offer a perfect balance of tangy and sweet flavors, cooked on the stovetop to achieve a lovely golden crust and tender interior, making them ideal for breakfast or brunch.
Ingredients
Wet Ingredients
- 1 cup whole milk (240 grams), warmed to 110 degrees F
- 2 tablespoons (28 grams or 1 ounce) unsalted butter, melted
- 2 tablespoons (30 grams) brown sugar (or sweetener of choice)
- ½ cup (140 grams) sourdough discard
Dry Ingredients
- 1 teaspoon (3 grams) active dry yeast
- 2 ½ cups (300 grams) bread flour
- 2 teaspoons (6 grams) kosher salt
- Cornmeal or semolina flour (for dusting)
Instructions
- Combine Wet Ingredients and Yeast: Mix warm milk, melted butter, sourdough discard, brown sugar, and active dry yeast in a large mixing bowl. Let the mixture sit for a few minutes to activate the yeast.
- Add Dry Ingredients and Form Dough: Add bread flour and kosher salt to the wet mixture. Mix with a dough whisk or wooden spoon until a slightly sticky dough forms.
- First Rise: Cover the dough and let it rise until doubled in size, approximately 60-90 minutes.
- Optional Refrigeration: At this point, you can refrigerate the dough overnight or proceed immediately to the next step.
- Shape the Muffins: After rising, place the dough onto a floured surface and roll or press it out to about 1-inch thickness. Cut rounds using a biscuit cutter or a drinking glass.
- Prepare for Second Rise: Place the cut rounds on a pan lined with cornmeal or semolina flour, dusting both sides well to prevent sticking.
- Second Rise: Cover the muffins and allow them to rise for about one hour until puffy. If coming straight from the refrigerator, this may take up to two hours.
- Preheat Skillet: Heat an electric skillet to 300°F or use a heavy skillet over medium-low heat. Arrange the risen muffins on the skillet, ensuring space between each.
- Initial Cooking: Cover and cook the muffins for 5 minutes on one side.
- Flip and Cook Other Side: Flip the muffins, cover again, and cook for an additional 5 minutes.
- Finish Cooking: Reduce the heat to about 250°F and flip the muffins a few more times until the internal temperature reaches 195-200°F. Alternatively, you can finish cooking in a preheated 350°F oven for about 10 minutes.
- Cool and Prepare to Serve: Remove the English muffins to a cooling rack and let them cool to room temperature. Before toasting, split them open using a fork and fingers to reveal the characteristic craggy nooks and crannies.
Notes
- You can refrigerate the dough after the first rise to bake later, which deepens the flavor.
- Dusting with cornmeal or semolina flour helps to prevent sticking and adds texture to the crust.
- Cooking on a stovetop skillet replicates the traditional method for English muffins, giving a perfect crust and soft interior.
- Using a fork to split the muffins rather than slicing maintains the classic texture.
- If you do not have an electric skillet, a heavy skillet on medium-low heat works fine.
- The dough is slightly sticky; flour your surface and hands as needed during shaping.


