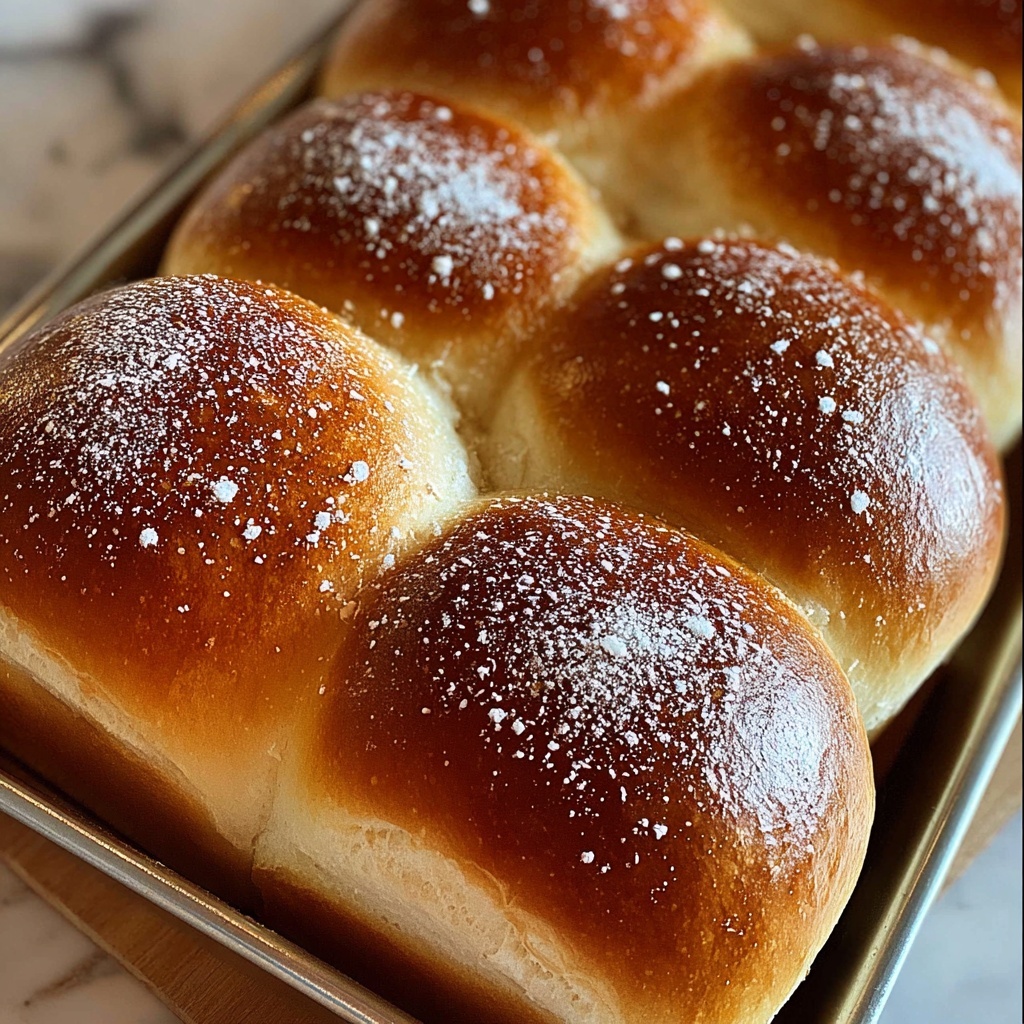
If you have ever dreamed of baking your own soft, fluffy loaf right at home, this Homemade White Bread Recipe is your golden ticket. It captures that perfect crusty exterior and pillowy interior that makes every slice simply irresistible. From the moment you mix the warm water and yeast to the final glorious pull of a warm slice from the loaf pan, this recipe wraps you in the comforting embrace of freshly baked bread. Whether you’re a beginner or a seasoned baker, the magic of making bread from scratch never gets old, and this recipe brings that joy into your kitchen with ease.

Ingredients You’ll Need
These ingredients might be basic, but they are the heart and soul of your loaf. Each one plays a crucial role in creating the perfect texture, flavor, and color that make this Homemade White Bread Recipe so special.
- 1 cup warm water (110°F / 43°C): Activates the yeast and helps start the fermentation process crucial for rising.
- 2 ¼ teaspoons active dry yeast (1 packet): The essential ingredient that makes your bread rise and develop a light, airy texture.
- 2 tablespoons granulated sugar: Feeds the yeast and adds a touch of sweetness to balance the flavors.
- 3 cups all-purpose flour (or bread flour): The structural foundation of your bread, providing gluten for chewiness.
- 1 ½ teaspoons salt: Enhances flavor and controls yeast activity to ensure perfect rise and taste.
- 2 tablespoons unsalted butter, softened: Adds richness and tenderness to the crumb.
- ½ cup warm milk: Contributes to the softness and helps brown the crust beautifully.
How to Make Homemade White Bread Recipe
Step 1: Activate the Yeast
Start by combining the warm water, active dry yeast, and sugar in a large mixing bowl. This step, called proofing, is essential—it wakes the yeast up and ensures it’s active. Let it sit for 5 to 10 minutes until it becomes foamy. This bubbly layer is a great sign that your yeast is alive and ready to work its magic in your bread.
Step 2: Mix the Dough
Next, add the flour, salt, softened butter, and warm milk to your yeast mixture. Stir everything together until it just comes together. This stage is where the ingredients start bonding, setting the foundation for the dough’s structure. Don’t worry if it looks rough here; kneading will smooth it out.
Step 3: Knead the Dough
Kneading is where the bread really begins to develop its character. Whether by hand or with a stand mixer, knead the dough for 8 to 10 minutes until it feels smooth and elastic. This helps develop the gluten, which traps the air bubbles that make your bread rise and gives it that perfect chew.
Step 4: First Rise
Place your dough in a greased bowl, cover it with a damp cloth, and let it rise in a warm spot. This first rise should take about 1 hour, or until the dough doubles in size. This rest period allows the yeast to ferment and create flavor along with volume — the transformation here is truly exciting to watch!
Step 5: Shape and Second Rise
Once your dough has puffed up, gently punch it down to release the air. Shape it into a loaf and place it in a greased 9×5-inch loaf pan. Let the dough rise again for about 30 minutes—it will puff up once more, which makes for a beautifully airy loaf after baking.
Step 6: Bake the Bread
Preheat your oven to 375°F (190°C) and bake the loaf for 30 to 35 minutes. You’ll know it’s done when the crust turns a lovely golden brown and sounds hollow when tapped. This baking process creates that picture-perfect crust you crave while sealing in moisture for a tender crumb.
Step 7: Cool and Serve
Once out of the oven, remove your bread from the pan and let it cool on a wire rack. This cooling step is important; slicing too soon can make the bread gummy or tear. After just a little patience, your Homemade White Bread Recipe is ready to be sliced and enjoyed with your favorite toppings.
How to Serve Homemade White Bread Recipe
Garnishes
This bread is a fantastic canvas for all kinds of toppings. A pat of butter fresh from the fridge, a drizzle of honey, or even a sprinkle of garlic herb butter can elevate the experience. Don’t hesitate to get creative with cheeses, jams, or avocado for a nourishing start or snack.
Side Dishes
Warm slices pair beautifully with hearty soups, stews, or chili—perfect for soaking up flavors. It also shines alongside fresh salads or as a base for delicious sandwiches, making it your new weeknight dinner hero.
Creative Ways to Present
For a charming touch, serve your bread sliced and arranged in a basket with linen napkins during brunch or gatherings. Try toasting it and using it for French toast or croutons—it’s a versatile bread that brings comfort and joy in many forms.
Make Ahead and Storage
Storing Leftovers
If you have any leftovers, store them tightly wrapped in plastic or kept in an airtight container at room temperature. This will keep the bread fresh for up to 2 days. For longer storage, you’ll want to freeze it.
Freezing
Slice the bread beforehand for convenience, then place the slices in a freezer-safe bag. This way, you can take out exactly what you need without thawing the entire loaf. Frozen bread is best used within 3 months for optimal taste and texture.
Reheating
To bring back that warm, fresh-baked feel, toast slices directly from frozen or wrap the loaf in foil and warm it in a 350°F (175°C) oven for 10 to 15 minutes. This little extra effort goes a long way in reviving the loaf’s softness and flavor.
FAQs
Can I use bread flour instead of all-purpose flour?
Absolutely! Bread flour contains more protein, which helps develop gluten more effectively and results in a chewier texture. This can make your Homemade White Bread Recipe even more wonderfully structured.
What if my dough doesn’t rise?
If your dough doesn’t rise, double-check the temperature of your water—it should be warm but not hot. Also, ensure your yeast is fresh and not expired. Sometimes a warmer environment for rising helps speed things along.
Can I make this bread without milk?
Yes, you can substitute milk with water for a lighter loaf, but keep in mind that milk adds richness and helps create a softer crust and crumb. Using milk or milk substitutes will enhance flavor and texture.
Do I have to knead the dough by hand?
Nope! A stand mixer with a dough hook works wonderfully and saves time. However, kneading by hand is very satisfying and gives you a good feel for the dough’s progression.
How do I know when the bread is fully baked?
Look for a deep golden brown crust and tap the bottom of the loaf—it should sound hollow. If you’re unsure, an instant-read thermometer inserted into the center should read around 190°F (88°C).
Final Thoughts
Baking your own bread might feel like a big project, but this Homemade White Bread Recipe proves it’s truly a joyful and rewarding adventure. It fills your home with irresistible aromas and gives you that wonderful sense of accomplishment. I encourage you to give it a try—you may never want to buy store-bought bread again!
Print
Homemade White Bread Recipe
- Prep Time: 15 minutes
- Cook Time: 35 minutes
- Total Time: 2 hours 20 minutes
- Yield: 1 loaf (about 12 slices)
- Category: Bread
- Method: Baking
- Cuisine: American
Description
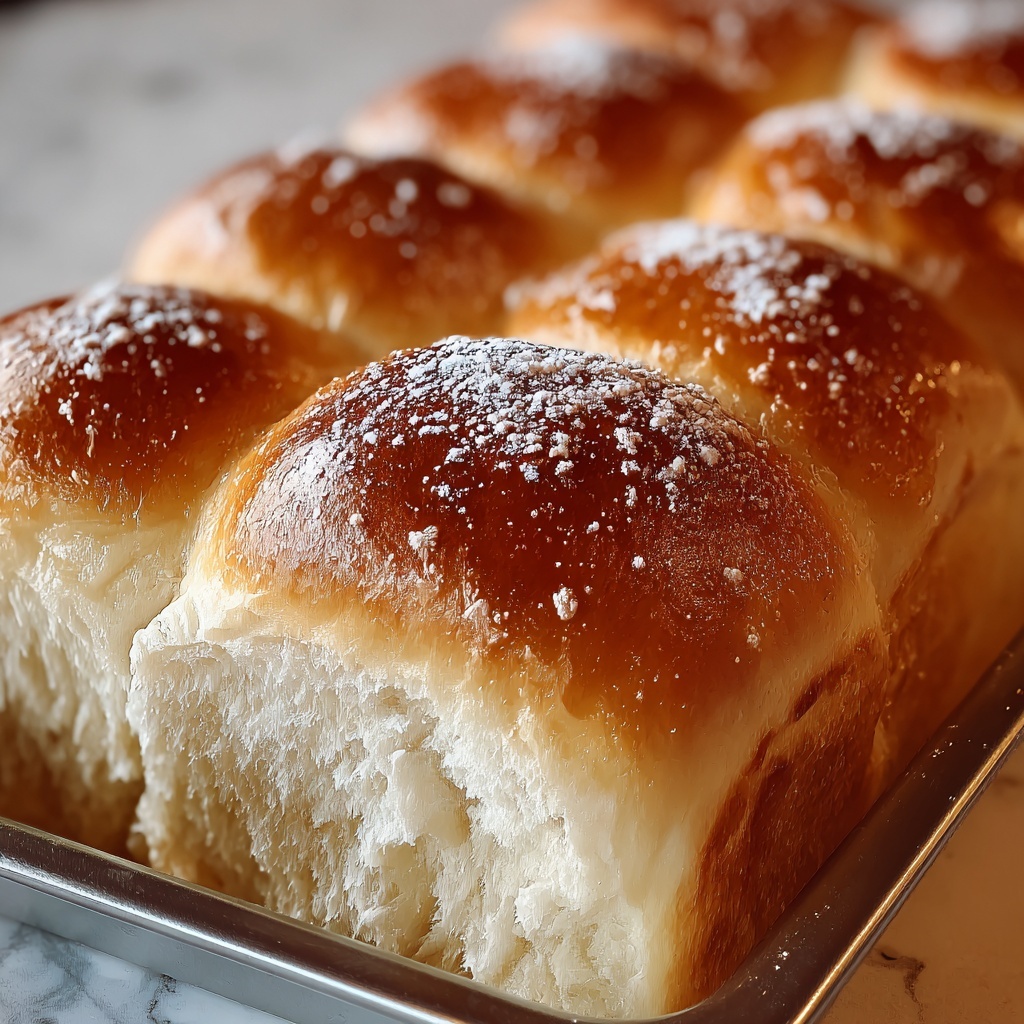
This Homemade White Bread recipe guides you through the comforting process of baking your own soft, golden loaf from scratch. Combining simple pantry staples with basic bread-making techniques, you’ll create a delicious bread perfect for sandwiches, toast, or simply enjoying with butter. The recipe features a two-phase rising process and baking in a loaf pan to achieve a classic texture and crust.
Ingredients
Yeast Mixture
- 1 cup warm water (110°F / 43°C)
- 2 ¼ teaspoons active dry yeast (1 packet)
- 2 tablespoons granulated sugar
Dough
- 3 cups all-purpose flour (or bread flour)
- 1 ½ teaspoons salt
- 2 tablespoons unsalted butter, softened
- ½ cup warm milk
Instructions
- Activate the Yeast: In a large mixing bowl, combine the warm water, active dry yeast, and granulated sugar. Stir gently and let the mixture sit for 5-10 minutes until it becomes foamy, indicating the yeast is active and ready for baking.
- Mix the Dough: To the proofed yeast mixture, add the all-purpose flour, salt, softened butter, and warm milk. Stir thoroughly until all the ingredients are combined into a shaggy dough.
- Knead the Dough: Transfer the dough onto a floured surface or use a stand mixer with a dough hook. Knead for 8-10 minutes until the dough turns smooth, elastic, and slightly tacky but not sticky.
- First Rise: Lightly grease a large bowl and place the dough inside. Cover with a damp cloth or plastic wrap and let it rise in a warm spot for about 1 hour, or until it has doubled in size.
- Shape & Second Rise: Punch down the risen dough to release air bubbles. Shape it into a loaf form and place it into a greased 9×5-inch loaf pan. Cover and let it rise again for 30 minutes until it puffs up.
- Bake the Bread: Preheat your oven to 375°F (190°C). Bake the loaf for 30-35 minutes until the crust is golden brown and the bread sounds hollow when tapped on the bottom.
- Cool & Serve: Remove the bread from the pan and place it on a wire rack. Let it cool completely before slicing to maintain its structure and texture. Enjoy your fresh homemade white bread!
Notes
- For a softer crust, brush the top with melted butter immediately after baking.
- If you do not have warm milk, whole milk at room temperature works as a substitute.
- You can substitute bread flour for all-purpose flour for a chewier texture.
- Ensure water and milk are warm but not hot to avoid killing the yeast.
- Store the bread at room temperature in an airtight container for up to 3 days or freeze for longer storage.


