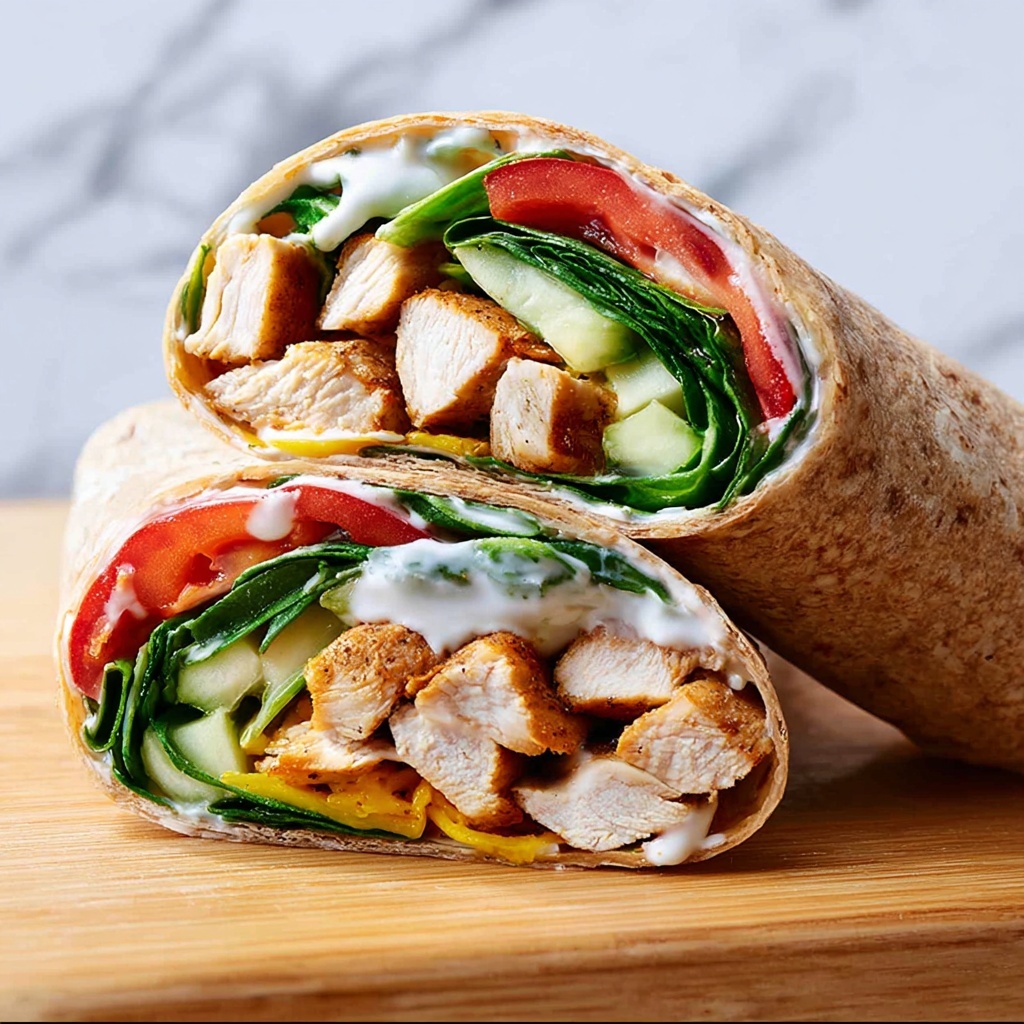
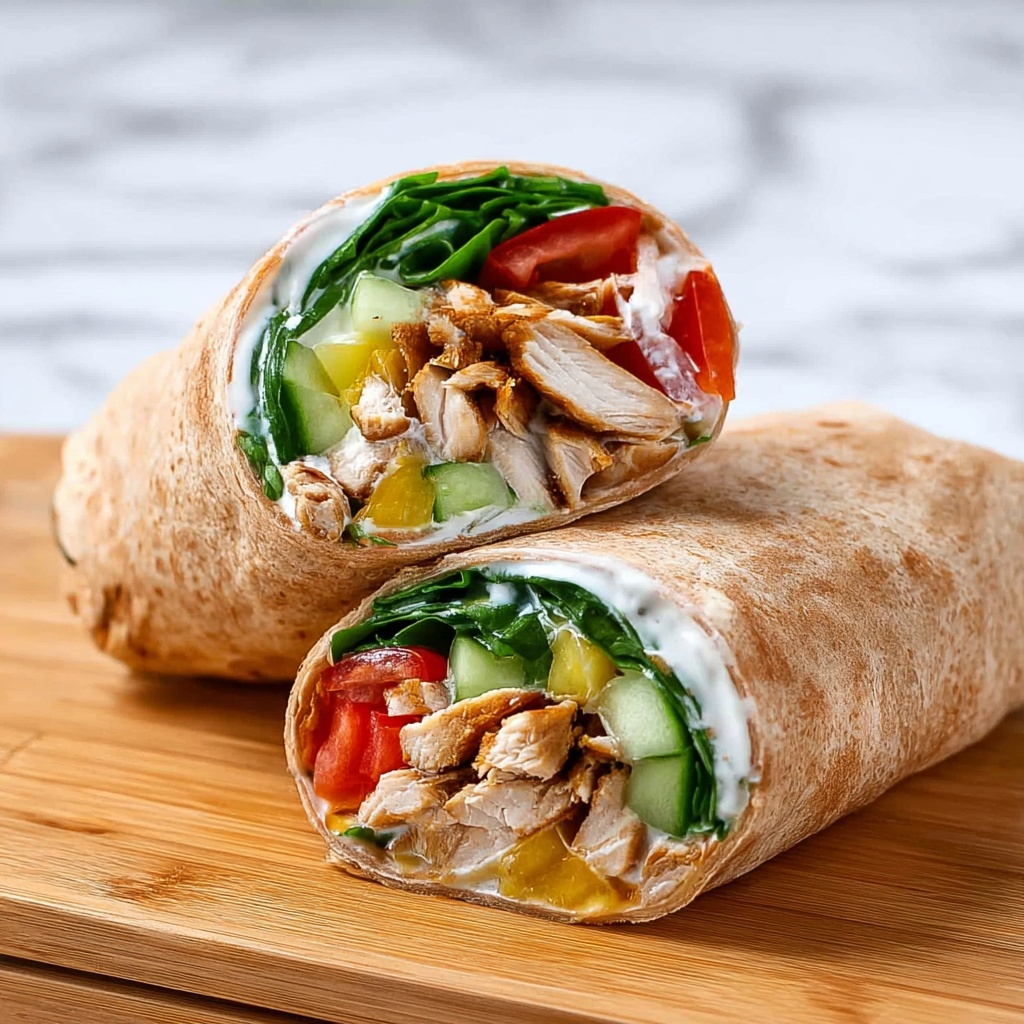
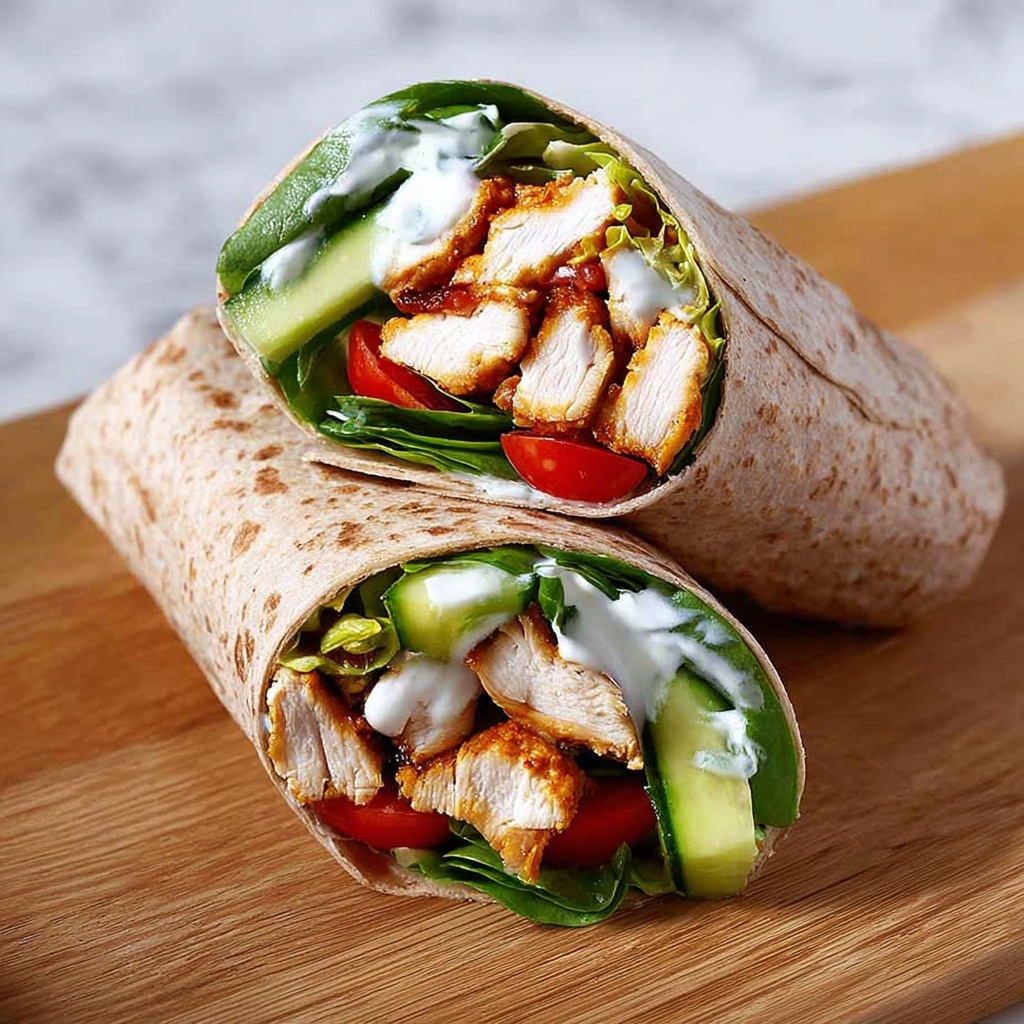
If you’re craving a meal that’s bursting with creamy, tangy flavors wrapped in a soft tortilla, the Ranch Chicken Wraps Recipe is exactly what you need. This dish combines tender shredded chicken with zesty ranch dressing, melty cheese, fresh veggies, and a hint of smoky bacon, all rolled into one perfect handheld delight. Whether you’re packing lunch for work, prepping a quick dinner, or just wanting something satisfying and easy, these wraps are guaranteed to become your new favorite go-to.
Ingredients You’ll Need
These ingredients are simple, straightforward, and each one plays a crucial role in making this wrap unforgettable—from the juicy chicken to the crisp lettuce, every bite offers a balanced combination of flavors and textures.
- 2 cups cooked chicken breast: Tender, shredded or diced, this is the hearty protein base for the wrap.
- 1/3 cup ranch dressing: Adds creamy, tangy, and herby notes that bring all the flavors together.
- 1/2 cup shredded cheddar or Monterey Jack cheese: Melts perfectly and adds a savory, gooey richness.
- 1/2 cup diced tomatoes: Offers a fresh, juicy burst that brightens each bite.
- 1/2 cup shredded lettuce: Adds a crisp, refreshing crunch to balance the richness.
- 1/4 cup chopped cooked bacon (optional): Brings smoky depth and irresistible savory goodness.
- 4 large flour tortillas (burrito size): The soft, warm wrapper that holds everything in place.
- Salt and black pepper to taste: Essential seasoning to enhance every component.
- 1 tablespoon olive oil or cooking spray: Used if you want to grill the wraps for a crispy finish.
How to Make Ranch Chicken Wraps Recipe
Step 1: Combine the filling ingredients
Grab a big mixing bowl and toss together your cooked chicken, ranch dressing, shredded cheese, diced tomatoes, bacon if you’re using it, and a pinch of salt and pepper. Mix everything thoroughly until each bite will have a burst of creamy, cheesy, savory goodness.
Step 2: Prepare the tortillas
Warm your flour tortillas slightly—either in the microwave for 15-20 seconds or on a dry skillet for a minute or so. This makes the tortillas pliable and much easier to roll tightly without tearing.
Step 3: Assemble the wraps
Divide the chicken mixture evenly among the tortillas, spreading it out but leaving space around the edges. Top each portion with shredded lettuce for that fresh crunch. Now fold in the sides of each tortilla and roll them up tightly to secure the filling inside.
Step 4: Optional grilling for crispy wraps
If you love a bit of a toasty crunch, heat a skillet over medium heat and brush it with olive oil or spray with cooking spray. Place each wrap seam-side down on the skillet and grill for about 2 to 3 minutes on each side until golden brown and heated through. This step adds an irresistible crispy texture and melts the cheese even more.
How to Serve Ranch Chicken Wraps Recipe
Garnishes
To elevate your Ranch Chicken Wraps Recipe even further, consider adding a sprinkle of chopped green onions, fresh cilantro, or a light drizzle of extra ranch dressing on the side. These add fresh notes and make the presentation pop beautifully.
Side Dishes
Pair these wraps with crunchy veggie sticks like carrot and celery, a simple mixed green salad, or even some classic kettle chips for contrast. A cool cucumber salad or coleslaw also complements the creamy and savory flavors perfectly.
Creative Ways to Present
Slice your wraps diagonally to reveal the colorful and inviting filling inside and serve them stacked on a rustic wooden board or a bright plate. For feeding a crowd, cut the wraps into bite-sized pinwheels to serve as fun finger food at gatherings.
Make Ahead and Storage
Storing Leftovers
Leftover Ranch Chicken Wraps can be wrapped tightly in plastic wrap or stored in an airtight container and refrigerated for up to 2 days. Keep the lettuce separate if you want to avoid it getting soggy.
Freezing
Freezing is not ideal for this recipe because the fresh veggies and ranch dressing don’t freeze well. However, you can freeze the cooked chicken mixture separately for up to 3 months and assemble the wraps fresh when ready.
Reheating
If your wraps are grilled, reheat them in a skillet over low heat or in a toaster oven to restore that crispy exterior. Avoid microwaving if you want to keep them from becoming soggy, or microwave briefly and then crisp up quickly in a hot pan.
FAQs
Can I use a different type of chicken for this recipe?
Absolutely! Rotisserie chicken works wonderfully as a quick shortcut, or you can use leftover grilled or baked chicken. The key is to have it shredded or diced for easy rolling.
What can I add to make these wraps vegetarian?
Simply omit the chicken and bacon, and add roasted vegetables or chickpeas with the ranch dressing and cheese. You’ll still get that creamy and flavorful experience with a plant-based twist.
Is it necessary to grill the wraps?
No, grilling is optional but recommended if you enjoy a warm, crispy texture. The wraps are delicious fresh and cold too, making them great for meal prep or packed lunches.
Can I prepare these wraps in advance?
Yes! Prepare the filling ahead of time and store in the fridge, then assemble the wraps when ready to eat. Adding lettuce last helps keep everything fresh and crisp.
What if I don’t have ranch dressing?
You can substitute with a mixture of mayonnaise and a bit of lemon juice or vinegar combined with dried herbs like dill, parsley, and garlic powder to mimic the ranch flavor.
Final Thoughts
This Ranch Chicken Wraps Recipe is a true winner for anyone who loves quick, flavorful meals that don’t sacrifice any comfort. It’s versatile, easy to make, and so satisfying whether you’re at home or on the go. I can’t wait for you to try it out and see how effortlessly it becomes a staple in your kitchen!
Print
Ranch Chicken Wraps Recipe
- Prep Time: 10 minutes
- Cook Time: 5 minutes
- Total Time: 15 minutes
- Yield: 4 wraps
- Category: Main Course, Lunch
- Method: Stovetop
- Cuisine: American
Description
These Ranch Chicken Wraps are a delicious and easy-to-make meal perfect for lunch or a quick dinner. Featuring a creamy ranch-dressed chicken filling with melty cheese, fresh tomatoes, crispy bacon, and crunchy lettuce all wrapped in a warm flour tortilla. They can be enjoyed as-is or grilled for a crispy finish, making them versatile and satisfying.
Ingredients
Filling
- 2 cups cooked chicken breast, shredded or diced
- 1/3 cup ranch dressing
- 1/2 cup shredded cheddar or Monterey Jack cheese
- 1/2 cup diced tomatoes
- 1/4 cup chopped cooked bacon (optional)
- Salt and black pepper to taste
Assembly
- 4 large flour tortillas (burrito size)
- 1/2 cup shredded lettuce
For Grilling (Optional)
- 1 tablespoon olive oil or cooking spray
Instructions
- Prepare the filling: In a mixing bowl, combine the cooked chicken, ranch dressing, shredded cheese, diced tomatoes, chopped bacon (if using), salt, and black pepper. Mix well until all ingredients are evenly coated and combined.
- Warm the tortillas: Slightly warm the flour tortillas to make them more pliable and easier to roll without cracking. This can be done in a microwave for about 15 seconds or in a dry skillet over low heat for a few seconds on each side.
- Assemble the wraps: Divide the chicken mixture evenly among the warmed tortillas. Top each portion with shredded lettuce. Fold in the sides of each tortilla and then roll tightly into wraps to securely encase the filling.
- Grill the wraps (optional): Heat a skillet over medium heat and lightly brush it with olive oil or spray with cooking spray. Place each wrap seam-side down in the skillet and grill for 2-3 minutes per side, or until golden brown and heated through. This step creates a crispy exterior and helps meld the flavors.
- Serve: Remove the wraps from the skillet, slice in half if desired, and serve warm. They make a perfect portable and tasty meal.
Notes
- These wraps are excellent for meal prep and can be stored in the refrigerator for quick lunches throughout the week.
- Feel free to add avocado slices, red onions, or substitute spinach tortillas to vary the flavor and texture.
- Using store-bought rotisserie chicken makes assembling this recipe even faster and easier.
